
Quick Facts
Introduction
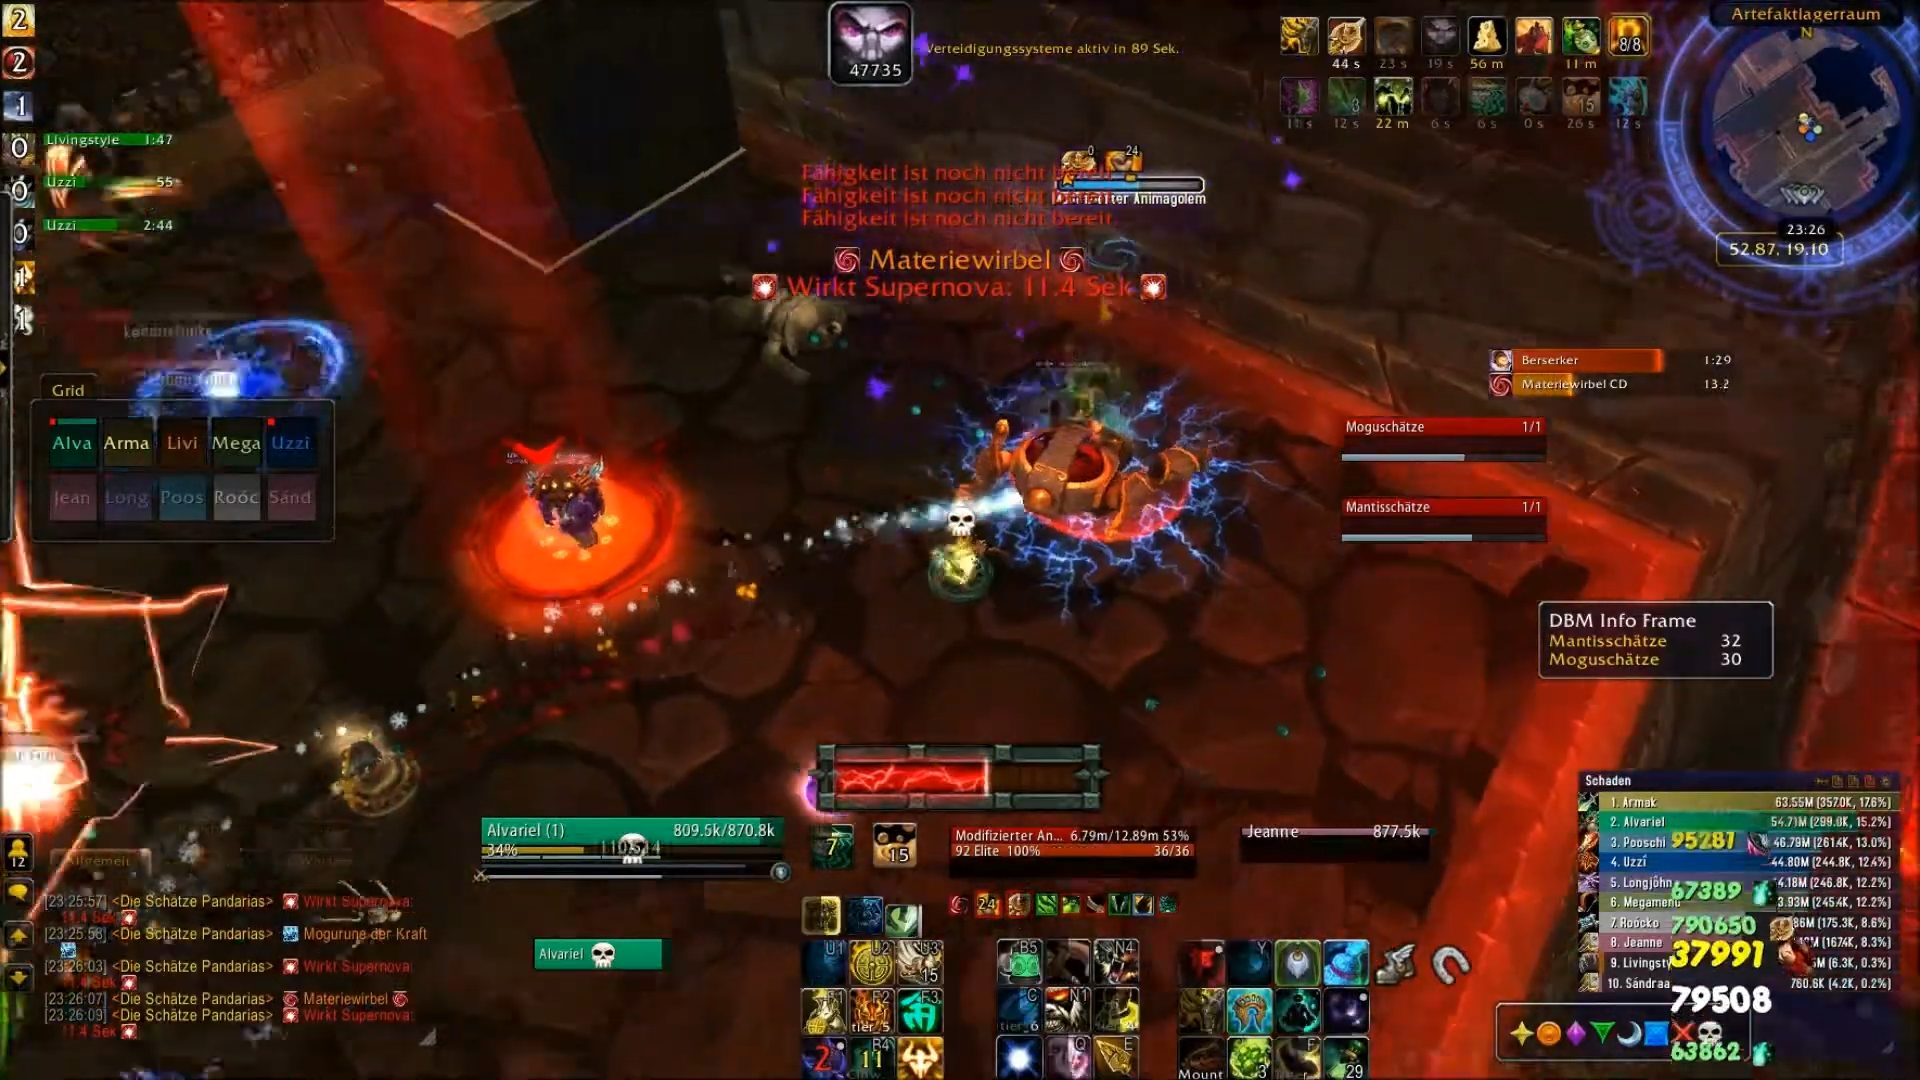
Before things start to get serious with Thok, you can take a breather with a fight that’s a bit easier than Challenge Mode. You’ll be battling a security system that you trigger at the start of the fight, which is guarding some of Garrosh’s looted treasures.
What makes this encounter unique is that you’ll split into two separate groups for the entire fight and act independently
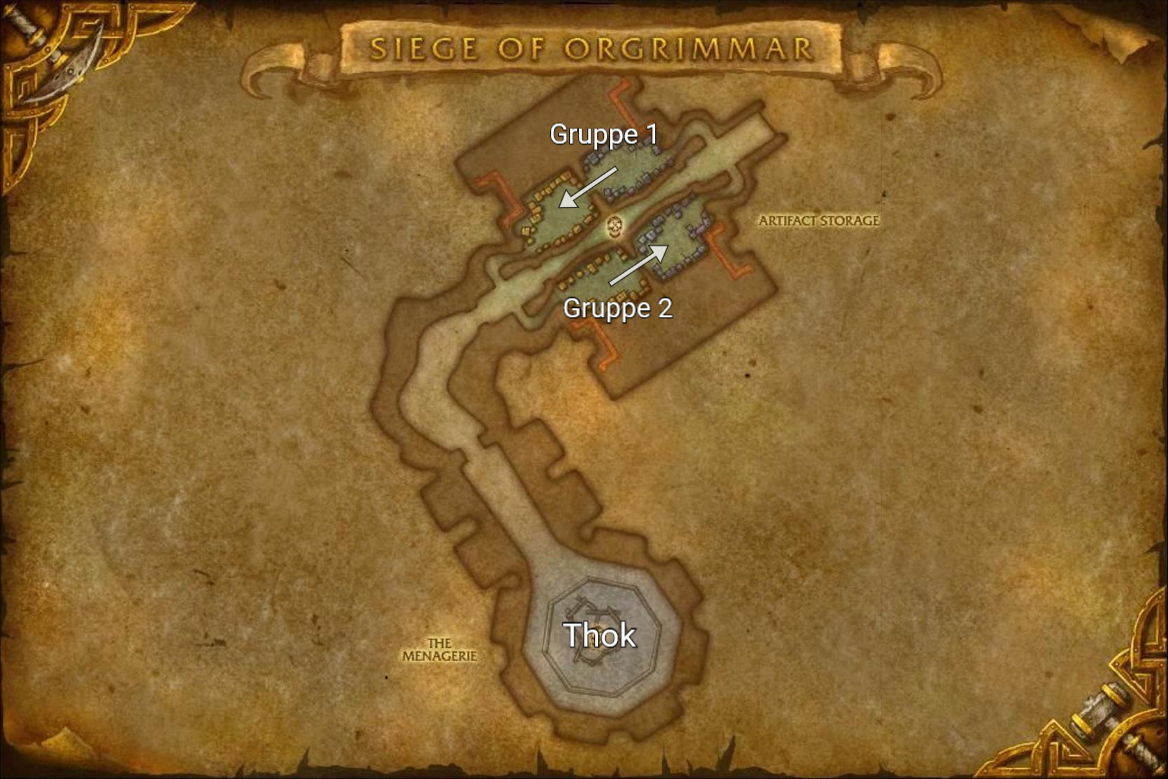
of one another. When you enter the room, you’ll see that it’s divided into four quadrants.
You can jump down into two of them as soon as the fight begins.
Group 1 will start to the right of the room’s entrance, Group 2 diagonally across from it. To start the fight, activate the console
in the middle of the path. After that, anyone who remains up top will take fire damage.
The goal of the encounter is to open crates and defeat the enemies inside them, which will recharge the encounter’s special energy bar.
Both of your groups must accumulate 50 energy and activate the lever at the gate to the next room so that you can enter it.
In this room, both groups must again collect 50 energy and activate another lever for the fight to end successfully.
If one group finishes faster than the other, or if you only have one BR,
you can climb up the iron chain and switch over.
The crates come in different sizes and contain different enemies. The larger they are, the more energy you gain after defeating the
enemies inside.
You have 4.5 minutes for each room; otherwise, the security system will kill you.
This encounter features a wide variety of abilities and enemies. To save yourself a few tries, it’s essential that you’re well-informed. Your tanks, in particular, should know whether you can bring in additional enemies to join the current ones. This is only possible if you know the crates' contents and their abilities.
Splitting Your Raid Into Two Groups
Split your raid into two groups that deal roughly equal amounts of damage and include classes with both single-target and multi-target capabilities.
For example, if you have two Hunters, split them between both groups. If you have two melees, put them into separate groups as well. If you have
two BRs or BLs: split them up.
Keep the Drums of Rage in mind if that isn’t the case.
One offensive dispel per group is highly recommended. A de-enrage is also useful, but not as critical as the dispel.
Stay spread out throughout the entire fight, as some abilities repeatedly deal AoE damage within relatively small areas.
Crates and Energy
There are Mogu and Mantid rooms. These differ in the types of adds that spawn from the crates. The Mantid room is generally considered more difficult. Group 1 starts in a Mogu room, Group 2 in a Mantid room. After that, they move to the other type of room.
Successfully clearing (killing the adds inside) small crates grants one energy, medium crates grant 3 energy, and large crates grant 14 energy. Opening a crate spawns adds whose strength corresponds to the crate type. The larger a crate, the more difficult the adds inside.
In each room, there are 2 large crates, 6 medium crates, and 18 small crates, giving you a total of 64 possible energy.
There is another special type of crate: Relic Crates. They don't give you energy, but they contain adds that grant you buffs.

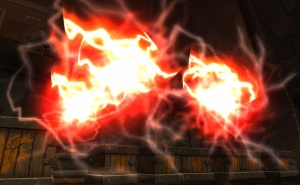
Heroic Add: Unstable Spark
The spawning of these Sparks has two consequences: First, the other group will run into trouble if you generate too many Sparks at once, and second, you should only open a few small crates, since while their adds are easy to kill, the Spark generated for the other group will negate this advantage.
Assign a ranged DPS to do the Sparks; Hunters are ideal for this. If many Sparks appear at once, this player will need brief assistance.
If your healer has the Relic Crate buff, they should position themselves so that their wave passes through the Sparks. A hit from the wave will reduce the Sparks' HP to approx. 30 %!
After entering a new room, always open the two Relic Crates first; their adds will grant you a buff once defeated.
These are the crates with the green symbol. Then open one large crate, followed by as many small and medium crates as needed,
until your progress reaches 36 energy. You can always open one medium and two small crates at the same time, or two medium and one small, or
whatever works best for you. Finish your run with the second large crate so that you end up with exactly 50 energy.
Use Bloodlust at some point in the second room, e.g. when you’re facing a large crate's enemy but don’t have any cooldowns available.
There is no one-size-fits-all solution for your speed and the order in which you open the crates. During your first attempts at this fight, make sure to find a rhythm for your setup. Let the other group know if you’re about to kill the adds from multiple crates at once. While fighting one of the large mobs, you can always additionally open a small crate and cleave it alongside the large mob.
Relic Crates
There are two of them in each room, marked by a green icon. Open them first. Once the first mob is safely tanked,
you can head over to the second Relic Crate and open that one as well.
Each Relic Crate contains one of three possible Pandaren Spirits, which will grant you a tank, healer, or DPS buff
after you’ve defeated it. Activate the buff by clicking on it.
Since there are only two Relic Crates per room, this means that one of your roles will come up empty in each room.
In the second room, open these crates first as well. By then, you’ve likely already lost the previous buffs, as they only last three minutes.
The Spirits don’t die; instead, they become friendly at the end, giving you no energy and your “partner group” no Spark.

Add: Ancient Brewmaster Spirit
The item dropped by this Spirit buffs your tank with Blade of the Hundred Steps. This effect deals high additional damage and also stuns enemies that are immune to regular stuns (e.g. the mobs from the large crates).

Add: Wise Mistweaver Spirit
The item dropped by this Spirit buffs your healer with Staff of Resonating Water. Your healer should always face the Unstable Sparks to hit them with the waves emitted. Ideally, they should also face the group at the same time so that you can benefit from the extra healing.

Add: Nameless Windwalker Spirit
The item dropped by this Spirit buffs your DPS with Claw of Burning Anger, which deals additional fire damage to your current target.
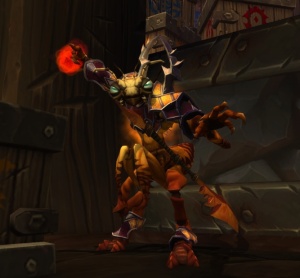
Mogu Crates
Most of the Mogu Crates can be defeated with blunt damage. Of course, you’ll need to move out of the way of all AoE damage, but there are hardly any critical abilities. The most dangerous mobs are the Anima Golem, with its healing pools and Matter Scramble, and the mini-bosses that spawn from the large Crates, as they deal a great deal of unavoidable damage.

Small: Animated Stone Mogu
Earthen Shard is a spell with 1.5 seconds cast time that deals approx. 90 k nature damage and should also be interrupted if possible.
This add is harmless, even if its spells manage to get through.
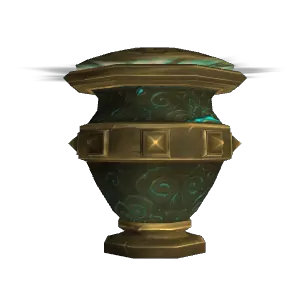
Small: Burial Urn
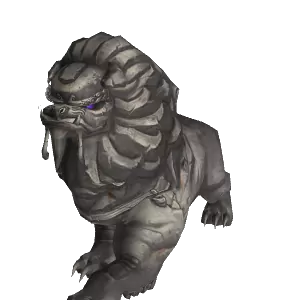
Small: Quilen Guardian

Medium: Modified Anima Golem
If you're unlucky, the Pandaren Spirit's tank buff will stun enemies in the pools. Unfortunately, there's nothing you can do about it, and you may have to delay the next set of crates slightly due to the additional damage required to counter the enemy's healing.

Medium: Mogu Shadow Ritualist
Torment is a debuff without a duration that deals 150,000 damage initially and deals increasing damage per second over time. If you dispel it, it jumps to another player, dealing the initial damage again, but resetting the DoT damage to its original value. If the Ritualist dies, the DoT fades. As a rule of thumb, you can dispel it after 8 to 12 seconds of duration.
Forbidden Magic must be interrupted and deals channelled damage to a target at approximately 120 k DPS.
The Mogu Rune of Power increases the speed of all enemies standing within it by 150 %. Pull everyone out immediately! Even though it may sound like you could also benefit from this effect, that is unfortunately not the case.

Large: Mogu Elder
At the start, the bosses buff themselves with the Strength of the Stone and thereby deal 20 % more damage by default. Every 12 seconds, the bosses cast Return to Stone, which summons two Stone Statues on players which launch frontal attacks, which you must run out of. Otherwise, you will take approx. 200 k damage and be stunned for four seconds.
They do not need to be tanked and increase the Mogu Elder’s damage by 20 % per active statue. They are your top priority.
The bosses’ main attack is an AoE ability (see the list above), which hits every player in the group and deals 360 k damage (default boss buff already factored in). So if you have two Stone Statues active, the AoE already deals 480 k damage. The AoE damage comes about six seconds after the Stone Statues, so try to kill both of them beforehand. The Statues have about 1.3 million HP.
A Rogue can use their Smoke Bomb to negate the effect of one of the AoE spells for the ranged players if they place it on the boss.
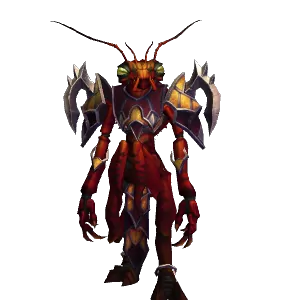
Mantid Crates
Unlike the Mogu Crates, you're up against more dangerous abilities here that require greater concentration. The Windstorm and the Gusting Bombs can deal large damage if not handled properly; the mini-bosses' ability Set to Blow forces you to briefly step back, and you’ll also have to deal with rage effects and enemy buffs. You might want to consider using Bloodlust during the first mini-boss fight.

Small: Sri'thik Bombardiers
They occasionally throw Gusting Bombs at players standing outside melee range; these explode at a 5-yard range and leave a trail on their way to the player that lasts 5 seconds and deals damage upon contact.
Spreading out is therefore recommended, as it is throughout the entire boss fight anyway.

Small: Amber-Encased Kunchongs

Small: Kor'thik Warcallers

Medium: Zar'thik Amber Priests
Every now and then, he summons an add, which only does regular melee attacks. More adds appear with each cast, so don’t let the Priest live too long.
He also grants a buff to enemies: Residues, which he casts on himself and nearby allies. For 12 seconds, the buff heals nearby allies for 300 k health every three seconds. However, the healing is not per target but is shared. Mass Dispel, Dispel Magic, Purge, or Spellsteal work here. The mage even benefits from the healing afterwards.
Medium: Set'thik Wind Wielders
Using Rage of the Empress, he also buffs nearby allies with +50 % damage for 30 seconds. This must be removed. Once again, make us of Mass Dispel, Dispel Magic, Purge, or Spellsteal. Previously, the Mage benefited from this stealable buff, but this was later removed. It remains to be seen whether this will work in MoP Classic or not.
Large: Commander
He has only one other ability: Set to Blow. About every 10 seconds, a player is given five stacks of a bomb debuff, which explodes after 15 seconds, dealing approx. 400 k damage per stack. To prevent this, you can use the Extra Action Button to drop these bombs so they lie on the ground and, after a short time, start a thirty-second explosion timer. This timer is visible as a small icon on the bomb, and the 9-yard explosion radius is also visible.
If you enter the bomb’s circle, it will detonate and trigger nearby bombs as well.
To avoid filling the entire room with bombs, affected players immediately run either to an empty corner of the room or to the previous room (if you’re in the group tackling the Mantid room second) and drop their bombs. The Extra Action Button has only a minimal cooldown, so all five bombs can be placed within about two seconds. If you’ve blocked your own path, the bombs can be removed using immunity effects, so you don’t have to wait for the automatic explosion after 30 seconds.
Recommended Strategy
In each room, you need to collect 50 energy. You can do this by following the steps listed below.
After jumping down, it takes a moment before the Crates
become clickable. Make sure you open the Crates seamlessly. In other words, whenever you’re almost done with one Crate, open the next one(s) right away.
By default, you should open 2 Large, 6 Medium, and 4 Small Crates (2*14 + 6*3 + 4*1 = 50). This minimizes the Unstable Sparks for the other team.
Your tank should have control over the Crates. Depending on the situation, they can instruct players to open Crates that are farther away.
- Open both Relic Crates. The Brewmaster and the Mistweaver can be a bit tricky when they’re standing on top of each other: The Mistweaver pulls you towards her, while the Brewmaster spins around with his Breath of Fire. Analyse if it's better for your team to open these Crates in a more staggered pattern.
- Open a Small Crate along with the second Relic Crate.
- Once both Relic Crates and the Small one are almost finished, open a Large one.
- If the mini-boss’s HP is low, open one Medium and two Small Crates. You’ll then have 20 energy.
- Open another Medium and two Small Crates. Open another Small Crate offset from the others as soon as one of them is finished. You’ll then have 26 energy
- Open one Medium and one Small Crate. If these have already taken a fair amount of damage, open another Medium one. You will then be at 33 energy.
- If only your Medium Crate is left, open another Medium one, then a Large one, and you're done.
The list above is one viable option. As you can see, it opens a total of 5 Medium and 7 Small Crates. You can also replace three Small Crates
with one Medium Crate, in which case the other group will get two Sparks less.
To do this, you could open two Medium Crates (and no Small ones) in step 4 and
one less Small Crate in step 5. For this purpose, make sure to leave two Medium Crates that are close to each other.
As mentioned earlier, there is an infinite number of ways to
handle this. If you notice you have spare capacity, you can open more Crates parallely. If you die to the Berserk Timer, you must open more
Crates simultaneously or better balance your groups. If you always have downtime between Crates, it will quickly cost you
half a minute per room!
Kill Video
This video shows our first kill on November 18, 2013, from our Brewmaster's perspective.
Common Reasons for Wiping
- Unstable Spark Explosion: You’ll probably see this a few times until you get the hang of it.
- Matter Scramble: Even though you only have to stand inside two light beams, it’s not always that easy in some situations.
- Crate Extravaganza: Too many crates are opened and too many mobs are killed in quick succession without regard for the other group.
- Berserk: If you have little Heroic gear yet, you’ll need to step up your game. Don’t let any downtime without adds occur and open as many chests as you and the other group (as Sparks) can handle.
TL;DR
- Split into two groups of equal strength. Both should ideally have BL and a BR, an offensive dispel, and de-enrage.
- In each room, you must collect 50 energy to activate the lever. Large Crates: 14 energy, Medium: 3, Small: 1.
- Killing the mobs of a Crate creates an Unstable Spark for the other group, which must be killed before its spell goes off (10 s).
- Example Procedure
- Ranged player should spread out slightly throughout the entire fight. There are many AoE abilities.
- Stay out of all voids and effects. Except for the large red beams: one player must stand in each one!
- Place your bombs far away and not in areas you still need to reach.
- If the healer has received the Relic buff, they should position themselves in a way they hit the Unstable Sparks and the group in front of them.
Class Tips: Rogue
- The bombs on the ground from Set to Blow
- The AoE from the Mogu mini-bosses
If you put a Smoke Bomb under a Mogu mini-boss, ranged player will take no damage from their AoE attack. You personally should use Feint, unless the healer has everything under control. If possible, spec to Combat, as this specialization is very strong here since you always have enough enemies available for Blade Flurry.
Addendum: Splitting your Raid into Groups
Here is an example of how the two groups can be divided for the encounter. Let's take this setup as a yet unsorted example.

Both tanks now get assigned to separate groups, with one Hunter in each group. Now we need to decide where to
assign the healers. I would assign the Discipline Priest to the Monk tank, since the Monk potentially needs less healing than the Death Knight, and this
allows the Discipline Priest to Smite more.
As an intermediate step, we get
these groups.
The Mage is put in Group 2 (the group the Shaman is not in), as this ensures we have Bloodlust in both groups. The Druid and Warlock can be assigned as needed. As long as
not both of them are in the same group with the Death Knight, both groups will have a Battle Ress. The Rogue takes the last available spot, so that
this setup
is created:

If your damage is unbalanced, you can swap the Warlock with the Balance Druid and the two Hunters with each other as adjustments.
If you want to put the Rogue into the Monk tank's group, the Rogue can only swap with the Mage. If you swap the Rogue with the Warlock,
there will be no BR
in the group; if the Rogue swaps with the Hunter, the best class for the Unstable Sparks is no longer there in this group.
If you swap the Rogue with the Mage, however, you’ll also have to swap the two healers or switch to
Drums of Rage,
since there will otherwise be no Bloodlust available in Group 2.
As you can see, in 10-man, the composition is largely determined by class buffs. You have very limited options for swapping players/roles without immediately suffering significant disadvantages.