
Quick Facts
Introduction
This fight was originally designed differently and could primarily be played in 25-man without sending DPS into the tests, which is one of this boss’s core mechanics. After various issues and some back-and-forth, Blizzard has modified this fight so that it plays almost exactly like Normal Mode. This change makes the fight exceptionally easy. You don’t actually fight Norushen himself, but rather an Amalgam of Corruption that appears at the start of the fight.
To give you an idea of the difficulty: We were used to him from Normal Mode back then, and we died for the first time on Heroic after about 45 lockouts.
The fight consists of a single phase, and there are only a few abilities to watch out for, but they must be handled correctly,
otherwise players can die quickly.
The key mechanic of the fight is corruption, which is displayed as a separate bar and negatively affects the player's damage
dealt to the boss. Adds are not affected by this!
A player’s corruption can be reduced to 0 through a role-based test.
At the start of the fight, all players have 75 % corruption, causing them to deal significantly less damage to the boss.
The goal is for all players to reduce their corruption to 0. DPS keep it at 0, while tanks and possibly healers occasionally
gain some corruption by handling mechanics.
Bloodlust
Once all DPS are at 0 corruption, you can use BL at 50 % boss HP. Before that, you shouldn't let the boss drop to 50 %, because once he reaches that point, he spawns a large add every 10 % and his raid-wide damage, which grows stronger as his health decreases, gradually becomes a problem. According to the encounter strategy, DPS reduce their corruption to 0 once and do not ever increase it again. If you have trouble with the increasing AoE damage towards the end of the fight, you can also use Bloodlust to support your healers and time it so that it expires at the end of the fight.
Tests
You enter tests by clicking on one of the yellow orbs in the arena that appear when the fight begins. Tests take place in a separate phase of the room, accessible only to the player in question. You have one minute to complete a test. If you fail the test, there are consequences, which are described in the sections on the individual tests.
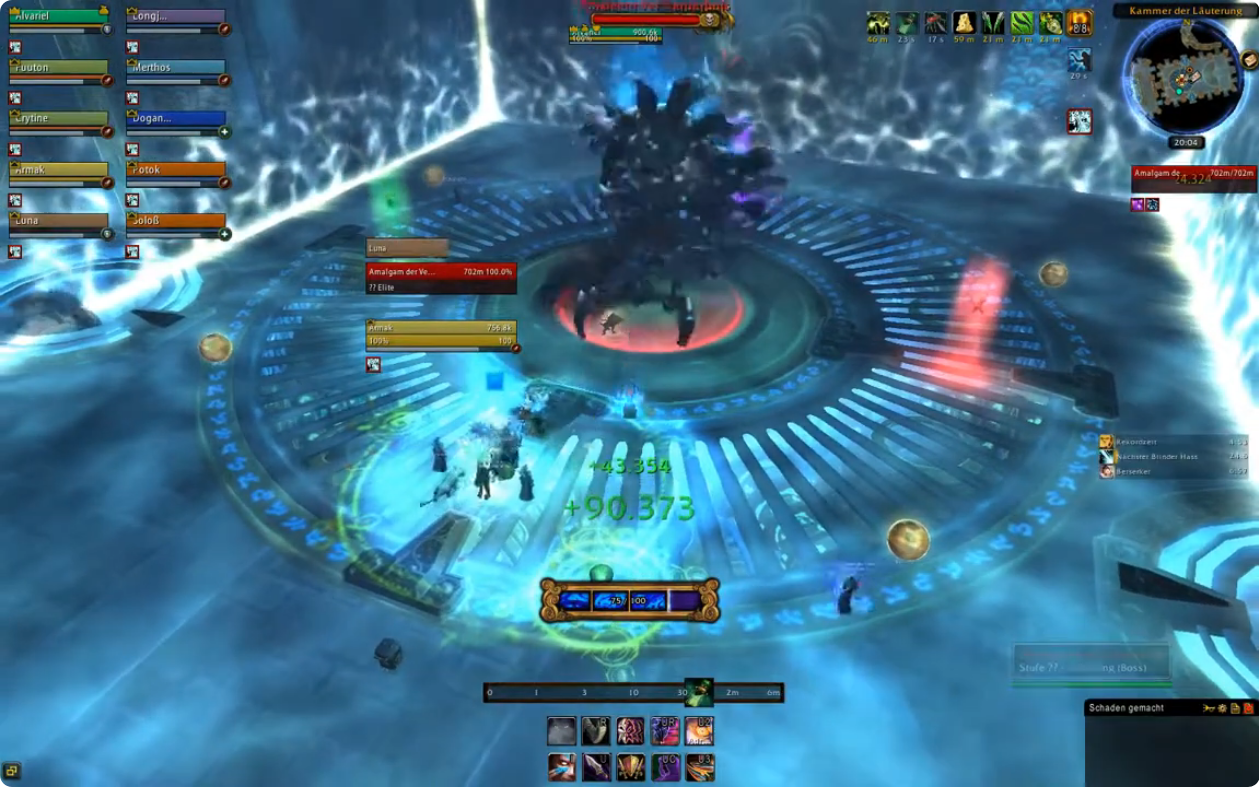
Four orbs appear in 10-man. During a test, the corresponding orb is invisible, so
a maximum of four tests can be running at the same time.
Successfully completed tests reset a player’s corruption to 0 and allow full damage to be dealt to the boss.
After a successful test, tanks and healers also receive a 90-second buff that reduces damage taken or increases healing, respectively.
These buffs are
not crucial for the success of the fight; what matters is that the corruption-free DPS can deal full damage to the boss.
Immediately after successfully completing a test, when you return to the rest of the raid, you are immune to damage for five seconds,
so as not to be caught off guard by boss abilities.
To be clear: As long as you have 0 corruption, you deal full damage to the boss. This is, so to speak, the DPS buff
of the fight. Each point of corruption gradually reduces the damage you deal to the boss.
In addition, there are the 90-second buffs for tanks and healers mentioned above.
Corruption does not affect the damage you deal to the adds.
Tank Test
In the tank test, you’ll face a mini-boss called Titanic Corruption that you have to kill.
You must interrupt Hurl Corruption.
The ability comes around every 20 seconds and deals 1 million damage, which you cannot absorb.
Titanic Smash is a two-second spell that causes the boss to
cast a cone-shaped frontal attack, which is cast approx. every 15 seconds.
If you stand in it, you will take 1.5 million physical damage. Be sure to dodge this. The attack is not signaled by a ground effect,
but only by the spell bar!
The other two abilities,
Piercing Corruption and
Burst of Corruption, must be tanked. Since these
deal 800 k physical damage and 500 k magic damage, they are likely intended to
“test” your small cooldown abilities and mitigation.
The add has about 6.5 million health, so you must deliver at least 110,000 DPS over the course of a minute. If you don’t kill the add in time,
you won’t receive the tank buff, won’t be immune to damage for a short time, your corruption won’t be set to zero,
and you’ll spawn an additional add (Manifestation of Corruption) to be killed by the raid.
Skilled tanks (especially Monks and Paladins, as always) can use cooldowns to receive damage from Hurl Corruption and Titanic Smash. The vengeance they gain allows them to finish their test very quickly.
- 0:08 Hurl Corruption (interrupt)
- 0:10 Titanic Smash (dodge)
- 0:14 Piercing Corruption (physical)
- 0:24 Burst of Corruption (magic)
- 0:26 Titanic Smash (dodge)
- 0:30 Hurl Corruption (interrupt)
- 0:33 Piercing Corruption (physical)
- 0:39 Titanic Smash (dodge)
- 0:45 Burst of Corruption (magic)
- 0:49 Hurl Corruption (interrupt)
- 0:51 Titanic Smash (dodge)
Healer Test
In the healer test, you must keep yourself and three friendly NPCs, who are fighting an add, alive. The more health the NPCs have,
the more damage they deal. Dodge the small void that occasionally appears beneath you
and be sure to dispel the Lingering Corruption debuff
that appears on you or the NPCs. Since the NPCs only have about 470–700 k health, failing to dispel this will almost certainly result in a failure.
You can display the NPCs as boss frames. Leven Dawnblade is the group’s tank.
The test ends when the add is dead. If you fail to kill the add (centre if the NPCs consistently had too little health), then
you will not gain a healer buff, you will not be immune to damage for a short time, your corruption will not be set to zero,
and you’ll spawn an additional add (Manifestation of Corruption) to be killed by the raid.
DPS Test
In this test, you’ll face adds similar to the Proving Grounds introduced in Patch 5.4.
The number of adds you face depends on your corruption level. Since you’re only supposed to enter the test once during the fight
with 75 Corruption, the number of adds will always be the same.
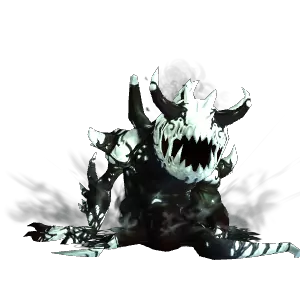
A Manifestation of Corruption spawns in the centre, moves
towards you, and casts a cone-shaped frontal attack that you must dodge. It has approximately 1.4 million HP. One of these adds always spawns,
regardless of how much corruption you had when you entered the test. If you kill it, 40 Corruption is immediately deducted from you.
Small stationary Essences of Corruption with approx. 1 million HP appear on the outside. The number of these depends on your corruption.
A small add deducts 15 corruption upon its death. There are always enough small adds that, together with the large add that deducts 40 corruption,
you can reach 0 corruption. So at 75 corruption, that means 3 small adds.
The small adds have shields in front of them, so you have to attack from behind. These adds occasionally fire a projectile,
but you can easily dodge it. The projectiles deal about 130,000 damage, so it's not a big deal.
Main Fight Abilities
Ability: Self Doubt
Ability: Icy Fear
Ability: Blind Hatred
Ability: Frayed

Add: Manifestation of Corruption (large Add)
- A tank or healer fails their test (should never happen)
- A DPS kills the large add during their test (occurs up to six times in a standard setup)
- Starting at 50 % boss HP, one spawns every 10 %.
They must be tanked and continuously deal 75,000 raid-wide shadow damage via Burst of Anger. You can stun the adds, but that does not prevent this damage.
As soon as an add appears, it is the absolute priority target. You’ll have to figure out for yourselves to what extent you can only cleave them and whether players really need to switch targets specifically. It all depends on your setup and the healers, and how they handle the constant raid-wide damage these adds cause.
At the start, for example, you could have players who still have corruption switch to the adds, since they will then deal 100 % damage to both the add and the boss. Players who are already at 0 corruption could just passively cleave.
However, if you want to play it safe for your first kill, have all players focus on them.
When they die, they leave behind a small void that deals 120,000 raid-wide shadow damage every three seconds, which disappears upon touch, and generates 25 corruption on that player.
Voids can only be removed if the player stepping on them has a maximum of 75 corruption.
DPS should only collect the void in an absolute emergency, such as if there are problems shortly before the kill. Stand inside the dying add to get rid of the void as quickly as possible.
Add: Essence of Corruption (small Add)
Encounter Strategy
The most important task in preparing for the fight is to establish an order in which players reset their corruption and how to remove the puddles left behind by the large adds. The order of the tests might look something like this:
- Tank1, Healer1, DPS1, DPS2
- Tank2, Healer2, DPS3, DPS4
- Tank1, DPS5
- Tank2, DPS6
- Get the boss down to 50 %!
The tanks take turns entering the test and collect corruption in between; this works well with taunting due to the tank debuff.
If you have a Discipline Priest or Mistweaver Monk in the group, they should go down with the first group and only collect corruption as a last resort.
They benefit twice: from the 90-second healing buff and from dealing full damage to the boss due to the 0 corruption.
This is an advanced tactic, as having two DPS in the test at the same time spawns several adds for the raid to handle.
You can also send down just one DPS at a time, but then you won’t be able to get everyone down to 0 corruption, as it takes too long.
This fight can be approached in many different ways. If you can kill the boss within 7 minutes, your strategy is working.
In any case, if you’re playing it as described above, it’s advisable for DPS1 to kill their large add first and then the small ones. DPS2 should do the opposite.
Having two large adds in the raid at the same time is challenging to handle. Always call out when you’re killing your large add so the raid can switch
targets immediately.
Also decide beforehand whether you always want test groups having cleared their tests in their entirety first, or whether DPS3, for example,
can start their test as soon as DPS1 has finished theirs.
If you have trouble handling the large add from DPS5 or DPS6, have them kill it last so they can immediately help eliminate it afterwards.
You now need a plan for who will collect the voids. If you send all 6 DPS into the test, that’s 6 large adds. Additionally, starting at
50 % boss HP, a total of 5 adds appear every 10 % thereafter. So in total, you’ll need to collect the voids from 11 adds.
If you have a lot of damage and healing
available, you could off-tank the last add at 10 % boss HP and ignore it. However, this is expressly not recommended for the first few kills.
Below is a void plan for the test order described above.
- The first void (DPS1's test) is soaked by the current tank (who then has 100 corruption).
- Healer2 takes the second void (DPS2's test) (and then has 100 corruption).
- From this point on, the tank who has just been cleansed can always take up to four voids - that works out. A healer who is not a Discipline Priest or Mistweaver Monk serves as a backup.
If you notice that, for example, DPS5 is still in the test but the boss is already nearing 50 %, then you shouldn't let DPS6 do their test but push the boss instead.
Of course, you can try to let both DPS5 and DPS6 go into the test at the same time. A third time with two large adds right after each other followed by another add at 50 % boss HP will be challenging to heal at the beginning without SoO gear, however.
In general, try to stay together as a group during the fight so that healing ground effects can do their work. It’s best to give the two healers a raid mark for this purpose. They should then always position themselves behind Blind Hatred as soon as it starts moving.
Kill Video
This video is our first kill from October 10, 2013, as seen from our Brewmaster's perspective.
Common Reasons for Wiping
- Blind Hatred: The beam is ignored (one-hit mechanic).
- Failing to Follow Examination Regulations: Two or even three DPS players kill large adds simultaneously during their tests.
- Corruption: DPS gain corruption after their test, causing them to deal too little damage.
- Void Damage: The voids left behind by the Manifestations are not soaked up quickly enough by tanks/healers.
TL;DR
- Adds always take priority, including the one that appears when the boss is at 10 % HP unless stated otherwise.
- Do not get hit by the beam (Blind Hatred). It moves in a random direction for about three-quarters of a rotation.
- Only tanks and healers should build up corruption; DPS should complete their test once and then stay at 0 corruption, so they can deal full damage to the boss.
- Position yourselves between the small stationary adds and the boss to intercept their projectiles.
- If you're corrupted, always focus on the adds. You deal full damage to them, and they copy their received damage to the boss. Adds that spawn every 10 % from 50 % boss HP and onwards don't copy their received damage to the boss.
- Tank: You must kill your add. Interrupt its spell and dodge the frontal cone attack. Use small cooldowns for the other two special abilities.
- Healer: Keep your team alive and healthy – they deal more damage the more HP they have. Deal damage if possible. Leven Dawnbreak is the tank. Dispel the 10-second debuff, otherwise the test will likely fail. Dodge the void beneath you.
- DPS: Dodge the frontal cone attack of the large add. Depending on your plan, kill either the small adds first or the large add first.
- Determine an order for who takes which tests and when. Depending on your damage, it’s possible that only 4 or 5 DPS will need to do their tests.
Class Tips: Rogue
Cloak of Shadows can be used from time to time,
when large AoE damage is incoming, to prevent losing even more health. It can prevent the boss's AoE damage, the large adds' AoE damage and
the voids' damage.
As a Combat Rogue, however, Cloak of Shadows is used to prevent getting killed by
Blind Hatred during
Killing Spree.
Class Tips: Priest (Discipline)
Make sure you're assigned to a test at the very start of the fight, since you'll then benefit from both the 90-second healing buff
and the reset of your corruption level. Only at 0 corruption you can smite the boss effectively.
Prayer of Mending
should be kept on cooldown, and depending on whether you are grouped together or spread out,
Divine Star
or Cascade.
Spirit Shell can be used when things have calmed down a bit.
Experience shows that it gets used up quickly.