
Quick Facts
Introduction
General Nazgrim isn't just a single boss to fight; he comes with a large number of adds that must be killed.
He has three different stances, which he activates in the same order for one minute each (Battle Stance > Berserker Stance >
Defensive Stance).
A key aspect of the fight is his rage. Every 15 seconds, he uses the most expensive ability he can afford based on his rage level.
He gains rage through various circumstances during the fight, and one of your goals is to try to keep his rage level as low
as possible so that he never uses his more dangerous (more expensive) abilities.
If you’re having trouble healing, you can also three-heal the fight, though this significantly increases the fight duration, meaning you’ll face more
waves of adds than with two healers.
We’ll discuss a strategy designed to ensure a safe kill. This involves keeping the boss’s rage level as low as possible.
If you can handle a few War Songs and Ravagers, you can, of course, let him build up a certain amount of rage.
You can use Bloodlust either when the boss has 10 % HP left (see the relevant chapter) or during a Berserker Stance phase, along with your cooldowns. The phase starting at the 4-minute mark is ideal for this. For the first kill, however, it is recommended to save Bloodlust for the burn phase at the end.
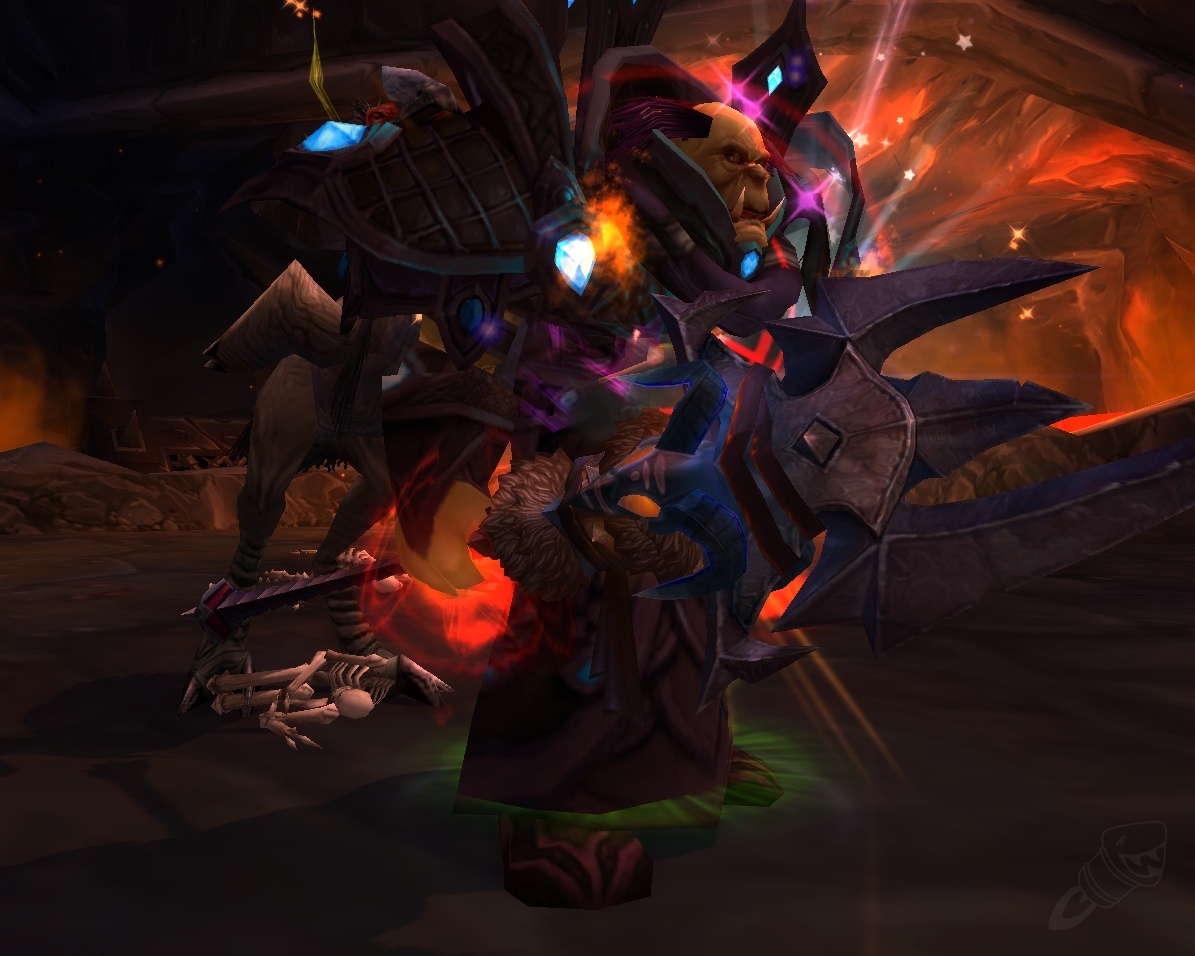
General Nazgrim
The boss starts the fight in Battle Stance at 0 rage. During the Defensive Stance, nobody except for the tanks and pets should attack the boss. Throughout the fight, you must constantly balance how much damage you deal to the boss with how quickly you kill the adds. To start with, it is recommended that you always put full focus on the adds.
- Battle Stance: Nazgrim gains one rage point per second.
- Berserker Stance: Nazgrim gains 100 % more rage and deals and takes 25 % more damage.
- Defensive Stance: Damage taken reduced by 10 %. Every attack (except from a tank or pets) generates rage.
His Berserker after 10 minutes can be shortly survived.
Standard Abilities
Nazgrim uses the following attacks throughout the entire fight. They do not cost rage.
Ability: Sundering Blow
During the Defensive Stance, attacks from the inactive tank do not increase the boss’s rage due to this debuff.
Ability: Bonecracker
Heroic Ability: Execute
Rage Abilities
Nazgrim uses the following abilities depending on his rage. About every 15 seconds, he uses the most expensive ability he can afford. Afterwards, he has the Cooling Off debuff for 15 seconds.
Ability: Heroic Shockwave (30 Rage)
Nazgrim will jump onto a random player and deal 400,000 physical damage to that player and everyone within a 10-yard radius. Therefore, stay spread out for the entire fight. Aftershocks radiate outwards in an X-shape from the impact point, triggering three seconds later and dealing 700,000 fire damage. Targets hit by Aftershock grant Nazgrim 3 rage. You must never stand in this area, as you will most likely die.

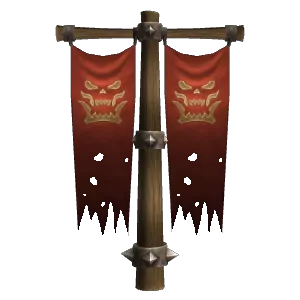
Ability: Kor'kron Banner (50 Rage)
Ability: War Song (70 Rage)
Ability: Ravager (100 Rage)
If you want faster kills later on, you can allow some Ravagers; however, this is strongly discouraged for your first attempts, as it will quickly make large parts of the room difficult to navigate or impassable.
Adds
During the first pull, Nazgrim has a few adds around him. Either reset the fight once or kill the adds that don’t have any special abilities. This fight is largely won by properly handling the add waves, during which you should take as much damage out of the equation as possible.
The order of the adds is fixed; you can find it in the timeline below. The add priority is as follows:
Shaman > Mage > Rogue > Warrior > Hunter. If the Shaman and Mage are present at the same time, assign a melee to
the Mage to interrupt and stun him, while the rest of your raid focuses on killing the Shaman first.
All adds are CC-able.

Add: Kor'kron Warshaman
The Healing Tide Totem heals 30 % of the maximum HP of all enemies within an 8-yard radius every three seconds. The totem has approximately 900k HP and must be attacked by everyone immediately before it starts ticking.
Furthermore, the Shaman casts Earth Shield on an ally, which heals them for 5 % of their HP per attack taken. You can remove it with an offensive dispel or ignore it, unless it’s on the boss.
Add: Kor'kron Arcweaver
The 2-second spell Magistrike deals approximately 300,000 damage to a player and 8 y in its vicinity and leaves a dispellable DoT on the affected players.
Finally, the Mage can blink away, which cannot be prevented.
As long as there is no Shaman in the wave, the Mage should barely be able to do anything because he will be focused on, every spell he casts will be interrupted, and he can also be stunned.

Add: Kor'kron Assassin
The Assassin’s normal attacks deal approximately 100 k to 120 k damage, depending on your armour.

Add: Kor'kron Ironblade
At 50 % HP, he uses Last Stand, but this is merely a small, unavoidable healing spell.

Heroic Add: Kor'kron Sniper
Strategy & Positioning
A large part of the fight will involve your tanks pulling the boss into the adds, or not, if circumstances prevent it. As long as
the adds are present, they are your priority target. Of course, you can always multi-dot the boss when he’s not in Defensive Stance.
If you look at our kill below, you’ll see that right at the start of the fight we pulled the boss to the other side of the room,
so that he’s closer to the adds’ spawn point. You should use the first 45 seconds to go all out on the boss, since that’s when the first
wave arrives (Mage, Rogue, Warrior).
Tank the boss near the Mage for as long as possible so your melee can do some cleave damage. The Mage will
probably blink away soon, though. You should always comfortably clear one wave of adds before the next one arrives so you can deal a few seconds of full damage
to the boss.
Spread out throughout the entire fight (> 10 y) so that only one player is hit by the Heroic Shockwave’s impact damage at a time.
At around 1:38 in our kill video, you’ll see that the Shaman appears close to the boss, the boss is immediately pulled away, and the Shaman is stunned.
You’ll need to figure out for yourselves how best to handle each of the upcoming waves.
During the Defensive Stance, the tanks will pull the boss far away so that accidental damage doesn’t generate rage.
So for each wave, work through the priority list of the
adds and make sure to always pull the boss far away from the Shaman. If the situation allows, pull the boss towards one of the adds
that the melees are targeting.
The dangerous waves are at 2:15 and 4:30, because both the Shaman and the Mage are present at the same time. Assign a player (preferably
a melee) to keep the Mage occupied until the rest of the raid has killed the Shaman and can switch their focus to the Mage.
< 10 % Boss-HP
When the boss's HP reaches 10 %, all adds spawn at once, even if a regular wave just appeared two seconds ago or a new one is about to appear in two seconds. So make sure to kill your current wave first!
It’s best to bring Nazgrim down to slightly above 10 % HP, kill your current wave as quickly as possible, and then start bursting. One of the tanks must tank the spawning adds, and you should pull the boss back to where he was standing before the fight began. Your ranged players can CC the adds from time to time. Make sure the boss is far enough away from the Shaman again. Since you’ll be using Bloodlust and should have major cooldowns ready, the remaining 10 % of the boss’s HP is not an issue.
The ideal conditions for starting the burn phase are met when:
- You've defeated the current wave of adds and still have some time before the next one.
- The boss isn't in Defensive Stance or is about to switch to it.
- The boss is in Berserker Stance or is about to switch to it.
- Your DPS players have all their cooldowns ready.
You'll have to figure out how many of these conditions need to be met in your raid. Keep in mind that you need to deal 52.3 million damage to the boss. With Bloodlust and cooldowns, this will likely take around 20–25 seconds. It will take a bit longer in Defensive Stance, but significantly less time in Berserker Stance.
Timetable
Sorted by add priority. Every minute, the boss cycles through the same sequence of stances: Battle Stance, Berserker Stance, Defensive Stance. Every 45 seconds, you’ll face a new wave of adds.
- 0:00 Battle Stance
- 0:45 Mage, Rogue, Warrior
- 1:00 Berserker Stance
- 1:30 Shaman, Rogue, Hunter
- 2:00 Defensive Stance
- 2:15 Shaman, Mage, Warrior
- 3:00 Battle Stance. Mage, Rogue, Hunter.
- 3:45 Shaman, Rogue, Warrior
- 4:00 Berserker Stance
- 4:30 Shaman, Mage, Hunter
- 5:00 Defensive Stance
- 5:15 Rogue, Hunter, Warrior
- 6:00 Battle Stance. Shaman, Mage, Rogue.
- 6:45 Shaman, Hunter, Warrior
- 7:00 Berserker Stance
- 7:30 Mage, Hunter, Warrior
- 8:00 Defensive Stance
- 9:00 Battle Stance
- 10:00 Berserker Stance & Berserker
Kill Video
This video shows our first kill on October 28, 2013, from our Brewmaster's perspective.
Common Reasons for Wiping
- Shockwave: It is almost always lethal and also increases the boss's rage.
- No CC on the Adds: Shamans and Mages in particular must be prevented from casting and should be subjected to long stuns.
- Ignoring Defensive Stance: If one or more players ignore this, Ravagers will quickly spawn, or the boss will cast his War Song too often.
- Healing on the Boss: If Earth Shield lands on the boss, dispel it immediately and stop dealing damage until then. Each tick heals the boss by 5 % (approx. 25 million). Chain Heal and the Totem heal him by 10 to potentially 30 %.
TL;DR
- Tank the boss where the adds spawn (opposite the side of the room where he stands before the fight begins).
- If a Shaman is in the add wave: Pull the boss at least 50 yards away from her so he doesn't get Earth Shield.
- Priority: Shaman, Mage, Rogue, Warrior, Hunter. All are CC-able; interrupt whatever you can.
- Melees do not target the Ironblade (the Warrior), as it is constantly spinning.
- If a Shaman and a Mage arrive together in a wave, have a melee handle the Mage while the rest kills the Shaman.
- Taunt the boss at have 3–4 debuff stacks to prevent him from gaining too much rage.
- Keep a close eye on his Execute, especially during Berserker Stance.
- No one except the tanks should attack the boss, as he would otherwise gain an extreme amount of rage. The only exception is the burn phase at the end, when your raidlead calls to play it despite Defensive Stance.
- All adds spawn simultaneously as a sort of special wave that must be off-tanked far away. The boss is tanked where he was standing before the fight began. Use Bloodlust and apply only a little CC to the adds at the off-tank's request. Only bring the boss down to 10 % once your current wave of adds is cleared and no new wave is about to spawn. Be ready for Ravagers or a War Song if the boss is currently in his Defensive Stance and you don’t want to wait.
Class Tips: Rogue
There are few tips you can give a Rogue for this fight.
Glyph of Redirect and
Glyph of Deadly Momentum are very useful due to the many adds.
Feint reduces the damage of
War Song and also
Aftershock, but you shouldn't get any damage from the latter.
You can stun and
dismantle,
so consider Prey on the Weak or
Paralytic Poison.
The Heroic Shockwave is more relevant to melees in general than specifically to Rogues: If one end of the Shockwave is
pointing towards you and you are currently fighting an add in the direction of the Shockwave, it can be challenging to see due to spell effects
and name tags. It’s better to play it safe and take a step to the side.
Class Tips: Priest (Discipline)
In this fight, aside from the War Song, which you should try not to get to often, there isn't much damage to worry about. Use Cascade or Halo, which you should use whenever your Meta Gem buff is active. You can always smite Nazgrim’s Banner; sometimes there are still adds around during that, and the DPS don’t immediately switch targets.