Quick Facts
Introduction
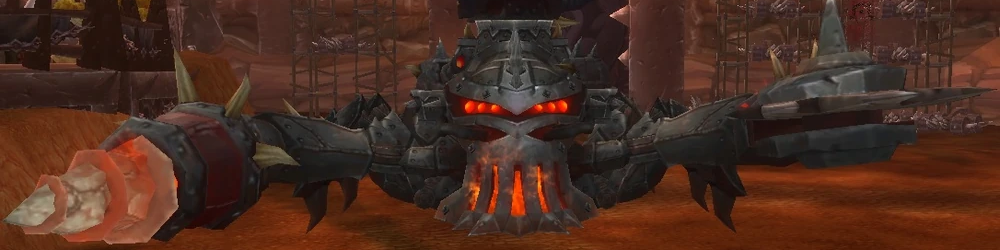
You continue your way past Galakras towards Orgrimmar, but are stopped by this steel scorpion. The fight is divided into two phases,
the Assault Phase (lasting two minutes) and the Siege Phase (lasting one minute). The boss switches back and forth between these phases and starts in
the Assault Phase.
The Berserk begins after 7:30 minutes and is survivable for a short time.
You can run the fight later with two healers, but you should keep in mind that they must collectively provide approximately 500 k HPS over an
extended period, including movement. So for the beginning, three healers are clearly recommended here.
Phase 1: Assault Phase
Tank the boss as he stands there before the pull and use Bloodlust. There is no incoming damage spike at the end and no burn phase,
so this is the best place to use all your cooldowns and trinkets. The boss deals a fair amount of avoidable damage to the raid. None of it
is lethal, but the combination of several abilities in quick succession can very well kill you. The abilities are also
unusually fast, which requires high concentration to avoid getting hit constantly. Make it as easy as possible for your healers
and dodge as much as you can.
Ranged players should stand about 8 yards apart from each other to the left of the boss (due to AoE abilities), and melees behind the boss.
The boss’s main attack on the tank deals frontal AoE damage, so never stand in front of the boss.
Ability: Flame Vents
Ability: Demolisher Cannons
Ability: Borer Drill
Ability: Laser Burn
Ability: Mortar Blast
Heroic Ability: Ricochet (Circular Saw)
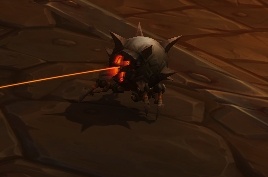
Ability: Crawler Mines
As explained above regarding the tank debuff, one tank will take two debuff stacks at the start of every Assault Phase and then deal with the three mines. After three stacks, they taunt off from the other tank, who then goes on a mine hunt of his own. If played correctly, you won’t need help from other players with the mines.
Phase 2: Siege Phase
During this phase, which lasts one minute, the boss remains stationary and does not need to be tanked. First, here is a description of all abilities; the sequence of events for this phase is described below.
Ability: Seismic Activity
Ability: Shock Pulse
This ability occurs three times during the Siege Phase.
Ability: Demolisher Cannons
Ability: Explosive Tar
The tar itself deals approximately 50 k DPS upon contact and slows movement speed by 30 %.
If a player being pursued by the Cutter Laser (see below) steps into the tar, a Tar Explosion will occur that deals approx. 450,000 raid-wide damage and will likely result in a wipe.
Ability: Cutter Laser
The Cutter Laser is signaled by a debuff and the typical “tracking eyes” above your character. A boss mod of your choice should also alert you, of course.
Ability: Crawler Mines
Heroic Ability: Mortar Barrage
This is the ability from the Assault Phase, except that it is cast extremely rapidly in succession, about three times per second for a duration of about 15 seconds, which would require a tremendous amount of dodges. This ability is bypassed by default (see Siege Phase breakdown).
However, if you want to stay close to the boss during the Siege Phase, you’ll likely need to factor in some additional incoming damage here.
So, during the Siege Phase, you’ll be dealing with a number of abilities that need to be handled within the single minute it lasts.
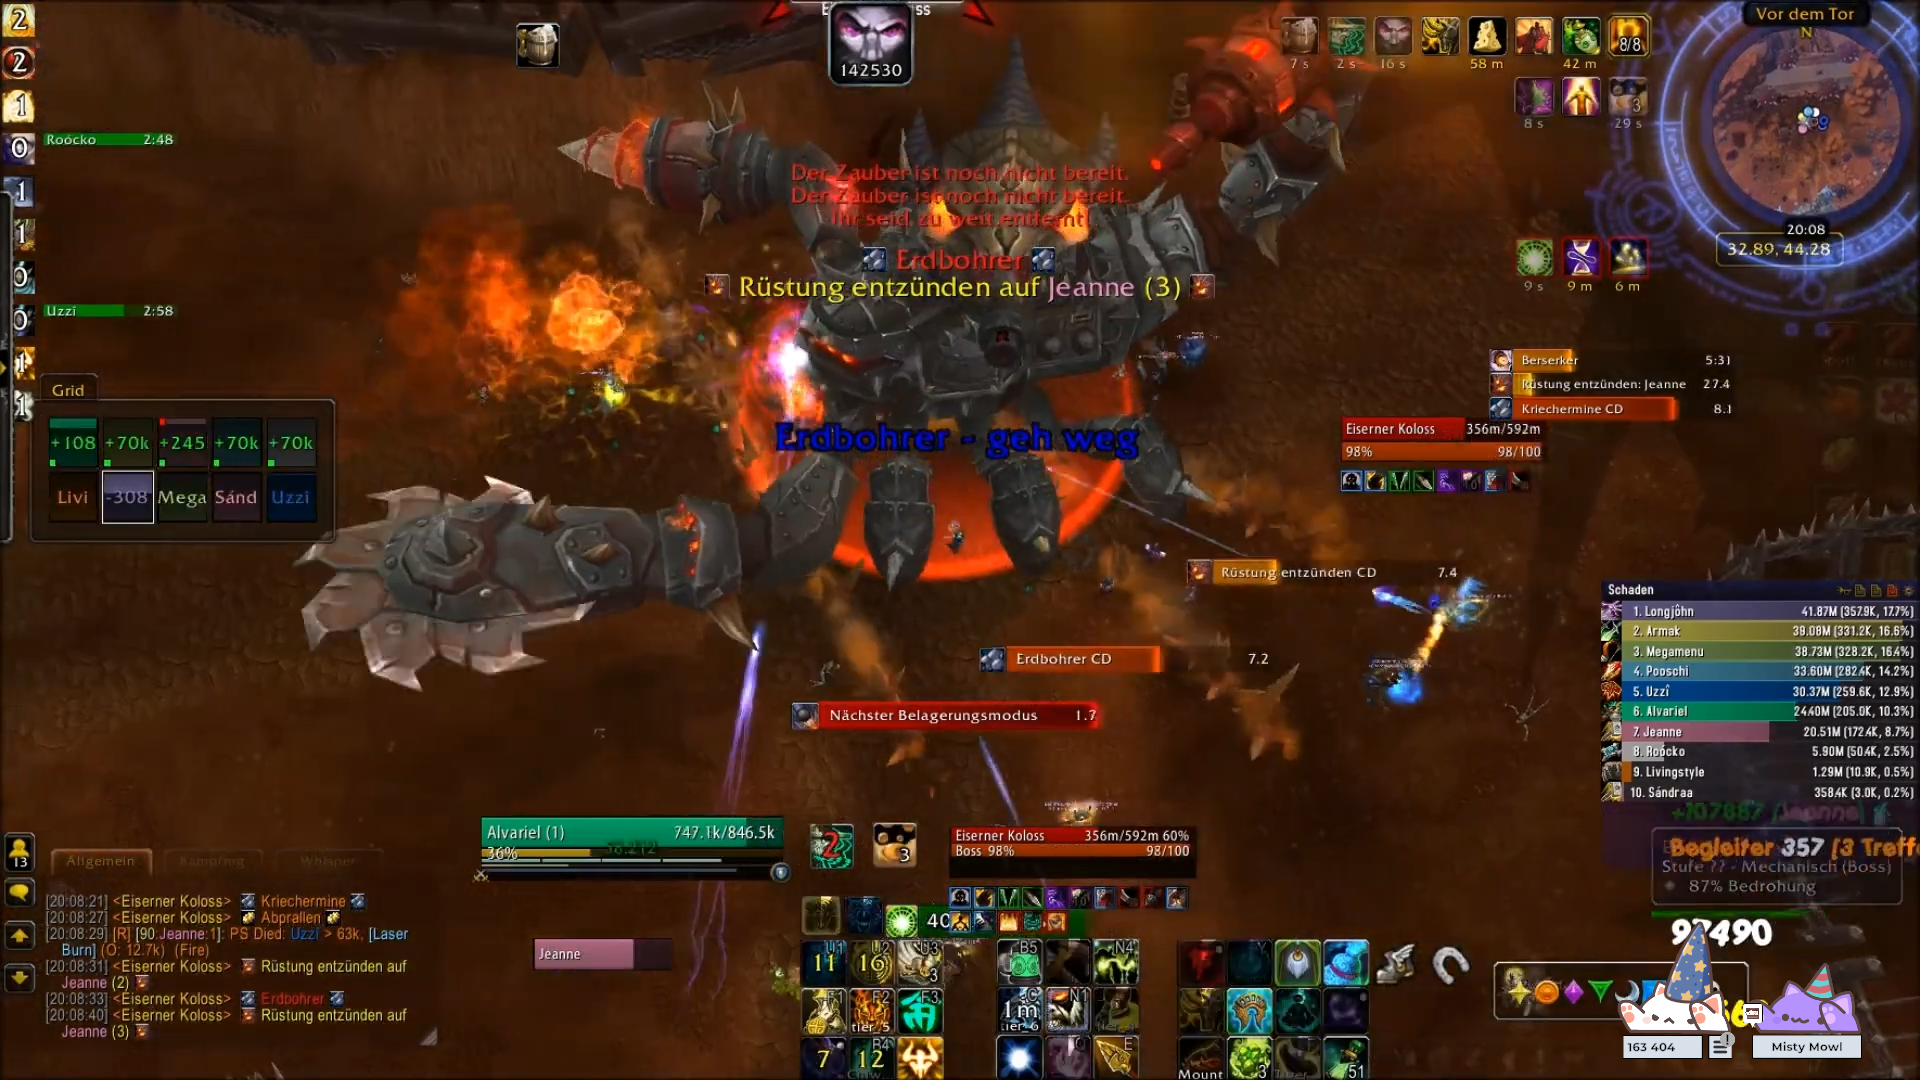
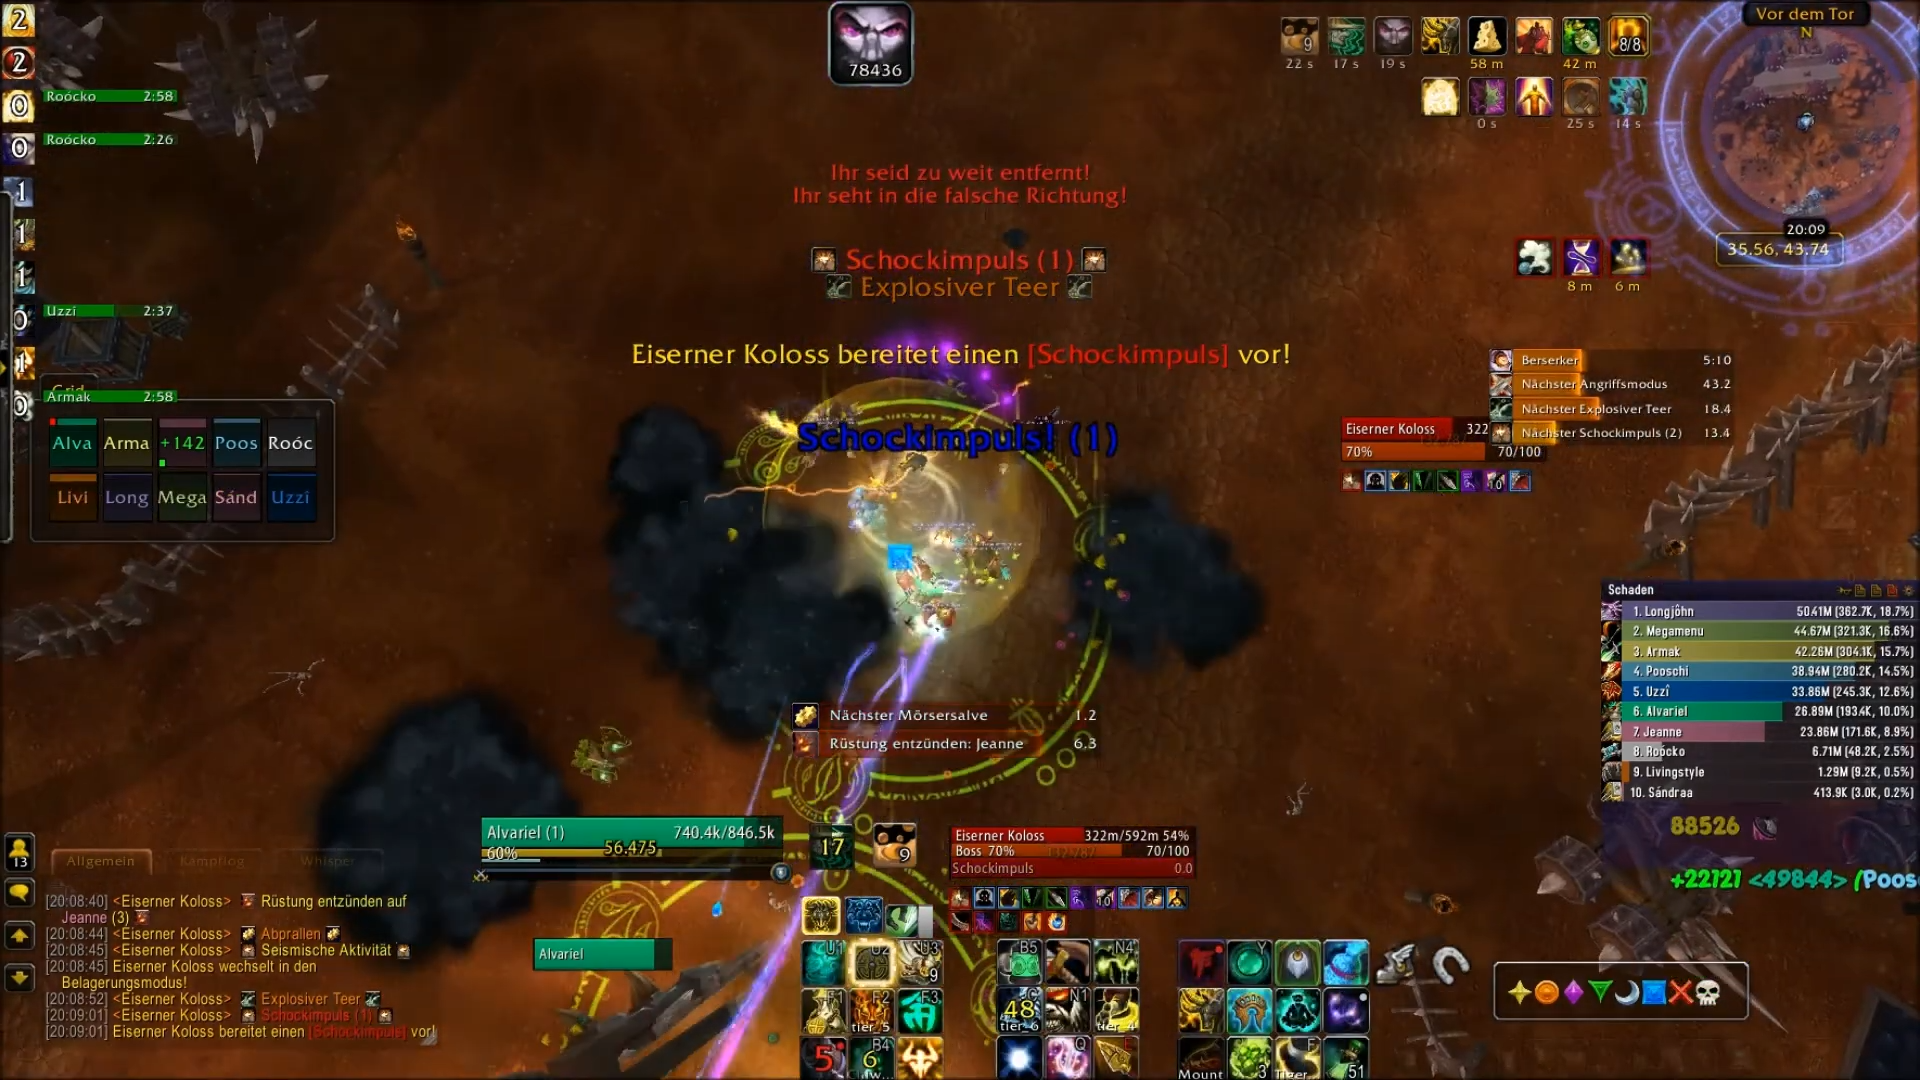
The biggest problem is the Mortar Barrage, which makes staying near the boss extremely difficult due to the sheer number of impacts.
You can see this in the screenshot below.
Due to the Mortar Barrage chaos around the boss,
a strategy has emerged where you don’t stay near the boss during the Siege Phase and therefore avoid dealing damage to the boss during this phase.
Otherwise, you’d have to find a good position so you aren’t constantly knocked back by the Shock Pulses and dodge the numerous voids.
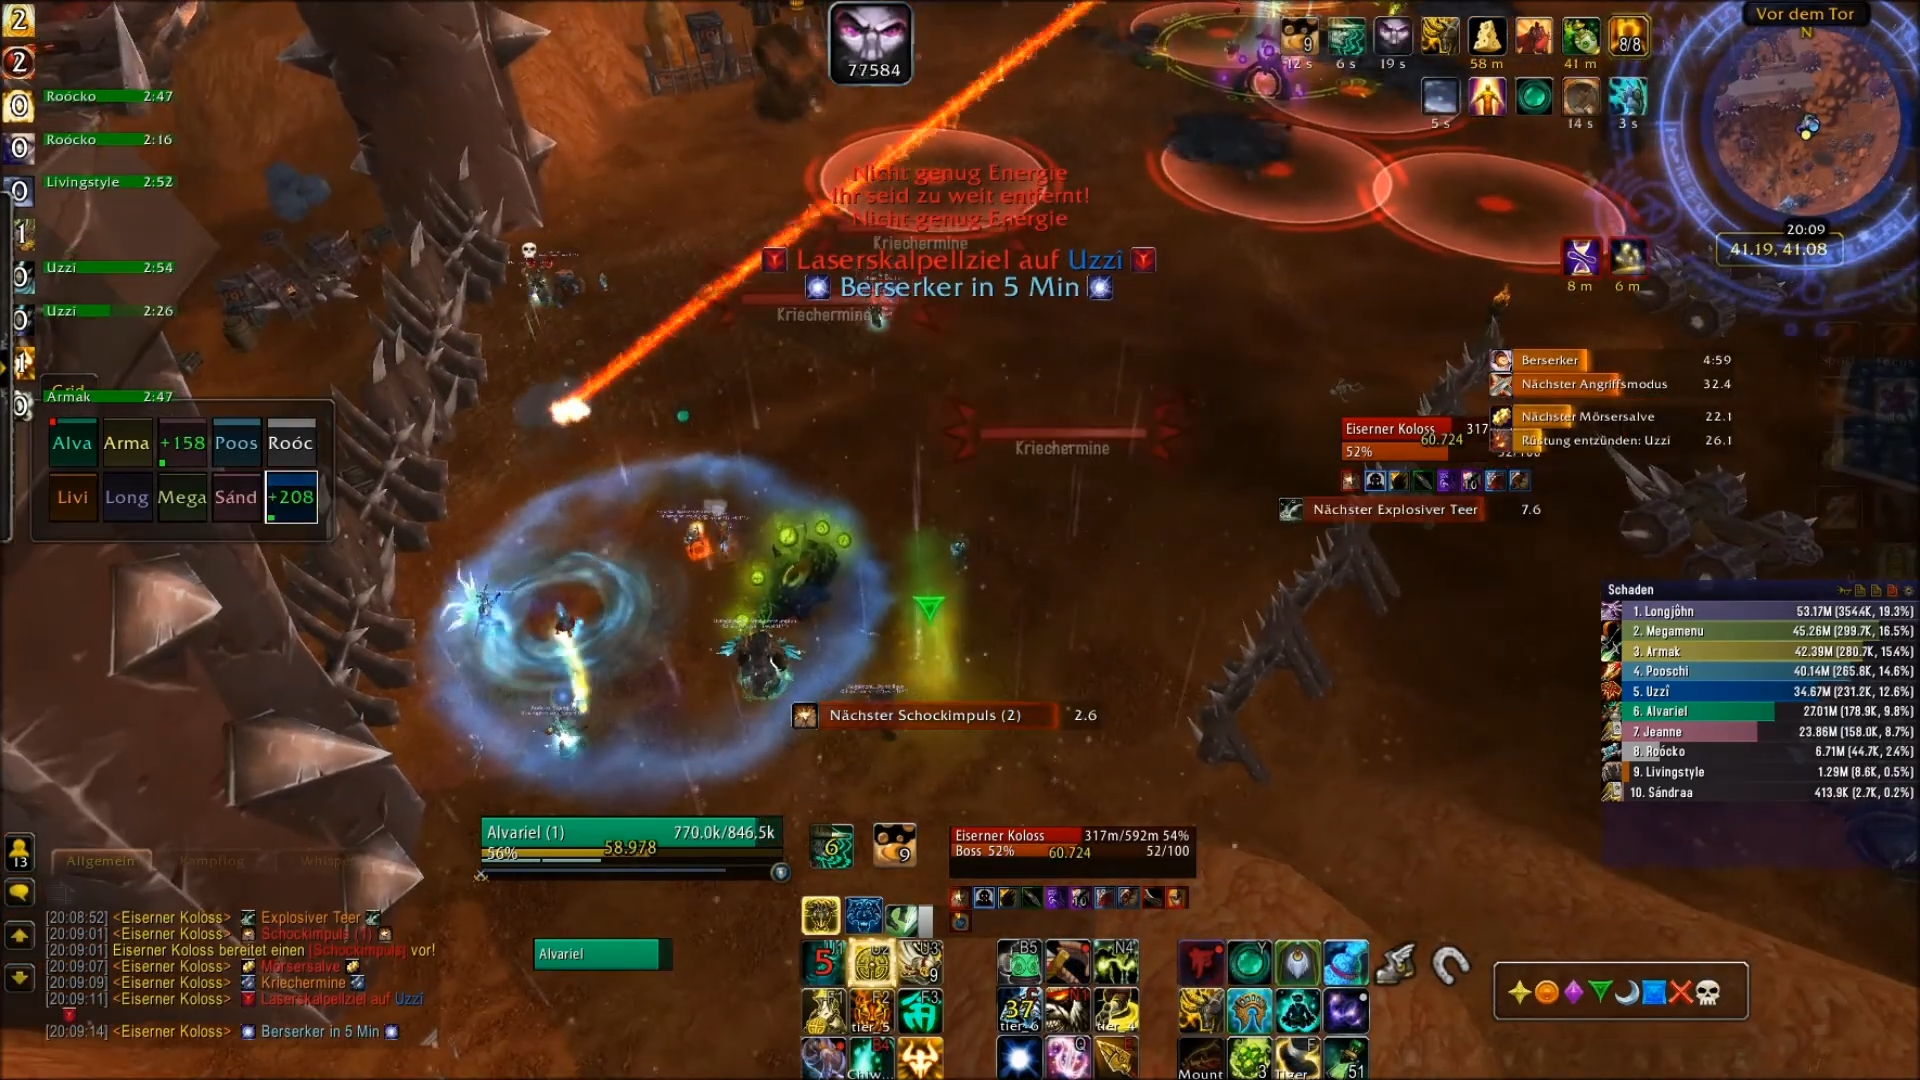
To avoid the danger of this phase, gather at the spot shown in the following screenshot before the first shockwave. It’s best to check out the
spot in our kill video starting at 2:20. After the Shock Pulse, you’ll land at the spot shown in the screenshot above.
Make sure no one is standing near the marker beforehand, or the tar might appear there. In the screenshot above, the tar makes the blue marker inaccesible, which is why the Barrier is placed slightly behind it. After you’re pushed back, the Mortar Barrage begins, and you’ll be far enough away from it. During this phase, the following order of abilities will occur.
- 0:00 The Siege Phase begins. Seismic Activity (unavoidable AoE damage throughout the phase) starts damaging your players. You're still located next to the boss.
- 0:07 Tar (1) gets sprayed onto the ground. Don't stand next to the world marker to keep it free from tar!
- 0:19 The Shock Pulse (1) kicks your raid away. Assign cooldowns to be placed at the world marker. From here on, you'll be in the eastern part of the arena.
- 0:22 The Mortar Barrage (1) starts, but since it's only around the boss, and you're far away, you don't need to dodge.
- 0:26 Cutter Laser (1). Because you've changed your location after the Tar (1), there shouldn't be any tar near you.
- 0:30 Three Crawler Mines (1) spawn.
- 0:30 Shock Pulse (2). Use Cooldowns and come together right before it.
- 0:45 Cutter Laser (2). Tar (2). Crawler Mines (2). Shock Pulse (3). This all happens within 5 seconds. Also use personal cooldowns alongside raid-wide cooldowns.
- 0:53 Mortar Barrage (2). As with the first one, you're not affected by it.
- 0:56 Cutter Laser (3).
- 1:03 The boss will start running towards your tank, who will then position the boss the same way as in the first Assault Phase at the start of the boss fight.
You’ll probably have to play through this phase a few times to get the hang of it. The beginning of the phase is calm, but starting
at the 45-second mark in the list above, things start happening very quickly, one after another. Spread out slightly throughout the entire
phase due to the random AoE damage of the Demolisher Cannons and the Cutter Laser
(8 y), but still try to make the most of any ground healing effects as well as you can. Save your cooldowns for the Shock Pulses;
experience shows that this is where most players die. Gather at a world marker shortly before they hit and spread again afterwards.
Personal immunities work very well for the third Shock Pulse, because all abilities are active at the same time there.
Three-minute cooldowns are always available at the same point throughout the entire fight, so you can maintain the same timing in every run of each phase.
Kill Video
This video is our first kill from October 21, 2013, as seen from our Brewmaster's perspective.
Common Reasons for Wiping
- Avoidable Damage: The biggest problem in this mechanically straightforward fight is the excessive damage taken if you fail to dodge the huge amount of abilities fired in rapid succession.
- Cutter Laser: The Cutter Laser during the Siege Phase must be kited instantly out of the group and must not, under any circumstances, come into contact with the tar.
- Mine Handling: Mines must never be allowed to detonate.
- Shock Pulse: The third Shock Pulse in particular requires good preparation and attention from all players. This is where most wipes take place.
TL;DR
- Positioning: Leave the boss in the same position he was in before the fight. Melees behind him, ranged players to the side at least 8 yards away. Do not stand behind the melees, otherwise abilities coming from the boss will constantly pass through them!
- Dodge everything you can! Constant damage from avoidable abilities puts too much strain on the healers.
- The first tank takes two stacks; taunt at three afterwards.
- Only the currently inactive tank triggers the Crawler Mines. This works very well with taunting to manage the tank debuff.
- General fight structure: 2 minutes in Assault Phase (until the boss has 100 energy), then gather inside a Barrier/Smoke Bomb, etc., and use the first Shock Pulse to get kicked back. Then play as passively as you can during the Siege Phase.
- Play as defensively as possible, since you won't be dealing any damage anyway.
- Stay slightly spread out (8 y), dodge everything, and carry the Cutter Laser out of the group and away from the tar, otherwise you'll wipe!
- Assign cooldowns for the Shock Pulses and use your personal cooldowns.
Class Tips: Brewmaster
For your talents, choose Dampen Harm
(because of the Crawler Mines) and Xuen,
since it’s a pure single-target fight.
During the Assault Phase, the first tank swap must occur at two stacks, and thereafter always at three,
otherwise you will run into problems with the Crawler Mines.
If you intercept these, keep Shuffle active whenever possible.
Otherwise, the following abilities are useful for the Crawlerg Mines: Guard,
Dampen Harm, and Fortifying Brew,
which you can use as needed, especially if you don't have full health and need to detonate the next mine.
Using Expel Harm, you can help your healers
get you back to full health quickly. Avert Harm
in combination with Zen Meditation are well-suited
to reducing group damage during the first Shock Pulse.
Class Tips: Rogue
Laser Burn can and should be removed using
Cloak of Shadows to relieve the healers.
It can also be used to prevent the damage and knockback of the Shock Pulse.
Since you do not attack during the Siege Phase, Feint
is mandatory there at all times.
As mentioned in the ability description above, the Crawler Mines can be triggered by talenting
Elusiveness in combination with
Glyph of Cloak of Shadows,
but it's best to leave that to other classes.
Especially if you're Combat, you can think about talenting
Leeching Poison,
since you'll often be hit by boss abilities during Killing Spree and this allows you to provide a large portion of your own healing.
A Feint before every Killing Spree (with Elusiveness) is also a good strategy.
Class Tips: Priest (Discipline)
In this fight, players will take damage from all sorts of sources. Make sure to dodge as many attacks as possible,
so you don't have to worry about yourself as well. When a tank is triggering the mines, you can pull him directly to the next mine using
Leap of Faith;
this makes it easier for them to trigger the mines within the time limit. Always give them a
Shield beforehand.
Depending on how you're positioned, choose Cascade or
Divine Star.
However, Cascade is usually the better choice, since you never really stand together. Before the first
Shock Pulse, you should use
Spirit Shell and use your
Barrier.
Use Cascade just before the next Shock Pulse (0.5 to 1 second) so that it can take effect immediately after the damage comes in.
Prayer of Mending is very powerful here.
Use it on cooldown; Glyph of Prayer of Mending
is also recommended.