
Quick Facts
Introduction
After taking the portal in the chamber of the Sha of Pride, you’ll end up in Durotar and slowly make your way towards Orgrimmar.
The dragon Galakras and his minions will throw a wrench in your plans. The fight is divided into two phases. In Phase 1,
you’ll kill waves of adds and defeat two mini-bosses on top of the towers and two on the ground. After that, you’ll shoot Galakras out of the sky and kill him
in Phase 2.
The fight isn’t difficult, but you should familiarize yourself with the abilities of the various adds and their priority order beforehand.
Since there are fundamentally different abilities and positioning strategies in both phases, you’ll find all the details in the corresponding sections. Speak
to Lor’themar Theron to start the fight.
During the fight, you’ll be supported by friendly NPCs. You can heal them, but you don’t have to as long as you prevent enemies from attacking them.
If one of the three “important” NPCs in the encounter, which are also displayed as boss frames, dies, the fight is over.
You can pull the enemy add waves into the blizzard cast by one of the NPCs, but this is usually not worth the trouble, as the spell is very unreliable.
Phase 1: Get her down!
During this phase, you’ll face waves of adds that emerge from the small ravine in front of you on a fixed timer. Unfortunately, you can’t speed up this phase, so after a few lockouts, this fight will start to slow you down more and more, and you’ll end up spending a lot of time waiting. Here’s how this phase plays out (approximate times).
- 0:02 1st Wave. 2 Bonecrushers, 1 Flagbearer, 2 Grunts. Tower Grunt (left).
- 0:58 2nd Wave. 1 Tidal Shaman, 2 Flagbearers, 1 Flameslinger, 3 Grunts. Tower Grunt (left).
- 1:50 3rd Wave. Mini-boss (Korgra and her two adds).
- 2:02 Tower Grunt (left).
- 2:17 Kor'kron Demolisher (spawns from afar). Go up the tower after/shortly before its destruction (Kugruk; left/south).
- 2:44 Two Proto-drakes.
- 3:02 Tower Grunt (right).
- 3:40 4th Wave. Mini-boss (Thranok), 1 Tidal Shaman, 1 Flagbearer, 1 Grunt.
- 4:02 Tower Grunt (right).
- 4:35 5th Wave. 1 Bonecrusher, 1 Flagbearer, 1 Grunt.
- 5:02 Tower Grunt (right).
- 5:14 Kor'kron Demolisher (spawns from afar). Go up the tower after/shortly before its destruction (Dagryn; right/north).
- 5:30 6th Wave. 2 Flagbearers, 1 Tidal Shaman, 2 Flameslingers, 1 Grunt.
- 6:25 7th Wave. 1 Bonecrusher, 1 Tidal Shaman, 1 Flagbearer, 1 Grunt.
- 7:20 Two Proto-drakes.
- 8:16 8th Wave. Unfortunately, I couldn't find anything about this wave. This wave only spawns if you're having low damage, it's taking you a long time to destroy the last tower, or if the Demolition Experts have been killed.
The goal of this phase is to capture both towers and use their cannons to bring Galakras down with a simultaneous shot,
thereby triggering Phase 2. In Heroic Mode, a friendly NPC (Demolition Expert) will open the towers, a process that
takes about 90 seconds each time. First, he takes care of the left tower, then the right one.
Whenever a tower door is blown open, a pre-designated tower group first engages the spawning Demolisher with the rest of the raid and then climbs the tower,
to kill the mini-boss there and be able to use the cannon on top of the tower.
The cannon on the first tower is used by the tank who stays behind, to shoot down the flying proto-drakes,
so they don’t continue bombarding you.
At the start of the fight and every minute thereafter, a Grunt is sent out to try to kill the Demolition Expert. DBM calls this mob Tower Grunt.
Assign two ranged DPS to this task. The Grunt has about 6 million HP. You can heal the Demolition Expert if necessary. If they die,
a new one will arrive shortly thereafter,
but the process starts over from the beginning, delaying the entire fight. At the top centre of the screen, you’ll see the status
of the tower demolition (0 to 100 %).
Below is a list of the mini-bosses and adds and their abilities. All enemies, except the Demolisher and the Grunts who
attack the tower, must be tanked.
Mini-bosses and Adds
The kill priority is: Bonecrusher > Tidal Shaman > Flagbearer.
Mini-boss: Korgra the Snake
She also brings two Dragonmaw Ebon Stalkers with her, who teleport behind players and deal a lot of damage if they don’t move out of the way. Each of them has approximately 12 million HP.
Mini-boss: Lieutenant Krugruk
Thunder Clap (stackable) slows your movement speed and is practically unavoidable across the entire platform. A Priest with Mass Dispel is very helpful here.

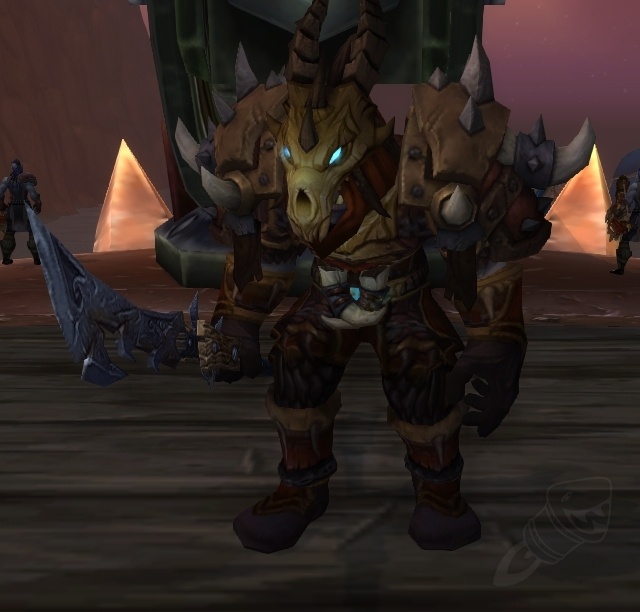
Mini-boss: High Enforcer Thranok

Mini-boss: Master Cannoneer Dagryn
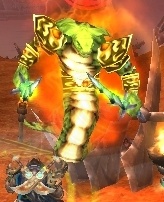
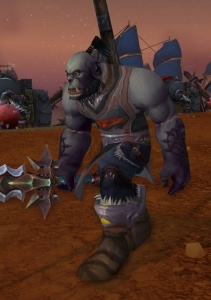
Add: Bonecrusher
In the first wave, both will cast Fracture simultaneously after about 20 seconds. Make sure you don’t go too far into the gorge, because the NPCs being charged are positioned relatively far back. A Monk with Clash can likely interrupt both of them immediately.
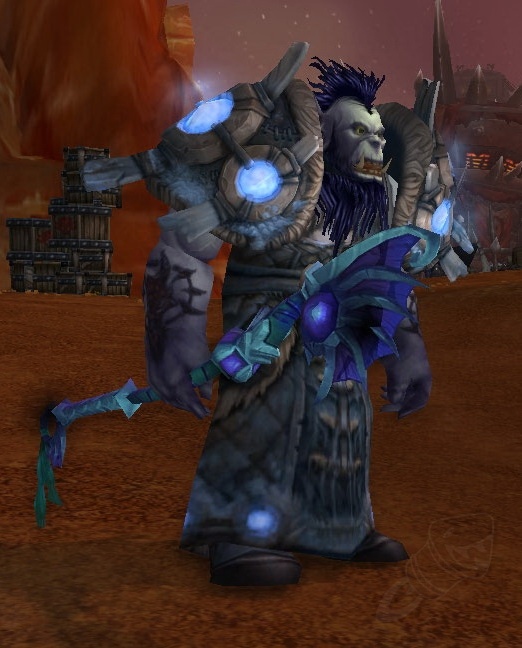
Add: Tidal Shaman
They also have a Chain Heal that they cast roughly every 15 seconds. If it goes through, it heals up to three enemies for a combined approx. 20 million HP. This must never go through.
Their main attack is a tidal wave that they send out in random directions, just like the one of the Twin Empyreans. Dodge or interrupt this. However, it’s not too bad if someone gets hit by it every now and then.
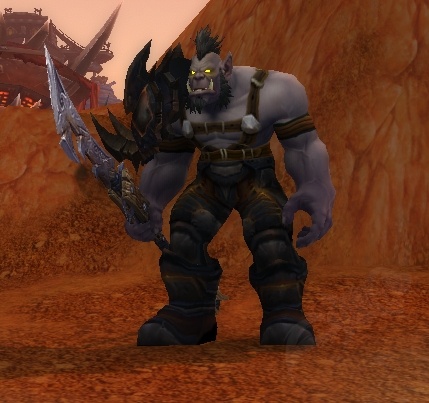
Add: Flagbearer
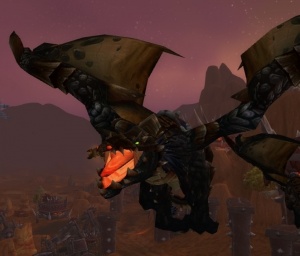
Add: Proto-drake
Additionally, two proto-drakes spawn twice during the fight as an “intermediate wave.” They have a frontal breath attack and must be turned away from the group.
Tower Tactics
For each tower, you'll need a tank, a healer, and 2–3 DPS, though you're probably safer starting with just two DPS.
You’ll have to figure out for yourselves how many DPS you can spare at the bottom. When a tower can be entered,
a Demolisher appears. This Demolisher fires at the tower, causing players inside to be briefly stunned and take some damage.
You can now either kill the Demolisher with the entire raid or send the tank and healer up the tower immediately. There, you can click on a rope,
which the DPS can then click on to climb up the tower without having to use the stairs.
The first tower (left/south) in particular is a bit of a hassle for the team to reach because you have to run up the ramp first. Here, the ranged members
of the tower squad can head there beforehand and fire on the Demolisher from above.
In the towers, bring all the mobs up with you and kill them along with the mini-boss at the top.
At the first tower, once your job is done, the tank goes into the cannon and shoots down all the dragons so they can no longer
shoot at your raid. You must click the rope to save time when you go to take down Galakras a few minutes later and have to climb up the tower again.
After the second tower, one player stays there and takes a seat in the cannon. Another climbs back up the first tower and also takes a seat in the cannon there.
If both shoot at Galakras at the same time, he comes down and Phase 2 begins.
It’s best to take down Galakras once the current wave is over, or before the next wave starts. Coordinate briefly with the raid below.
One player in the cannon can continuously fire at Galakras to prevent him from flying back and forth.
As you can see in the timeline above, there is plenty of time between waves 7 and 8. Before the eighth wave, you should be finished with the tower
and everything else and be able to take down Galakras.
Positioning
It’s best to tank the waves between the two wooden fences. If you go too far into the ravine, you’ll be far away from the NPCs and also far away from the players dealing with the Tower Grunts. Spread out slightly at the start (5 y) to avoid taking too much damage from the flying proto-drakes.
Phase 2: Galakras, The Last of His Progeny
This phase is little more than tank and spank. If your healers still have enough mana, you should secure the first kill as soon as you reach
this phase with everyone alive. You should not bring any adds into this phase.
Use Bloodlust, save all cooldowns for this phase, and split up according to your markers (see the positioning section; 4 players each, except for the tanks).
Every few seconds, a player will receive a debuff that
marks them as a target for 5 seconds: Flames of Galakrond.
This player will have a target beam on them.
After these 5 seconds, an orb will appear in front of the boss and fly relatively quickly to the player’s position, where it will explode.
The more players who touch the orb beforehand, the less damage the explosion deals. Every player who touches the orb
is afflicted with a stackable DoT, which is also called Flames of Galakrond.
So if a player gets the target debuff, they run behind their camp and wait until the target debuff wears off before returning to the camp.
The orb then flies through
the camp and loses explosive power. Two camps are used so that the DoT doesn’t stack too high on the players. If a camp is chosen too often
in a row (so that it already has 3 stacks of the DoT), then the next affected player from that camp should place the orb behind the other
camp.
Note that the orbs come very quickly one after another. As soon as an orb appears and flies off, the next player already receives the
target beam.
Taunt after three stacks and make sure the inactive tank is standing to the side of Galakras and doesn’t get hit by the orb.
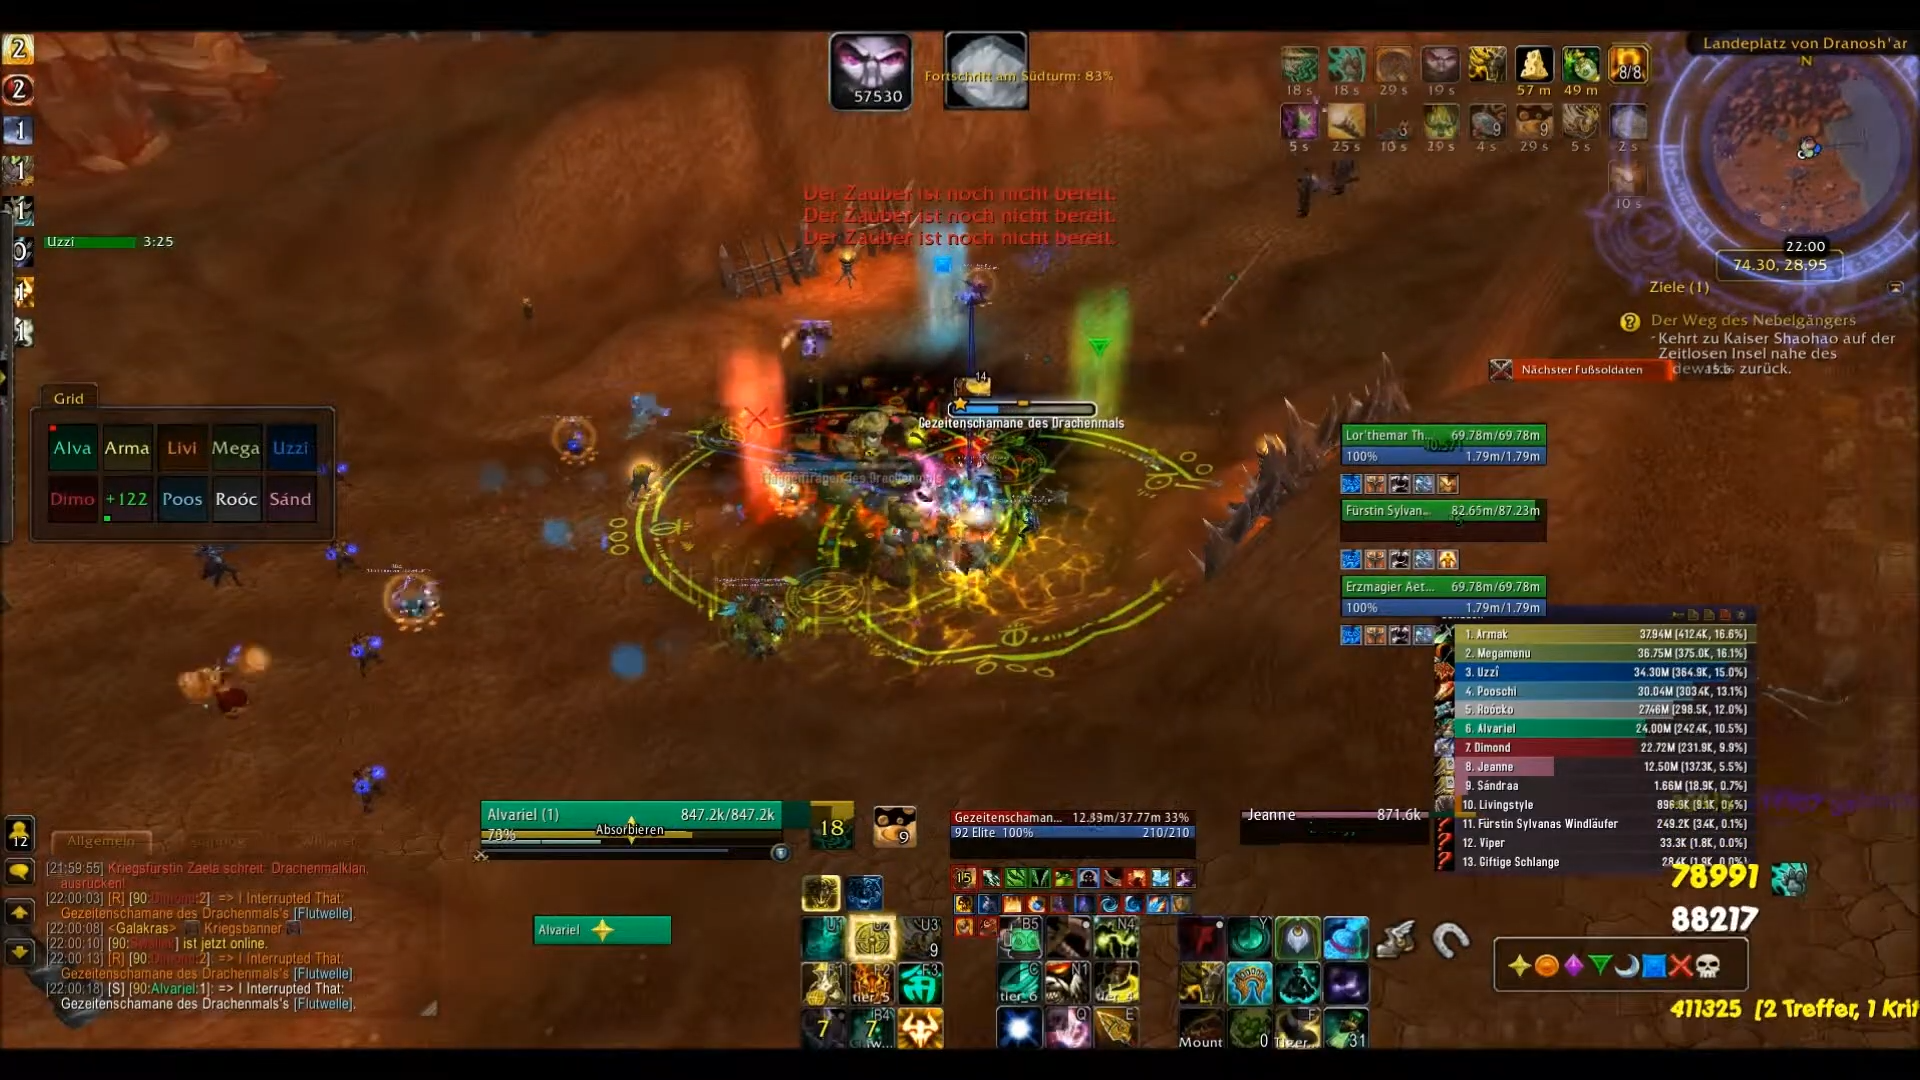
Kill Video
This video is our first kill from October 17, 2013, as seen from our Brewmaster's perspective.
Common Reasons for Wiping
- Ignored Banners/Totems: If you don't destroy the Banners quickly, the adds will be far too strong and kill you. If you let the Healing Tide Totem tick (or let the Shaman's Chain Heal get through), you'll quickly fall behind and the waves will overlap.
- Fire: Before the first tower is destroyed, the proto-drakes in the sky will continuously fire at you. If you stand too close together (less than 5 yards), the burden on the healers will be too big.
- P2 Timing: Galakras is brought down from the sky while too many Phase 1 adds are still alive.
- Demolition Expert Dies: The Tower Grunts must be eliminated. If your Demolition Expert dies after one minute, your fight will also be extended by one minute. You will have to fight the last wave listed above or potentially even more waves, which will prolong the fight even further.
TL;DR
- Objective for P1: Capture both towers. Use the cannon from the first tower (left) to shoot down the proto-drakes. Once you’ve captured both towers and the current wave below is cleared: fire at the boss simultaneously from both cannons to bring him down.
- If you are assigned to a tower, first kill the incoming Demolisher and then run up with your tower task force.
- Both mini-bosses on the towers will try to kick you from the tower. Watch out for the cone-shaped AoE and dodge.
- If you are assigned to the Tower Grunts, go after them immediately upon spawn. They spawn every minute and at the start of the fight. The first three spawn on the left, the rest on the right.
- Immediately destroy the adds’ Banners and Totems (1 HP/50 k HP, cannot be hit by AoE). Interrupt the Shaman’s Chain Heal.
- Priority order: Bonecrusher > Tidal Shaman > Flagbearer.
- If the Bonecrusher charges towards an NPC: Immediately grab, stun, or push away!
- Spread out a bit at the start until the proto-drakes have been shot down after the first tower is captured.
Class Tips: Rogue
Cloak of Shadows removes the debuff caused by
Flames of Galakrond in Phase 2,
the Thunder Clap on the first tower that slows you by 25 % per stack, and also grants immunity to Korgra's poison AoE.
If you are hit by the abilities that knock you off the towers, you can
Shadowstep or use the
Goblin Glider,
if you're an Engineer. Of course,
Killing Spree would also keep you up there if you're playing Combat.
If you want to get to the left tower a bit faster, you can ask a player in your raid to position themselves as a target for Shadowstep
so you don’t have to laboriously run up the ramp.
Class Tips: Priest (Discipline)
The incoming damage in P1 is low, unless you're assigned to the second tower.
Keep an eye on the tank there and use Pain Suppression.
At the first tower, you can use Mass Dispel
to remove the slowing debuff, which will make it easier for you to run out of the AoE. If you're not on the towers and have enough mana,
you can use Spirit Shell every now and then or heal the NPCs,
otherwise you'll end up getting bored :-).
You should go into Phase 2 with full mana; this phase requires cooldowns and a lot of group healing.