
Quick Facts
Introduction
The Sha of Pride is located right next to Norushen and is the second consecutive fight featuring a stationary Sha in the centre, but it plays out completely differently. Many abilities demand the raid’s constant attention. The fight consists of a single phase (or a cycle) that resets when the boss’s energy reaches 100 % and starts over. At the time, the boss was considered the first minor roadblock in the 10-man raid, but still could be defeated on a single progress night.
Pride
There is a special player resource again: Pride. Pride is gained through avoidable and unavoidable abilities during the fight.
Depending on how much pride you have, the player will be presented with different effects to be handled individually at each
Swelling Pride.
Pride cannot be reduced; however, when the boss’s HP reaches 30 %, all pride is reset and a burn phase begins,
during which all players’ pride constantly rises.
If a player reaches 100 pride during the fight, they deal 50 % more damage and healing. However, the next time the boss casts
Swelling Pride,
you'll get mind controlled. This must, of course, be avoided!
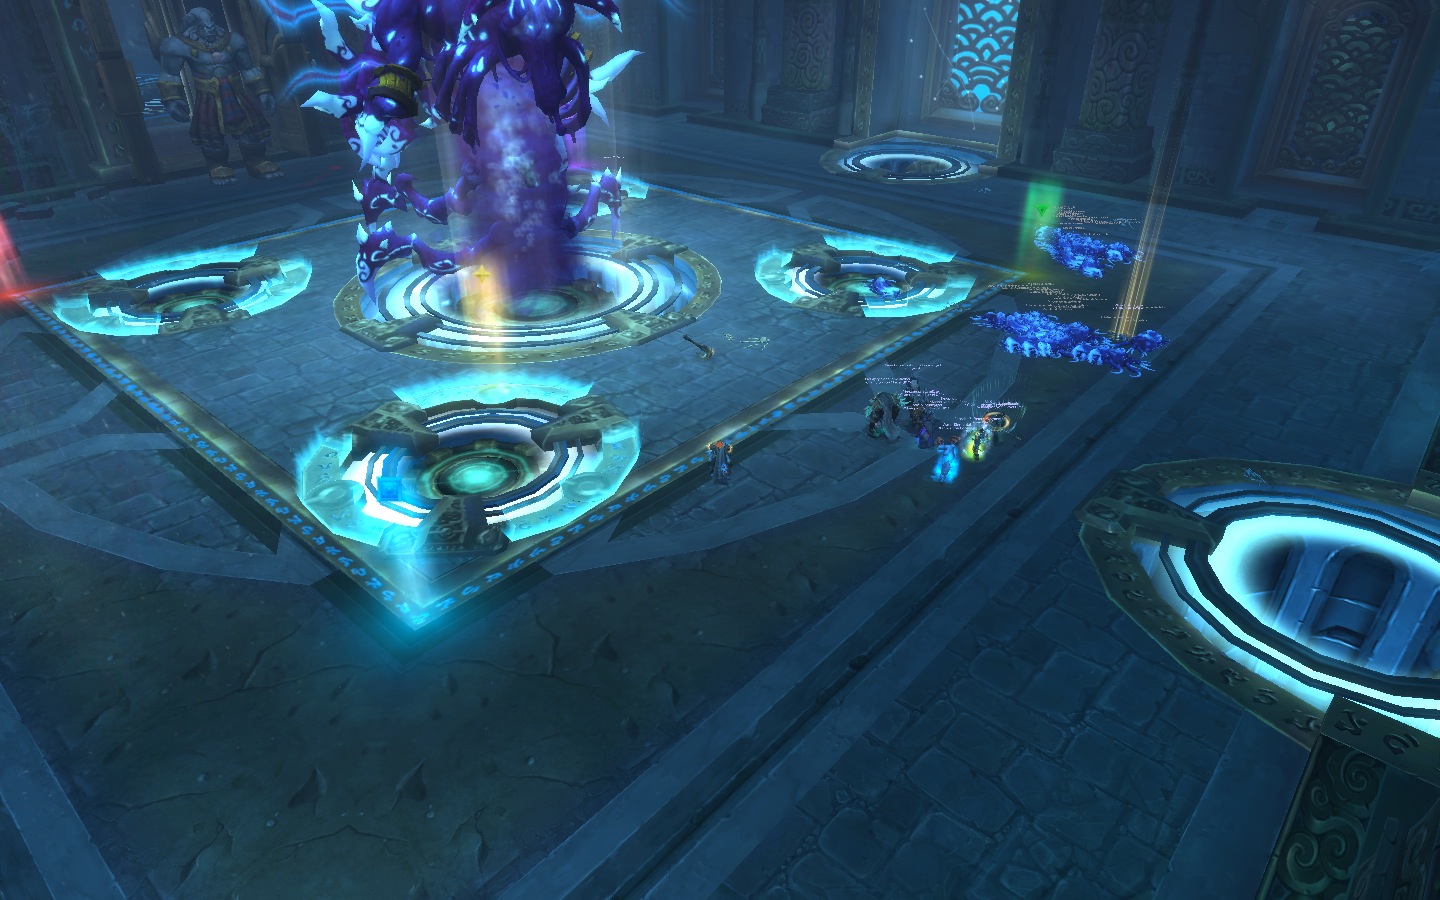
Positioning
Your active tank should position themselves with their back to the Norushen room so that the raid as a whole stays grouped behind the boss between the two prisons (the two circles on the ground), as long as the abilities allow it. As soon as raidplan.io has been updated, a positioning image will be added.
Abilities
All abilities occur once or multiple times within a cycle (lasting 75 seconds, until the boss reaches 100 energy). The great thing is that after a few tries, you’ll know exactly which ability comes when and you can anticipate it accordingly. The only random factor is which players are affected by the abilities, not their order. See the timeline below for more details.
Ability: Wounded Pride
Ability: Corrupted Prison
If the boss is tanked towards the Norushen room and you are standing behind him, the prison to your left (yellow) and the one diagonally across from it (purple) are the active ones. The currently active tank should always assist with the purple prison.
Ability: Mark of Arrogance
As the tooltip states, a priest’s Mass Dispel does not work here.
Through the Gift of the Titans debuff (see below), healers can temporarily become immune to pride gain and should only dispel while this effect is active. If necessary, however, healers can also take the additional pride. Of course, you should then have a clear understanding of whether you can still afford these additional pride points.
If a player has two debuff stacks, they should be dispelled immediately, even without the Gift of the Titans.
Ability: Self-Reflection
Add: Manifestation of Pride
Last Word gives 5 pride to the two players closest to the add upon its death. Ideally, this should be taken by two players with the Gift of the Titans or those with the lowest amount of pride. However, it has been shown that, provided the rest of the fight is executed correctly, this additional pride does not pose any problems and does not require special attention.
Melee DPS should not have to engage the add. If you have a Death Knight, they can pull the add into the group.
Ability: Gift of the Titans
Ability: Swelling Pride
Depending on a player’s pride level, the ability triggers the following effects individually for each player.
- 0 to 24 pride: Nothing happens.
- 25 to 49 pride: A void appears beneath the player, which explodes after three seconds, dealing approx. 400 k damage and generating 5 pride. Run away!
- 50 to 74 pride: A Projection appears within 15 yards of the player and is marked with an arrow that only the player can see. The player must stand inside the void when it explodes after 8 seconds, otherwise it will deal raid-wide 300,000 shadow damage and generate 5 pride on every player.
- 75 to 99 pride: Players gain Aura of Pride for 25 seconds. This pulses 340,000 shadow damage every second within a 4.5-yard radius and also generates 5 pride on each hit. The player themselves is not affected by this. Run out beforehand, as the aura begins ticking immediately.
- 100 Pride: The player gets mindcontrolled and must be killed.
If a player has more than 74 pride, they must already be at a distance when Swelling Pride is cast. The Aura of Pride starts ticking immediately. However, this amount of pride should never be reached by players.
Heroic Ability: Banishment
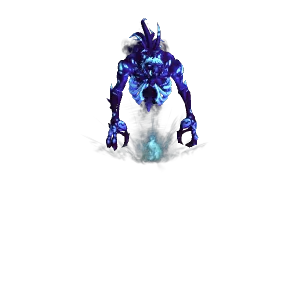
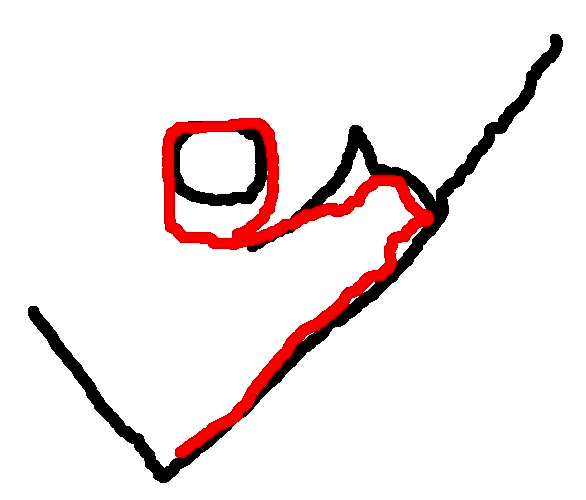
So, just before the ability activates, all players should stand close to the boss so that the Corrupted Fragment can be attacked as quickly as possible. The affected player finds themselves in a maze and moves forward automatically. The walls must not be touched, or you will die. Running over yellow orbs increases the damage taken by the Corrupted Fragment by 25 % each, so help your teammates by collecting some of them. Sha creatures roam the maze and are lethal upon contact.
The maze always follows the same pattern; you can memorize it. You can see it in the following video. A very helpful sketch by one of our former (and current!) raiders follows.
Heroic Ability: Unstable Corruption/Rift of Corruption
To close a Rift of Corruption, a player must run over it and will then take some damage (8-yard AoE). They are then affected by Weakened Resolve and cannot close any further Rifts for one minute. Since ten Rifts appear in 80 seconds, you theoretically have enough time to bring the Rifts under control. However, due to other abilities like Banishment or Corrupted Prison, you won’t always be able to close a Rift immediately after the one-minute debuff expires, and you’ll never be “rift-free” again.
If two Rifts are very close together, you can probably collect both of them, since the debuff doesn’t apply immediately.
It is important that every player takes closing these Rifts seriously and, as soon as their own debuff is about to expire, start looking for the next Rift to close. Keep an eye on whether you currently have the Mark of Arrogance or if Banishment is coming, and in these cases, don’t run too far away.
Breakdown
You have no choice but to study all the abilities in detail. If you want to prepare perfectly for this fight,
it’s essential to know the names of the abilities and to have already run through a few scenarios in your head. When the boss's HP drops to 30 %,
the burn phase begins, and the boss resets your pride and his energy to 0, starting a new cycle.
The boss’s corresponding ability is
Unleashed. Every 10 seconds, this deals 360,000 raid-wide damage
and produces 5 pride. At a certain point, you can choose to ignore the rifts if you wish.
Otherwise, the fight remains the same; the only difference is the raid-wide damage and pride gain.
Below is the sequence of events for one cycle.
- 0:07 Gift of the Titans (gather at yellow)
- 0:25 Self-Reflection (dodge the adds)
- 0:32 Gift of the Titans (gather at yellow)
- 0:40 Banishment (don't be too far away and kill the fragment)
- 0:50 Prison (free the players)
- 0:58 Gift of the Titans (gather at yellow)
- 1:02 Manifestation of Pride (large add)
- 1:15 Swelling Pride (watch your pride level and assign healing cooldowns)
The only point in the fight where you have a little time in each cycle is between the start of the cycle and the Self-Reflection.
Note, however, that depending on your pride level, you may still be busy dealing with the effects of the previous Swelling Pride.
In particular, the Banishment and the Prison that follows after 10 seconds require you to immediately focus the
Banishment fragment to free the player, so that you can then unlock the prison. Keep in mind that during all of this, you must aim to close a Rift once per minute.
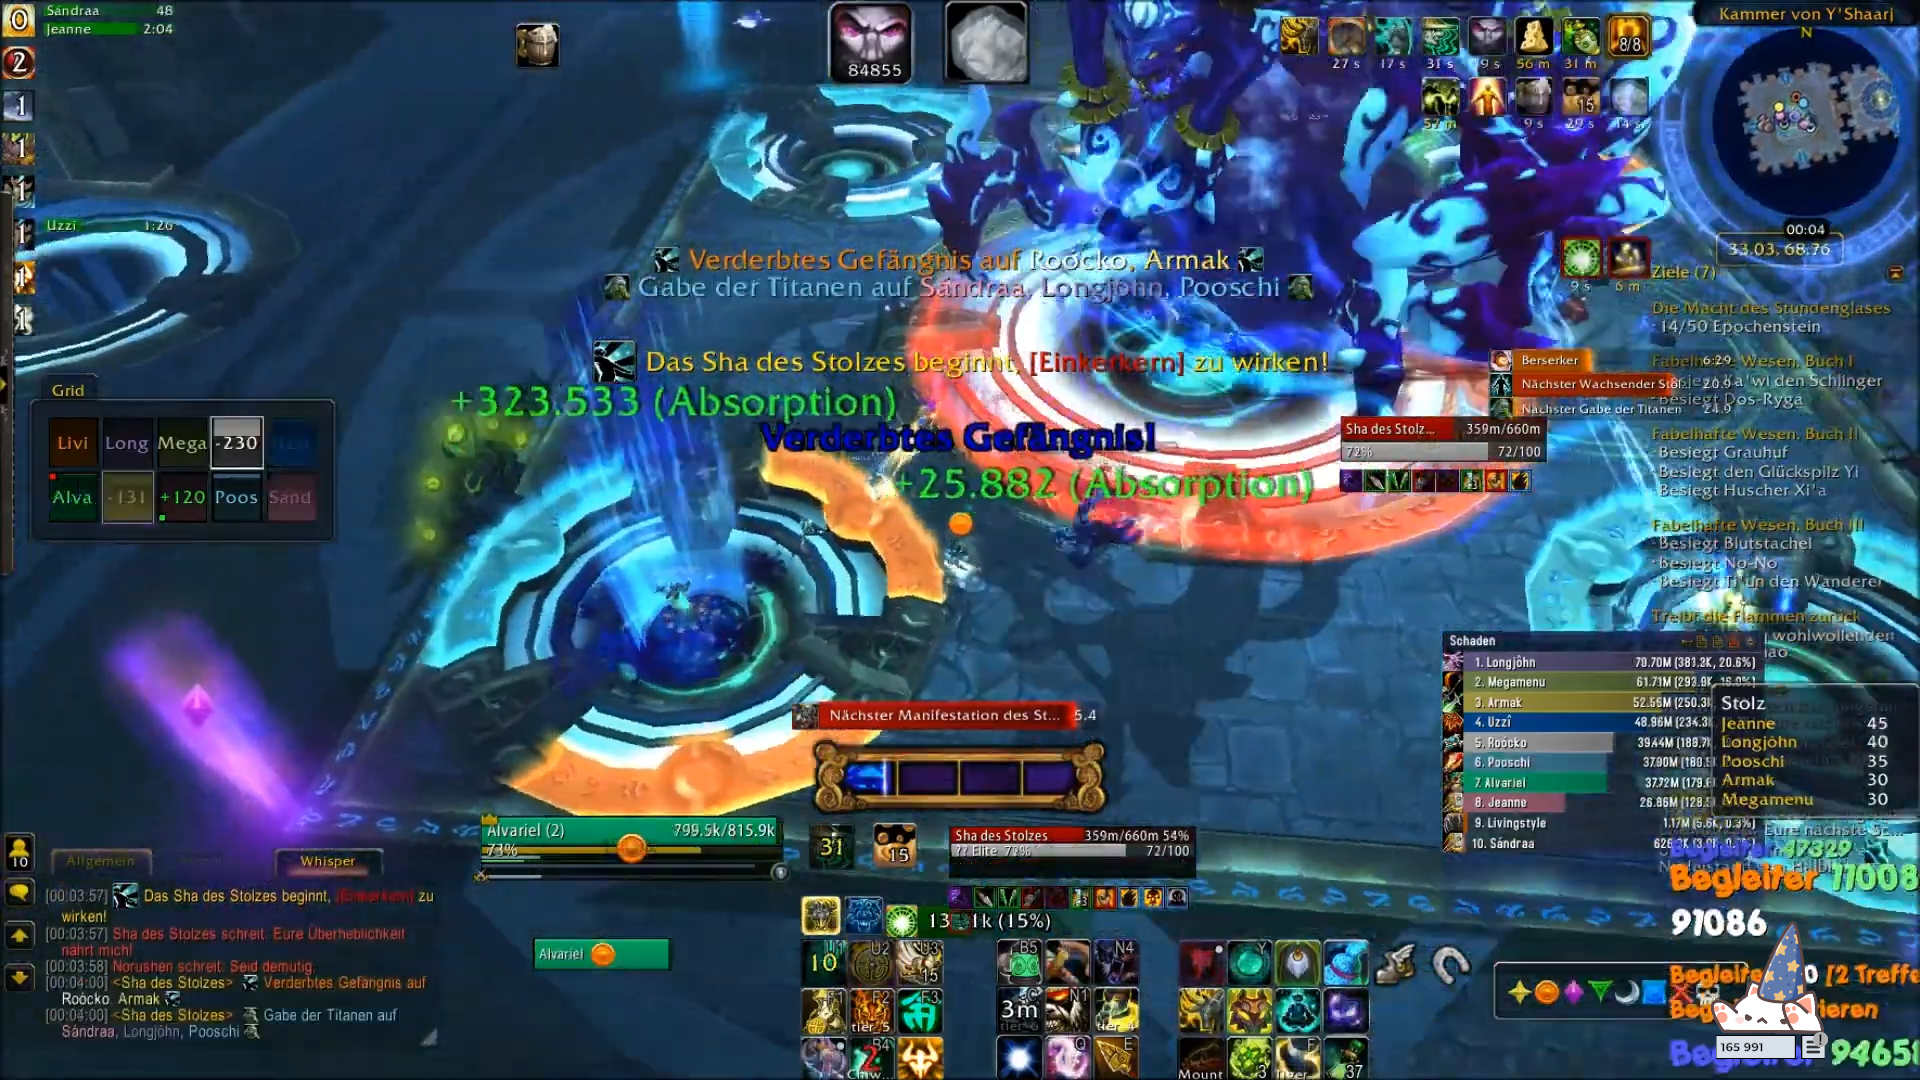
Kill Video
This video is our first kill from October 10, 2013, as seen from our Brewmaster's perspective.
Common Reasons for Wiping
- Ignored Rifts: Rifts are closed too rarely, and the sheer number of projectiles requires constant movement and/or generates too much pride.
- Mind Control (100 pride): Players accumulate too much pride by ignoring abilities (mostly from being hit by Rifts).
- No Dispel: Dispel two stacks on players immediately, whether you have the Gift or not.
- Swelling Pride: The projection and aura of pride traditionally come as a surprise to many players.
TL;DR
- Every player must make sure to close a Rift every 60 seconds.
- Every player must memorize the effects of Swelling Pride. If you're unsure, run away from the group before it goes off.
- Every player must memorize the path through the labyrinth in advance.
- Always gather at yellow with the Gift of the Titans.
Class Tips: Rogue
The Mark of Arrogance can be removed by Cloak of Shadows. However, since healers can usually dispel it without penalty anyway, you should save it for Swelling Pride, unless you reach two stacks of the Mark of Arrogance. Since you have to run a lot in this fight, use everything that can help you and make extensive use of Sprint and Shadowstep or Burst of Speed.
Class Tips: Priest (Discipline)
When you receive the Gift of the Titans, you immediately begin to dispel the debuff from players. If the other healer pays attention to this as well, you’ll always keep the raid free of debuffs. Coordinate with the other healer before you close a Rift. Otherwise, there could be problems if you’re both on the move. Since you’re grouped together most of the time, Divine Star is your first choice. Spirit Shell and/or Power Word: Barrier are very well suited for Swelling Pride, which the boss always casts at 100 energy.