Quick Facts
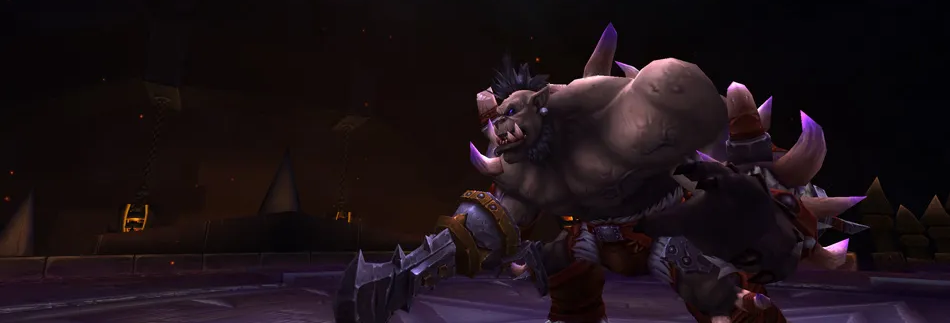
Introduction
Malkorok is some sort of tank-and-spank fight, but one that requires you to manage a lot of abilities on the side. The fight has a short 6-minute berserk timer, which requires about 220 k DPS from every damage dealer (including tanks). His berserk is impossible to survive.
Malkorok will alternate between his two phases. Phase 1 lasts 2 minutes and 20 seconds, Phase 2 lasts 20 seconds, and after another 10 seconds, the boss returns to Phase 1. His energy bar also indicates this, but it has no other significance.
You can make Phase 2 much easier if you have a Brewmaster tank it alone. He will take a massive amount of damage during this phase
(around 700 k DPS before Stagger), but can survive without external cooldowns.
A Paladin tank must take more precautions, and the other tank classes should probably not consider solo-tanking.
The effects of a solo tank in this phase and how a Monk tank can do it are described in the chapter on P2.
After every Phase 2, the boss becomes 25 % stronger.
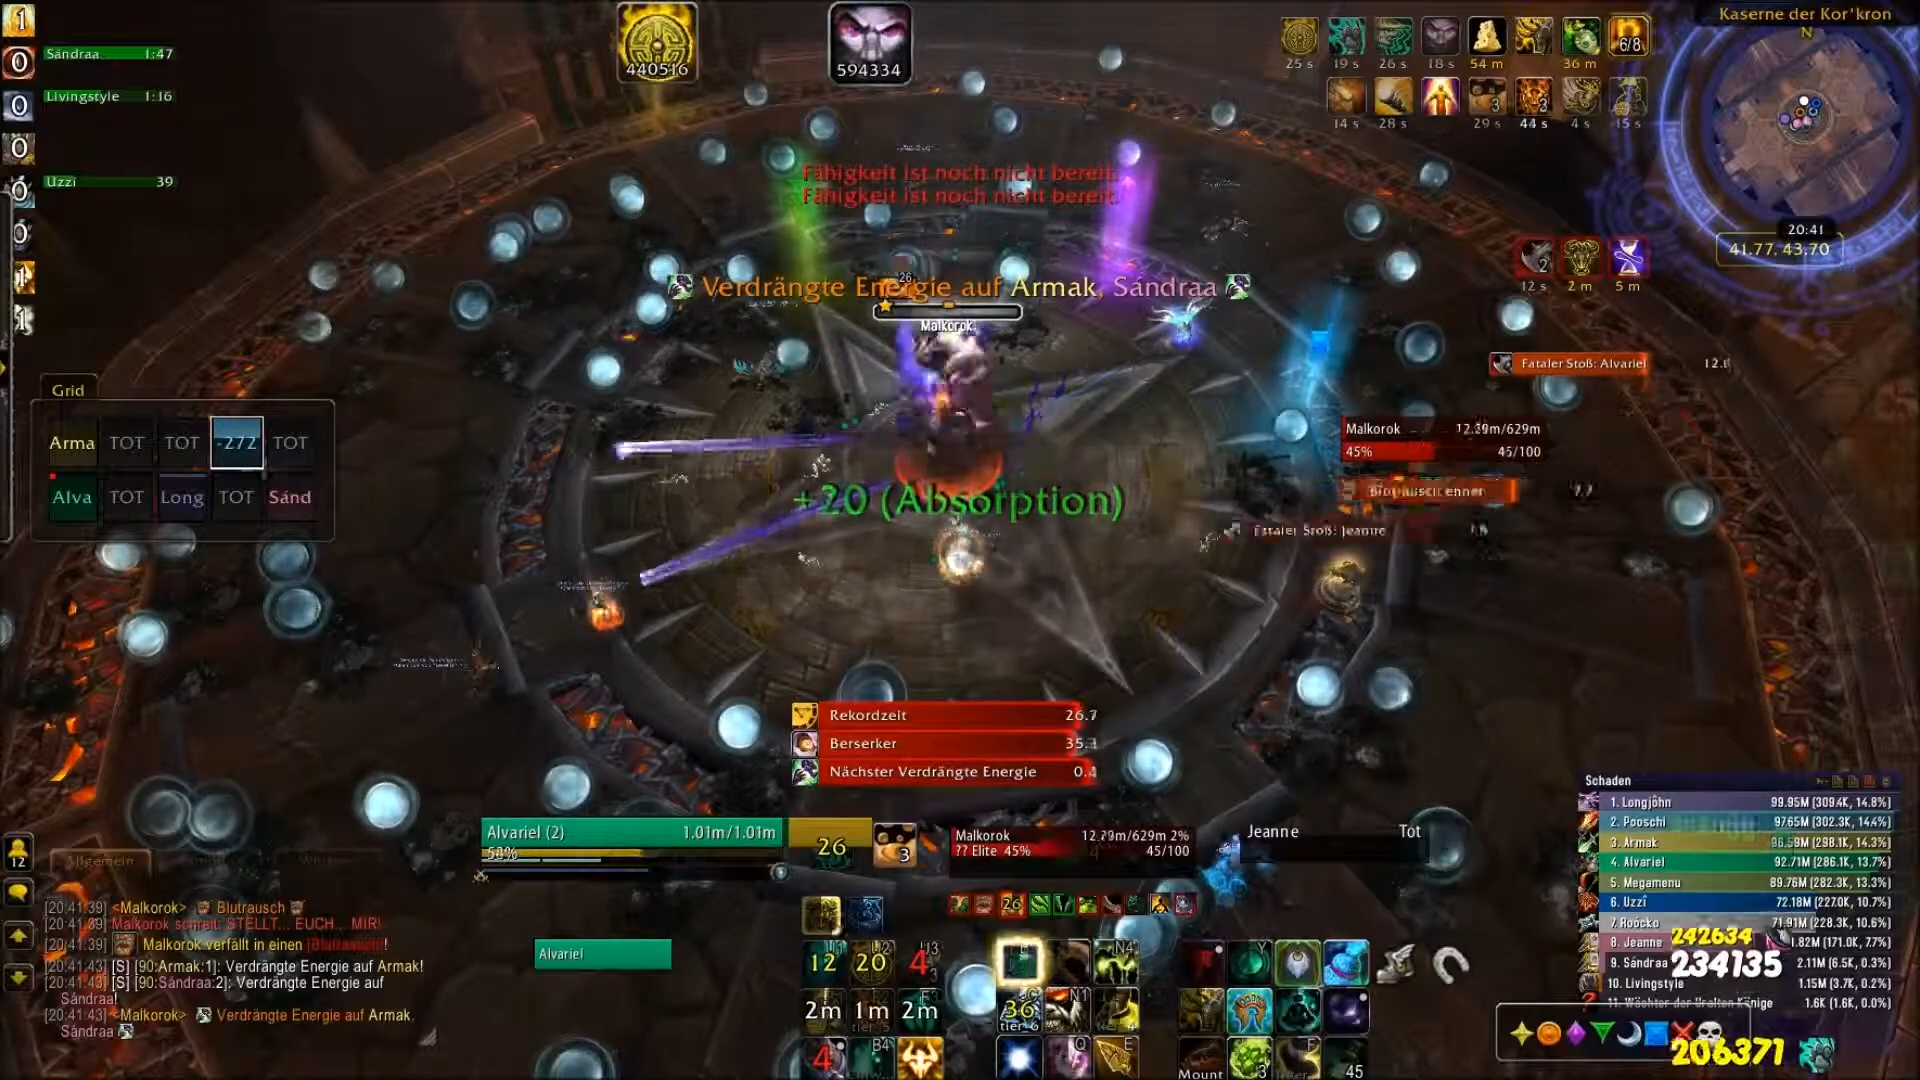
Phase 1: Might of the Kor'kron
In this phase, you’ll spread out across the room so you can soak voids that appear at random locations and sometimes remove orbs that form.
You can read more about this in the description of each ability. You’ll tank the boss in the centre of the room.
There are a few abilities that require attention, but they don’t require you to make major tactical decisions,
as the circumstances already provide the solution. These abilities are placed in the context of the overall fight at the end of P1's description.
This fight demands constant concentration, as you rarely get even a few seconds to catch your breath.
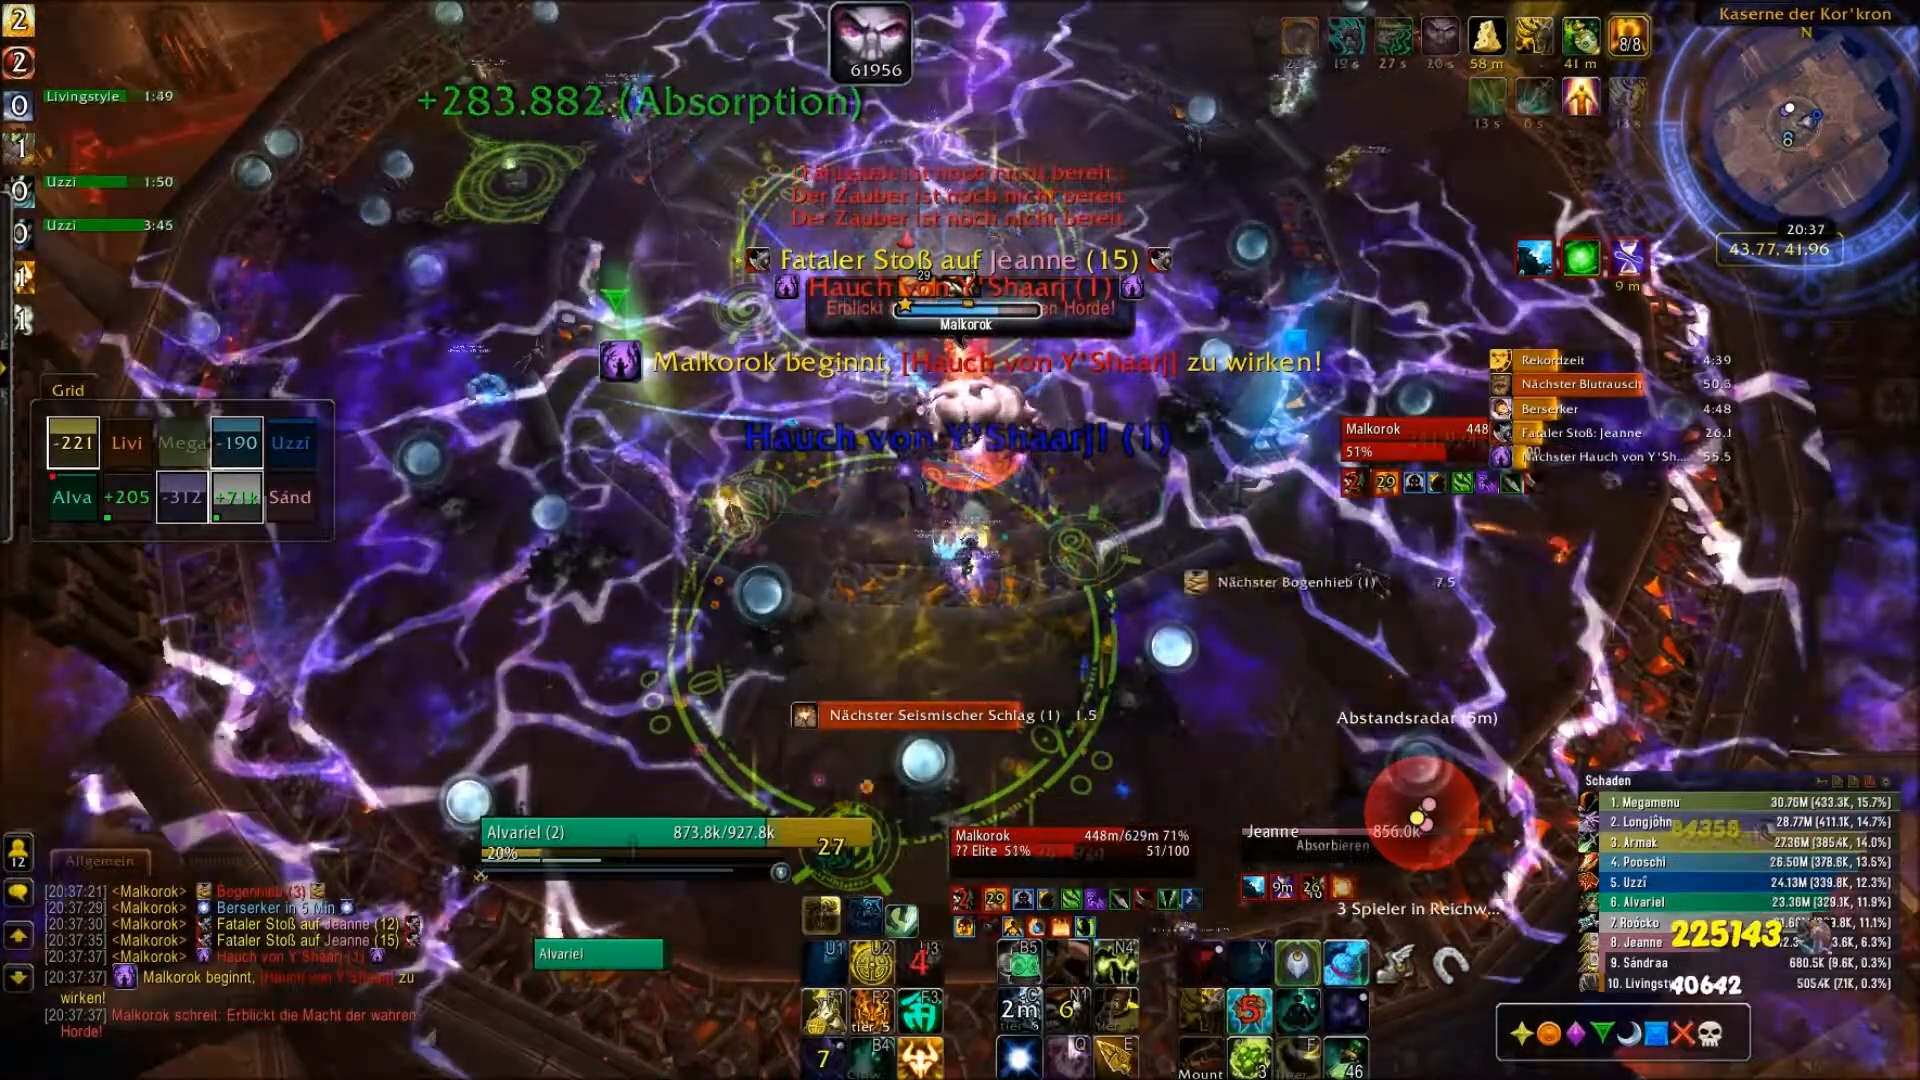
P1 consists of three Arcing Smashes followed by a Breath of Y'Shaarj. These are interspersed with the other abilities listed below. This sequence repeats once, and then P2 begins.
Abilities
Ability: Ancient Miasma
So, for example, if you take enough damage at once that you’re down to 17 % HP, you’ll remain at 17 % until the end of this phase, but you can rebuild the shield via healing.
You can choose to use healing cooldowns right at the start (e.g. a Tranquility), to quickly build up the shields on all players before the ticks and general damage start.
As with Tortos, you must make sure that your tanks do not lose the shield.
Heroic Ability: Essence of Y'Shaarj
Players with immunities should regularly remove as many orbs as possible. Ideal for this are Hunters with Deterrence, Rogues with Cloak of Shadows, Paladins with Divine Shield, and Priests with Dispersion. Wait until enough orbs have appeared, then use your immunities at regular intervals.
You can organize yourselves so that, if you have a Rogue, they clear the area around the boss every minute, and your ranged players prioritize the spots where there are a lot of orbs on the outer side of the room.
Phase 2 is also a good time to remove orbs, since you don’t have the Absorb Shield during this phase. Coordinate this with your healers. You can collectively remove almost all the orbs there.
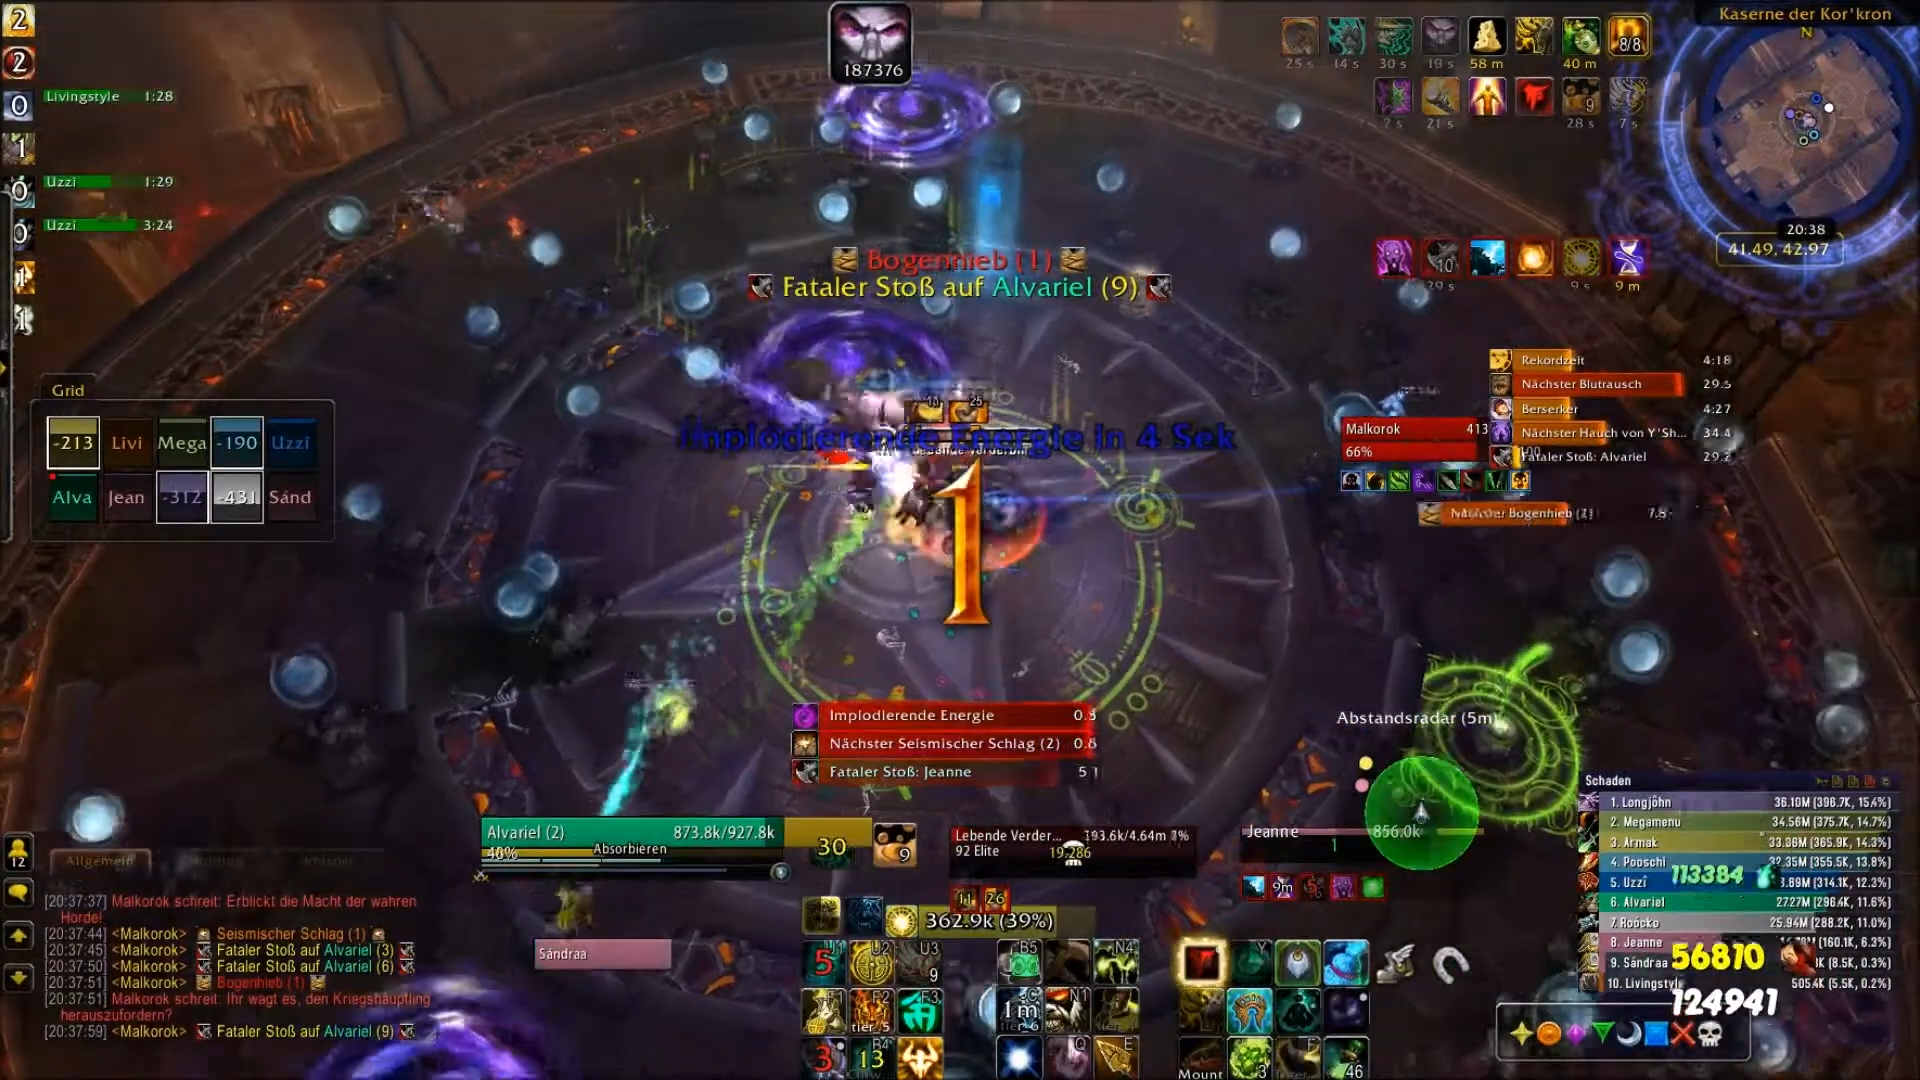
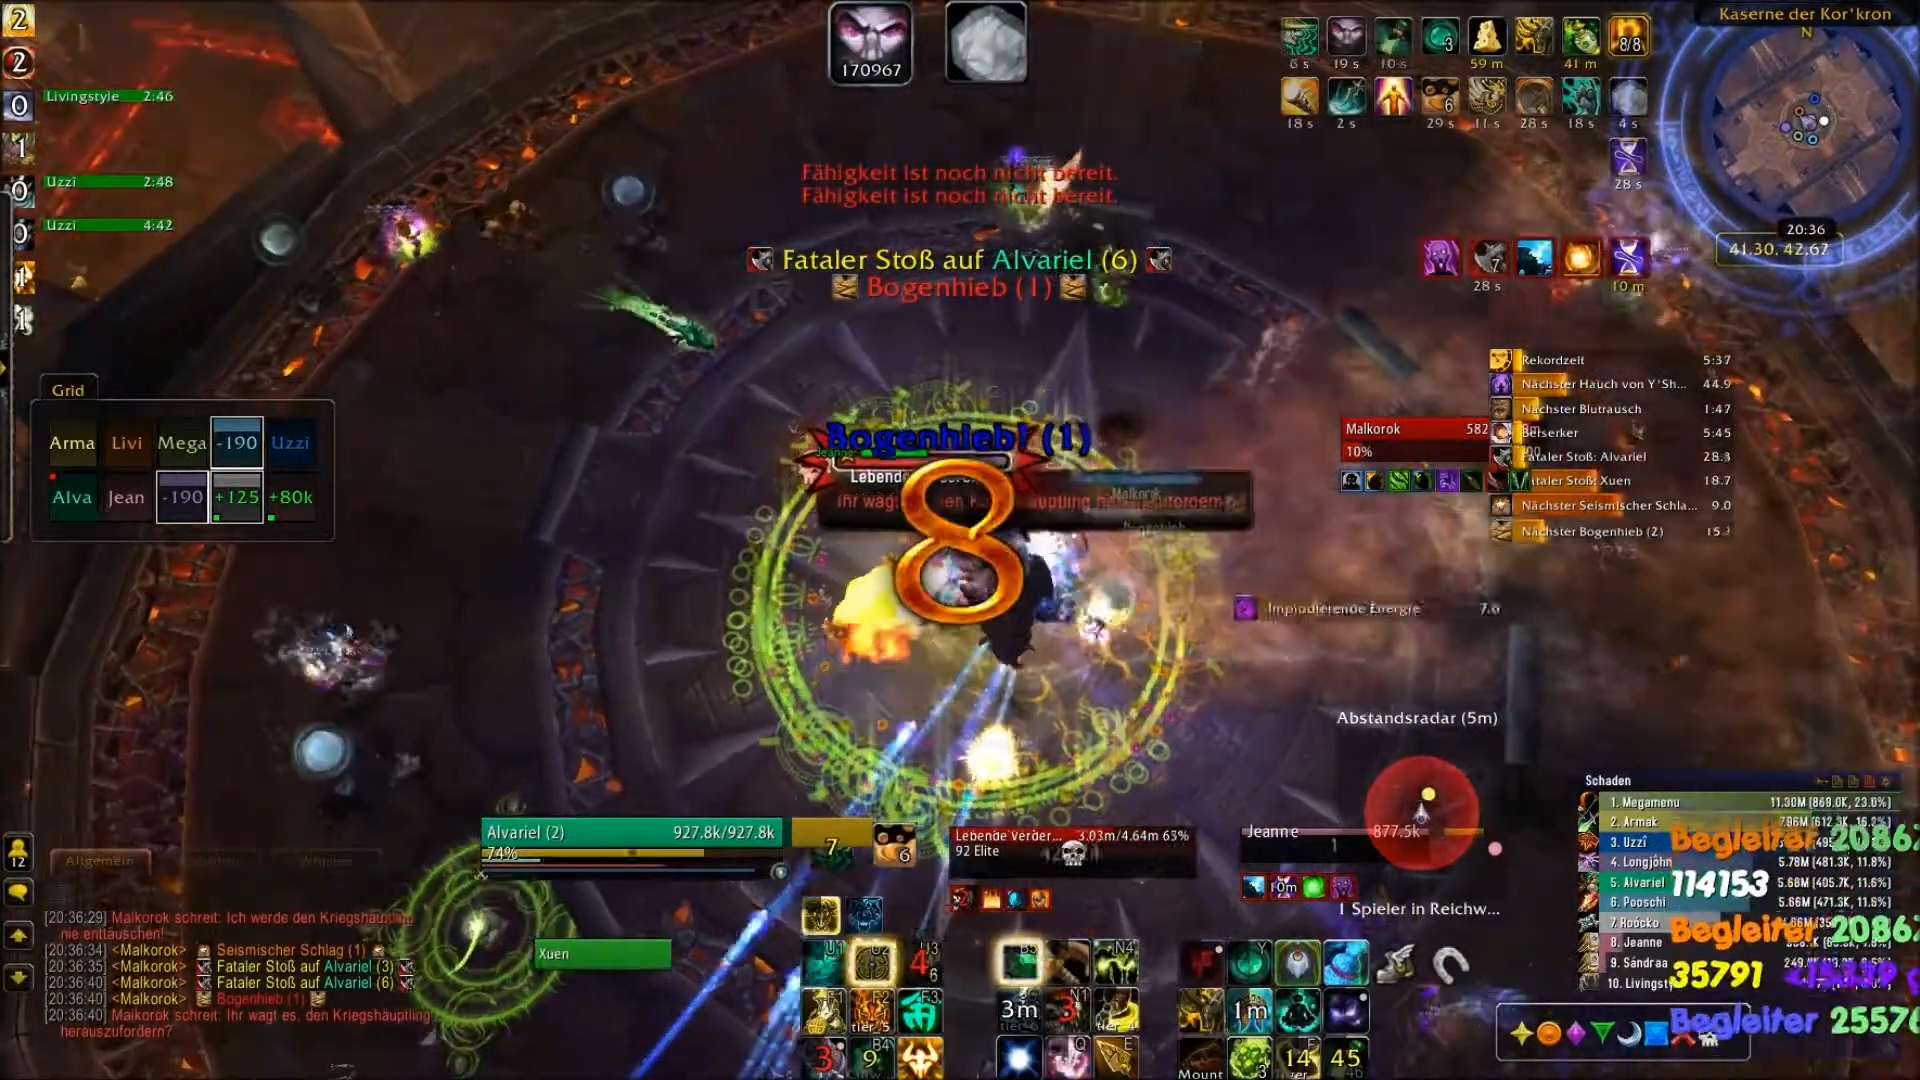
Ability: Fatal Strike
Your solo tank should take the boss at the start and have it taunted away after about 45 seconds (they will then have just under 20 stacks). At 1:20, they taunt the boss again and keep it until 1:50. You can proceed in the same way in the second P1.
Ability: Seismic Slam
Ability: Imploding Energy
You have four seconds to position yourselves in the voids. One always appears near the boss, and two others tend to appear in the outer areas. Because of this ability, you will always spread out across the entire room in Phase 1.
Ability: Arcing Smash
You need to remember these spots, as the ability described below will deal damage after three Arcing Smashes where the last three arcs previously struck. The easiest way to do this is to place world markers.
Ability: Breath of Y'Shaarj
Your tank should pull the boss slightly to the side just before this happens, as the effect is a bit larger than the Arcing Smashes.

Heroic Add: Living Corruption
Strategy & Positioning
At the start of the fight and at the start of the second Phase 1, healers have 5 seconds to set up a small absorb shield on every player,
as regular damage begins at that point. Feel free to use group cooldowns for this; there’s no better time to use them. Bloodlust should
also be used immediately, as this is the best way to benefit from trinkets and cooldowns.
The goal of this phase is to avoid taking unnecessary damage so that players do not lose some of their “real” HP.
Have players with immunities regularly remove orbs, and place a world marker at the centre of each Arcing Smash to mark the spots
where the Breath of Y'Shaarj will appear afterwards.
Healers and ranged DPS should spread out across the entire arena throughout the phase to efficiently soak the voids and avoid being hit
by Seismic Slam with multiple people at the same time. A few situations in the fight require special attention, as you can see from the following
timetable.
Keep one thing in mind: Virtually nothing in this fight is random. Everything happens on fixed timers.
You can react to everything. If your attempts still fail,
you need to analyse whether you’re struggling with ability overlaps or, for example, dealing too little damage to the add,
causing some players to be slowed for too long.
Before every Arcing Smash, the add will be near the melees. However, you will have enough time to dodge the Smash.
Timetable
- 0:00 Bloodlust. Tranquility/Divine Hymn/Healing Tide Totem ...
- 0:05 Miasma starts ticking. By this point, every player should have a shield to absorb these ticks. Seismic Slam + add immediately after.
- 0:11 Arcing Smash
- 0:17 Three voids
- 0:25 Seismic Slam + add immediately after
- 0:31 Arcing Smash
- 0:37 Three voids
- 0:45 Seismic Slam + add immediately after
- 0:51 Arcing Smash
- 0:57 Three voids
- 1:10 Breath of Y'Shaarj
As you can see, in addition to the constantly spawning orbs, there is an ability every 5–8 seconds. The timetable above shows half of P1. This repeats once more with the same timing before P2 begins. P1 therefore always follows this sequence: Seismic Slam + add, Arcing Smash, voids.
Phase 2: Endless Rage
The Miasma (absorption shield) is not active during this phase, so you will take damage as usual and can be healed regularly.
Malkorok now deals approximately 2.4 million damage (sic!) with every melee attack via Blood Rage, which is split among players in front of him. As mentioned above, Monks and Paladins can solo-tank this, even if it sounds completely absurd at first. The good thing about this ability is that it deals physical damage, which Monks practically cannot die from.
There is only one other ability in this phase. It applies a DoT on players:
Displaced Energy. It is cast on two players
simultaneously and deals approximately 340 k damage every three seconds; upon expiration or dispel
it deals approximately 600 k damage within an 8-yard radius (but not to the player themselves). After 10 seconds,
two players receive this DoT again. After that, Phase 2 ends.
The Heroic variant of this ability causes affected players to be rooted. In Normal Mode, the entire raid can stand in front of the boss,
soak Blood Rage, and
the affected players run out and “explode” outside. If you want to play the boss this way on Heroic difficulty as well, you should also
stand in front of the boss, but turn him around as soon as the players receive the DoT and are rooted, and move away from them.
After that, you can free them with a dispel, but pay attention to the explosion damage they deal to each other.
The DoT doesn’t tick for the first time until three seconds have passed, so ideally, dispel it before then.
The solo tank strategy is more interesting. For this strategy, all players will continue to spread out across the entire room. Apart from the Monk tank and the players with the debuff, no one takes damage in Phase 2. Healers should dispel the debuff from players immediately so the DoT doesn't start ticking. If any melees are affected, you should wait a moment so the others can move 8 yards away to avoid the explosion.
Solo-tanking: Monk
For the 20 seconds that P2 lasts, you need a cooldown plan. You can request external CDs, but you don’t need them in theory. During the Endless Rage phase, the boss will attack you every 1.5 seconds a total of 13 times for approx. 1.35 million damage each time (after standard damage reduction). This needs to be reduced further. You can dodge and parry!
Start with Fortifying Brew, which
lasts for the entire 20 seconds of the phase.
At the same time, use Zen Meditation (8-second duration; lasts for 5 hits)
and then
Dampen Harm (for the next 3 hits). This means you’ve already
covered 8 out of 13 hits.
After that, use Guard and
Elusive Brew.
That should be enough. Meanwhile, of course, both healers will be healing you more or less continuously. In between, you can also heal yourself.
Note that in the second Phase 2, the boss deals 25 % more damage. This shouldn't normally be a problem, but keep in mind that you can request external cooldowns. Normally, you shouldn't even reach a second Phase 2, since you'll already be close to the berserk timer by then.
Kill Video
This video shows our second kill on November 18, 2013, from our Brewmaster's perspective.
Common Reasons for Wiping
- Breath of Y'Shaarj: Even though this ability sounds simple, it is still a very common cause of wipes, as it is the only ability that can kill you even if you have an absorb shield up.
- Add Management: If you let the adds live too long, slowed players will have trouble managing abilities.
- Orbs: Repeatedly touching orbs by accident is very risky and leaves you vulnerable. Be cautious to ensure that no orb appears directly underneath you. This isn’t always easy to spot.
- Tank Death in P2: Your tank must absolutely think about their cooldown rotation before your raid if you’re solo-tanking. If you want to see this phase several times in a row, you can just practice abilities in P1 and not worry about maximizing boss damage. This is also quite useful for practicing the abilities if there are general issues in P1.
- Voids: There will often be coordination issues here that you’ll need to work out.
TL;DR
- You have an absorption shield that, when full, is equal to your maximum HP. This shield deals approximately 40 k damage per second. If you lose any of your “real” HP, it can only be restored in Phase 2.
- Make sure no orbs spawn on you; these remove your absorb shield and deal damage to you.
- Collect the orbs with immunities and sprints as soon as some of them have appeared.
- Mark the locations of the Arcing Smashes with world markers.
- During Breath of Y'Shaarj, which repeats the last three Arcing Smashes, do not stand on the world markers, but away from the centre between them!
- Focus on the add immediately.
- Spread out across the entire room and always stand at least 8 yards apart.
- The voids must be soaked, but only one player should stand in each of them when they explode.
- To the healers: Display the size of the absorb shield on the players and, at the start of the phase, immediately heal with group healing into the absorb shields before the first DoT ticks hit.
- You should solo-tank the boss during this phase. Your tank needs to come up with a plan beforehand to survive the 20 seconds.
- If solo-tanking, stay spread out; that way, you won't have to worry about the explosion from players whose debuff is about to expire. Dispel the debuff immediately to prevent the damage dealt to the player every 3 seconds.
- Remove orbs if this has been agreed upon with the healers. Since you don’t have an absorb shield in this phase, they won’t destroy it and will only deal 150,000 damage to you.
- If you’re not solo-tanking, gather in front of the boss. As soon as the debuffs arrive, turn the boss around so that the two rooted players are separated from you. You must move with the tank so that they don’t take a hit alone and unprepared.
Class Tips: Rogue
Via Cloak of Shadows you can ignore many abilities in this fight, but you should primarily use it to remove the orbs. It can also do the following:
- Remove Displaced Energy without the explosion
- Immunize Breath of Y'Shaarj
- Immunize Imploding Energy
Feint reduces the damage from Breath of Y'Shaarj and Imploding Energy.
The slow effect from the adds is removed by Burst of Speed.
However, you may need to use it several times in a row to escape the aura.