Quick Facts
Introduction
As you've probably already noticed from the setup, this is an unconventionally played boss fight. Your opponents are two shamans,
Kardris and Haromm, and at the start of the fight, their two wolves, Darkfang and Bloodclaw.
The two shamans share their health points.
Depending on their HP, the bosses gain additional abilities and, starting at 25 % health, they make use of
Bloodlust until the end of the fight – an invitation for you to do the same.
So the fight gets harder and harder the longer it goes on.
Both bosses have several abilities that can dangerously overlap if they are tanked next to each other. A strategy has emerged
in which the bosses are tanked far apart, so that each group assigned to a boss only has to deal with that boss’s abilities.
If you tank the bosses together, the fight is certainly one of the most challenging in the Siege of Orgrimmar and requires excellent
communication and coordination.
Eventually, you’ll be able to get by with just two healers in Heroic Mode. However, as long as you’re not tanking the bosses together, you’ll always need three tanks, since Haromm imposes a stackable debuff on his target.
In Normal Mode, you can use the same strategy or tank the bosses together, but you’ll have to adjust to new timings and there will be a lot more to keep an eye on. Two healers are sufficient there.
This guide only covers the tactic involving two separate groups.
Start of the Fight
It's a good idea to reset the boss fight once before the first pull, since the bosses initially wait for you inside Grommash Hold, but after that they always spawn in front of it.
Your goal during the first few seconds is to kill the two wolves. You shouldn't target the bosses yet,
since they gain their first abilities once their HP drops below 95 %. Sometimes this can't be avoided, which means one of your two groups
might get an ability that they wouldn't normally have to face. If you're prepared for this, it shouldn't be a problem.
Before the bosses reach 85 % HP and gain additional abilities, you should definitely have them separated and standing in their respective positions.
Part of the difficulty of the fight is that while the abilities come on fixed timers, it depends on the percentage
hit points of the bosses, when they are used for the first time.
This means that, depending on the timing, the bosses’ abilities can sometimes come one right after another, since they all have a 30-second cooldown.
However, it’s not effective to do a damage stop, centre right before 65 % to delay the new abilities. You’ll learn to deal with it.
The two wolves inflict a stackable bleeding debuff on the tanks, so they can't stay alive forever. They also have a frontal AoE attack, which is why the tanks turn them away from the group.
The abilities described below that the separate raid groups will encounter are always limited to the respective group, since the bosses are positioned very far apart. So when we refer to a “random player,” that player is always from the respective group.
Task Force: Kardris
To Kardris, you should send a tank, a healer, and all ranged DPS, as melee DPS are at a disadvantage here.
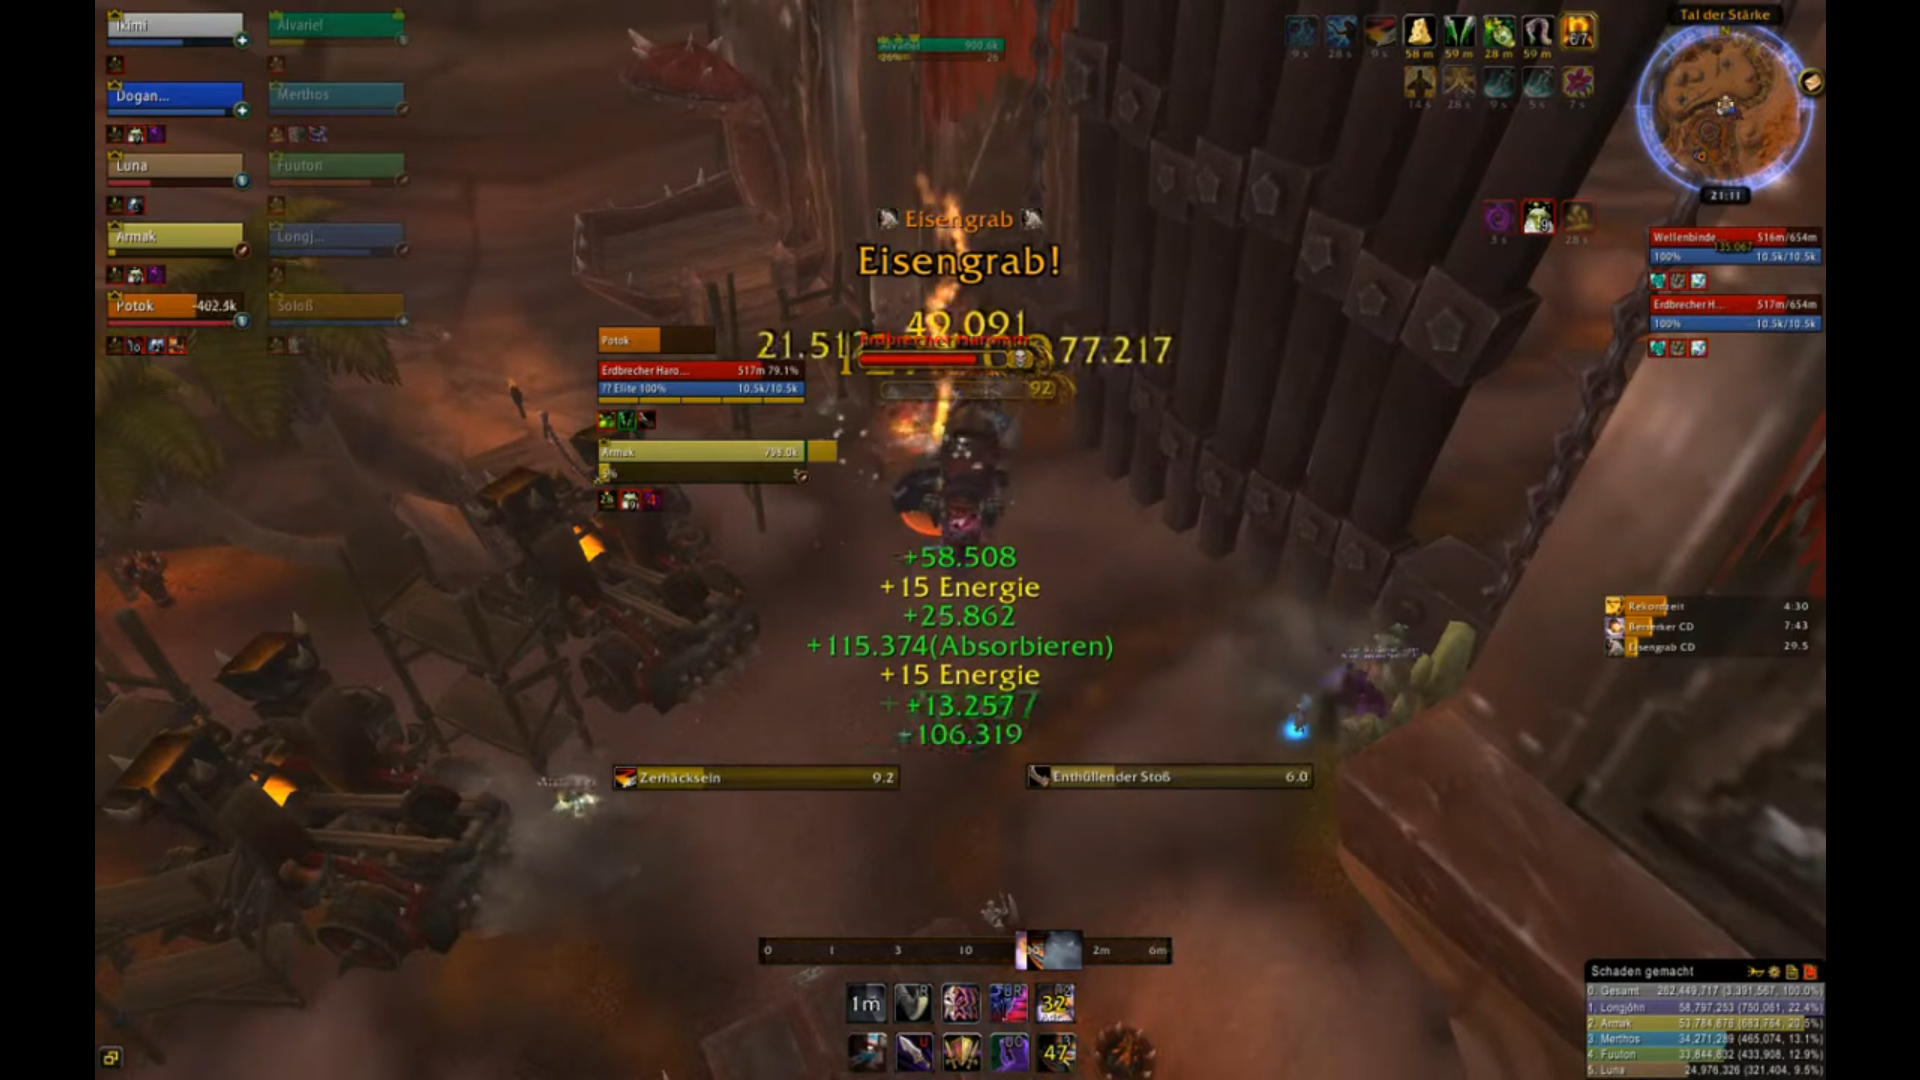
You will stay with her in the main area of the Valley of Strength and place her Toxic Storm ability (see below) between the buildings. In our
Kill Video #1, you can see this in detail. Her abilities are listed below in the order they are acquired by her.
A Brewmaster works well for Kardris, as they can use their constant AoE to pick up the adds that spawn periodically. As a healer, a Discipline Priest
is well-suited, as they can always provide shields to the players with Iron Prison. For them, however, it is generally more challenging than for other healers,
as the tank takes a great deal of damage from the Froststorm Bolts.
In theory, a Monk tank can handle this boss entirely on their own. However, if your tank has no experience with this, it is
of course not recommended for your first attempts.
Ability: Froststorm Bolt (from 100 %)
Heroic Ability: Iron Prison (from 95 %)
Ability: Toxic Storm (from 85 %)
Before the fight begins, you should set world markers that you will move to one after another in a large circle. When the Toxic Storm is about to be cast, every player must stand on this world marker. A storm lasts for 90 seconds. As soon as raidplan.io makes the maps available, we’ll submit a suggestion. You can also use our Kill Video #1 as a guide. Basically, you’ll use every nook and cranny between buildings as a gathering point.
Ability: Foul Geyser (from 65 %)
Ability: Falling Ash (from 50 %)
The challenge for this group is to find their rhythm in every try. The fact that new abilities are activated once the bosses’ HP drops below a certain percentage means that no two tries are the same in terms of positioning and the order in which abilities are used. You’ll have to move around a lot, so you should always plan your movement in advance to ensure you can still deal solid damage.
Task Force: Haromm
Pull Haromm towards the closed gate at the entrance to the Drag. You'll be able to tank him there until he's down to 50 % health without moving the boss. However, a later ability requires you to frequently move the boss further down the ramp step by step.
Ability: Froststorm Strike (from 100 %)
Heroic Ability: Iron Tomb (from 95 %)
The tombs are signaled by swirling dust beneath the feet of the two players and appear 3 seconds later. If players are standing within this dust cloud when the tombs appear, they take 500 k physical damage and are slightly knocked back. The tombs remain until the end of the fight and block your line of sight. Place them at the edges as shown in the positioning screenshot above. By having both healers stand on opposite sides of the ramp, they won’t get in each other’s way.
To the Iron Tomb baiters: Be careful not to get within melee range of the boss, especially if he is pulled towards you later in the fight, as this will cause one or even both tombs to appear on random players within melee range, blocking your line of sight and making positioning difficult.
Ability: Toxic Mist (from 85 %)
Always communicate/coordinate what you will use next to counter it. The debuff will not target the tanks as long as there are enough other targets available.
Hand of Purity is extremely well-suited for mitigating the final 6 seconds of the debuff.
Ability: Foul Stream (from 65 %)
The void only seems to deal damage once upon being stepped on and does not continue to deal damage thereafter to this player.
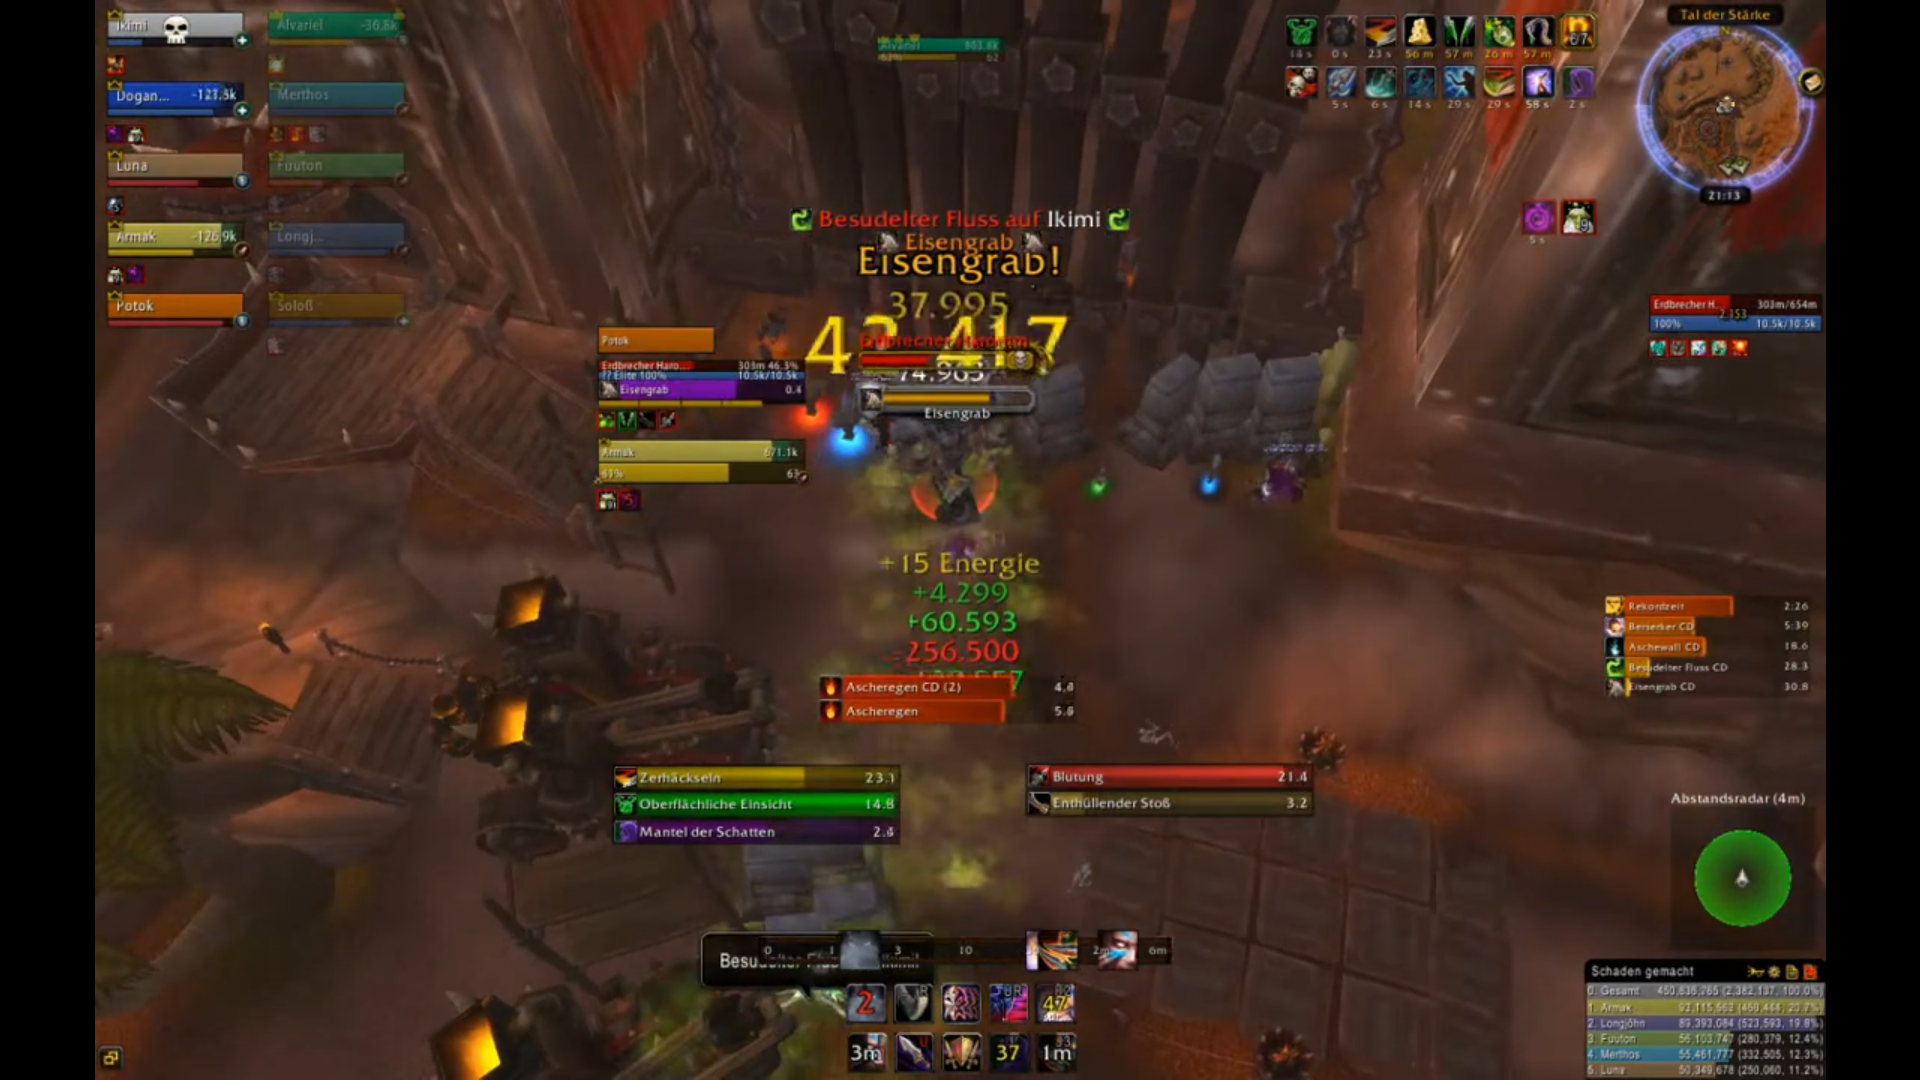
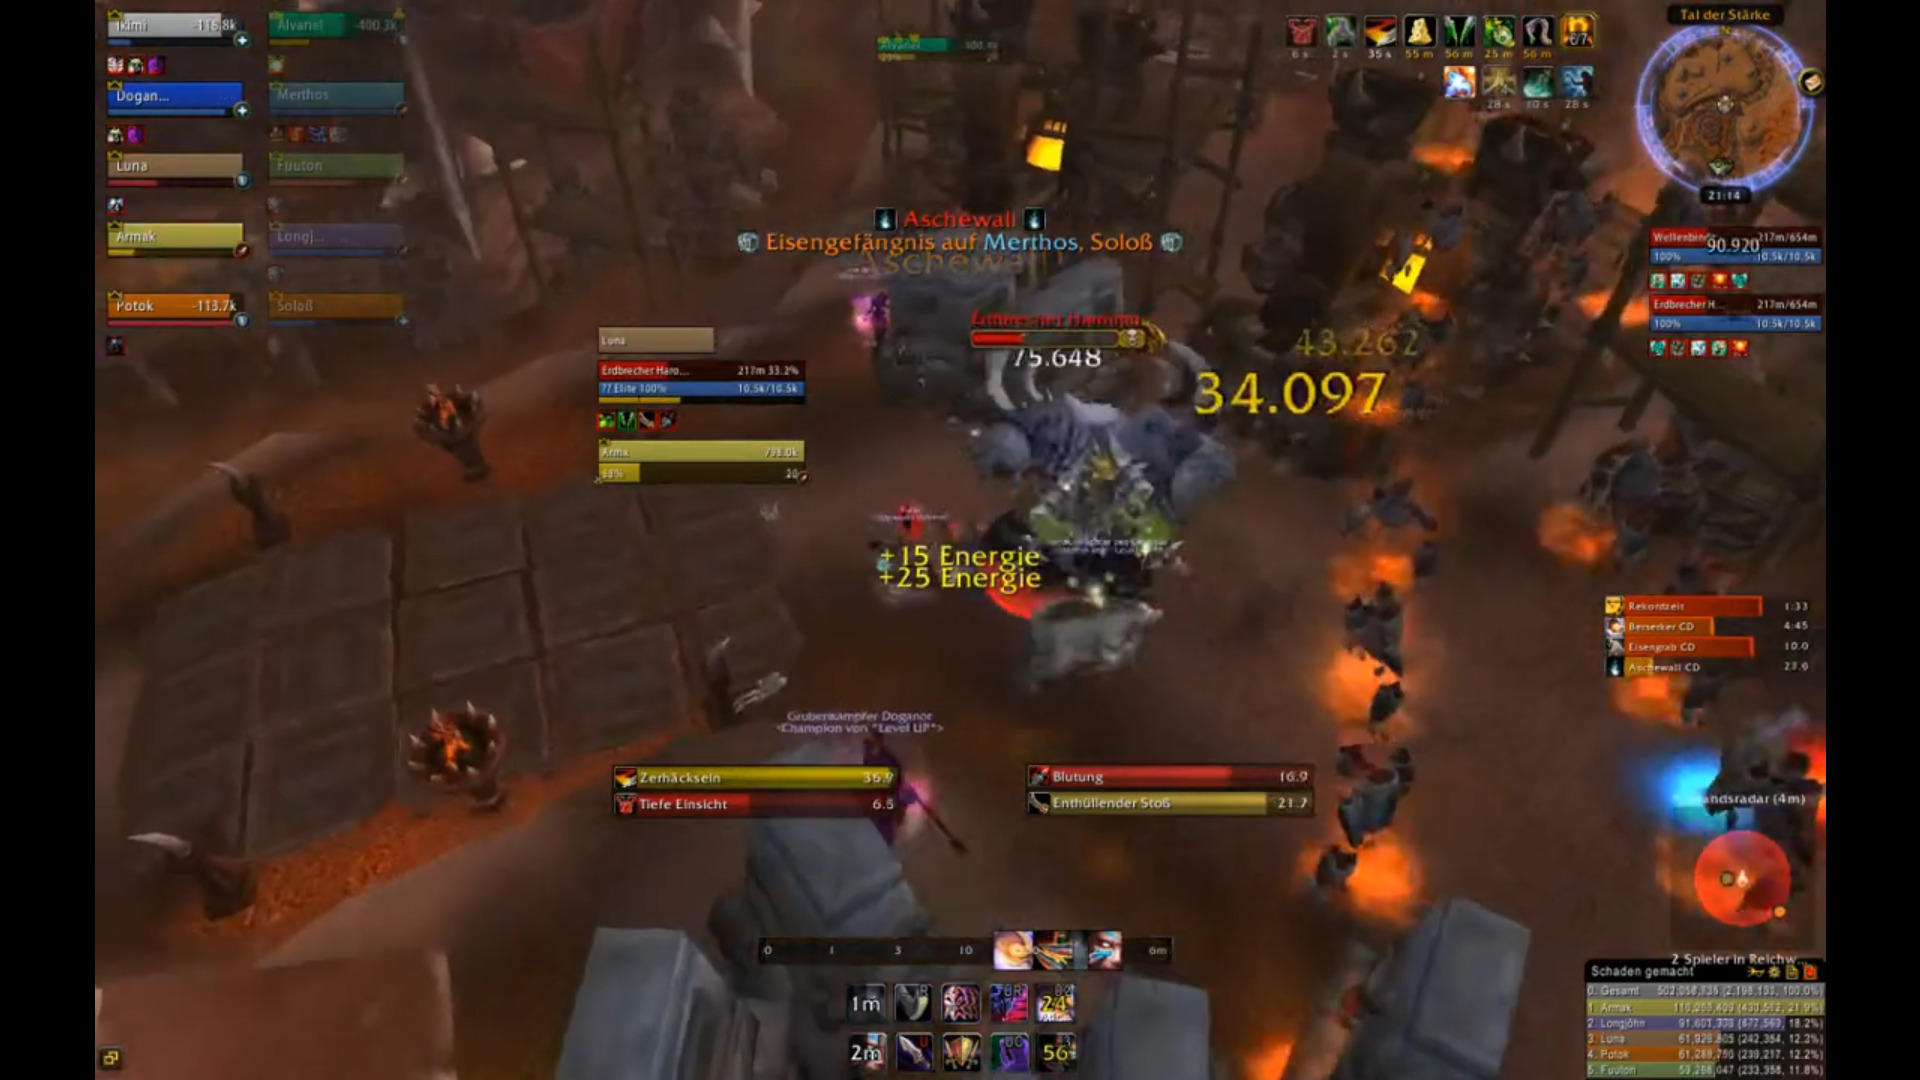
Ability: Ashen Wall (from 50 %)
The Ashen Walls appear horizontally relative to the boss’s line of sight on the active tank. So if the boss is facing north, the row of elementals appears inside the tank from east to west. If you’re standing directly in front of the boss, the wall will pass through you from left to right. Every time an Ashen Wall appears, the tanks briefly run through the boss and reposition themselves with their back to the newly created Ashen Wall (but not within melee range of the elementals).
You can also occasionally place an Ashen Wall inside the previous one to save some space.
You should make good use of the space. If you make mistakes or leave too much space between the Ashen Walls, then depending on the length of the fight, you’ll eventually be too close to the Kardris group, causing your boss abilities to overlap.
Ability: Falling Ash (from 50 %)
You’ll quickly figure out when your setup or the boss ability timings require cooldowns.
If you have a Rogue in your group, they probably will need little attention from you, but with a Warrior, things will be different.
Depending on the timings in this fight, you’ll need to coordinate external cooldowns. For example,
the Falling Ash explosion might coincide with the final strong ticks of Toxic Mist, which means a lot of damage
to the affected players in a short amount of time. That’s why two healers are used here.
Kill Video #1 (Kardris)
This video shows our second kill on October 21, 2013, from our Brewmaster's perspective.
Kill Video #2 (Haromm)
This video shows a later kill from our Rogue's perspective.
Common Reasons for Wiping
- Ashen Wall: Poor positioning of the walls, which pushes you too quickly towards the other group or kills players.
- Insufficient Communication: Poor coordination, especially within the Haromm group. You can switch to a different voice channel so that the other team doesn't hear your discussions. Especially when the final ticks of the Toxic Mist overlap with other damage sources, individual players take a lot of damage.
- Undisciplined Movement: The Kardris task force must collectively place the Toxic Storms in the designated locations; otherwise, tornadoes will be added to the other various abilities.
TL;DR
- Focus on the wolves; do not explicitly target the bosses. Note that the bosses' 95 % ability can already be triggered here, and you will therefore be hit by the ability of a boss you otherwise have nothing to do with (Iron Tomb/Iron Prison).
- Do not stand in front of the wolves – they cleave.
- By default, two tanks, two healers, and your melee DPS go to Haromm. However, you can also send, for example, an additional Warlock with them, as they have to move around less there.
- Before the Toxic Storm, everyone should gather at the designated world markers between the buildings. After that, head straight to the next world marker.
- When the Iron Prison expires, either use your own cooldowns or request an external one. The prison deals 100 % of your HP as physical damage.
- Plan your CDs for the explosion of Falling Ash (15 seconds after it appears).
- When the boss summons her adds, do not stand near her or near the adds.
- Don't move with the Foul Stream; the other players should move out of the way.
- To the ranged players (usually the two healers): Always stay out of melee range so that the tombs appear on you. Both of you should stand on opposite sides of the ramp and place them there.
- Coordinate with each other, as unlucky aility overlapping may arise that requires external cooldowns.
- Tanks: Place the Ashen Walls across the ramp and slowly move towards the centre of the Valley of Strength. You can stack Ashen Walls on top of each other to save space.
Class Tips: Protection Warrior (low item level)
Back then, I was tanking Haromm with an item level of 529, so I was basically a stopgap solution.
However, it went better than expected, since the damage taken by the tank in the Haromm group is manageable if you taunt carefully.
The boss was usually taunted off me at four stacks of
Froststorm Strike.
When the group was fully healed, I could sometimes take a bit more damage. Play very defensively at such a low item level, make sure
that you always have Shield Barrier active
and use Demoralizing Shout
once you have three stacks of the Froststorm Strike debuff. This always times well.
Save your other personal cooldowns, centre for the incoming damage from
Falling Ash if you are tanking the boss at the same time.
Use Vigilance in coordination with your healers,
to weaken the last 12 seconds of their
Toxic Mist debuff.
Sometimes your group may bring an
Iron Prison with them
if the bosses got below 95 % too early, or you split them up too late. It’s also well-suited for that purpose.
If a healer dies, and you get hit by Toxic Mist, in my experience you will inevitably die, even if they can still be revived.
You’ll either die immediately from the debuff or have to use your cooldowns, which you would have needed later.
Class Tips: Rogue
As a rogue, you’ll be at Earthbreaker Haromm and will have to deal with the abilities there.
The damage from Toxic Mist can be reduced by
Elusiveness,
but depending on your healers, this may not be necessary.
Cloak of Shadows
prevents the ticks but does not remove the debuff.
If you receive an
Iron Prison at the start of the fight,
use Feint if talented and
Smoke Bomb.
The damage from Foul Stream can be negated by
Cloak of Shadows, and Feint also reduces it. Never stand inside it without one of these two abilities running.
Class Tips: Priest (Discipline)
If you're solo-healing the Kardris Task Force, watch out for her
Froststorm Bolts,
because you probably won't be able to keep the group and the tank alive using only Smite.
Shortly before the Iron Prison expires,
give the players a Shield.
If you are solo-healing Haromm, you must be cautious with the two debuffs, as they are very powerful. You should cast
Prayer of Mending on affected players
and give them shields during the critical phase of the debuff (< 8 seconds).
You can pull players through the Ashen Walls with Leap of Faith.