Quick Facts
Introduction
Even though chaos reigns here, you’ll only need two healers, and they don’t even have to provide that much HPS. You’ll probably get by with less than 200 k total. If players make mistakes, they’ll, unfortunately, usually die.
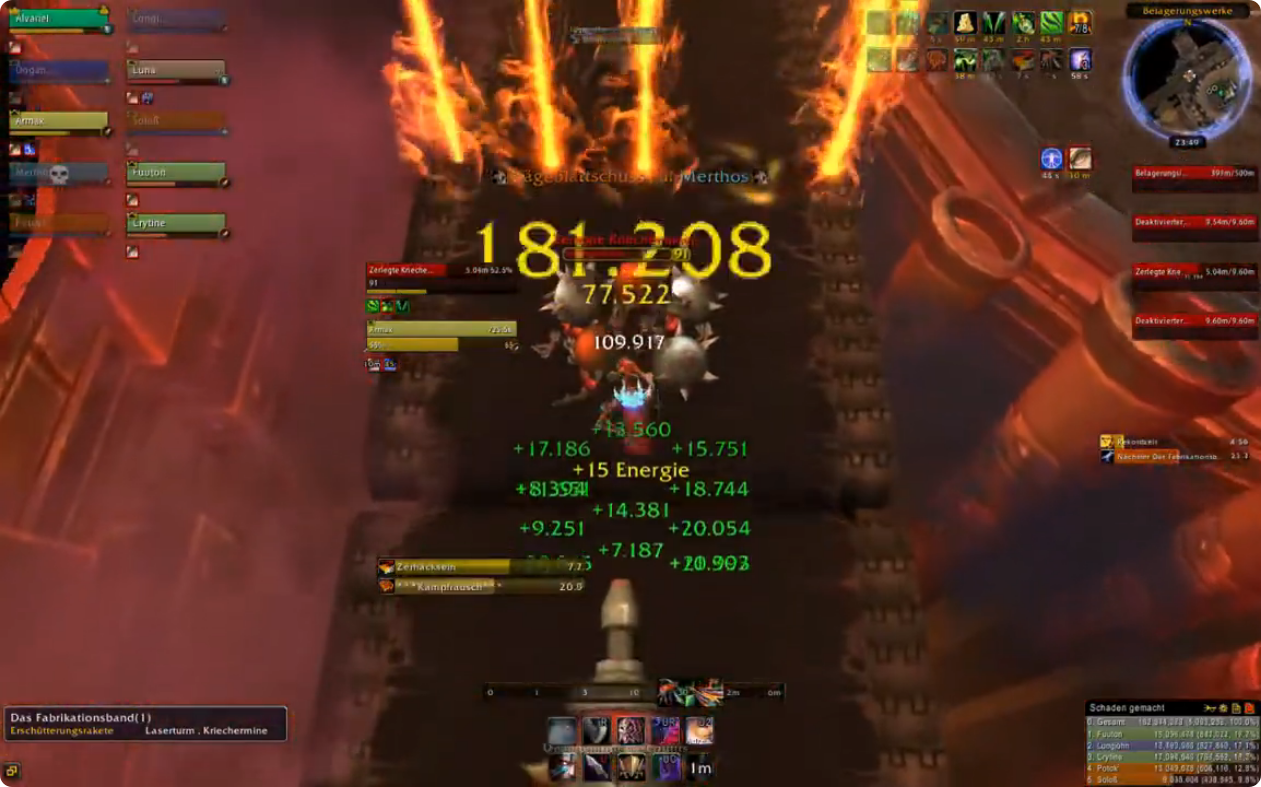
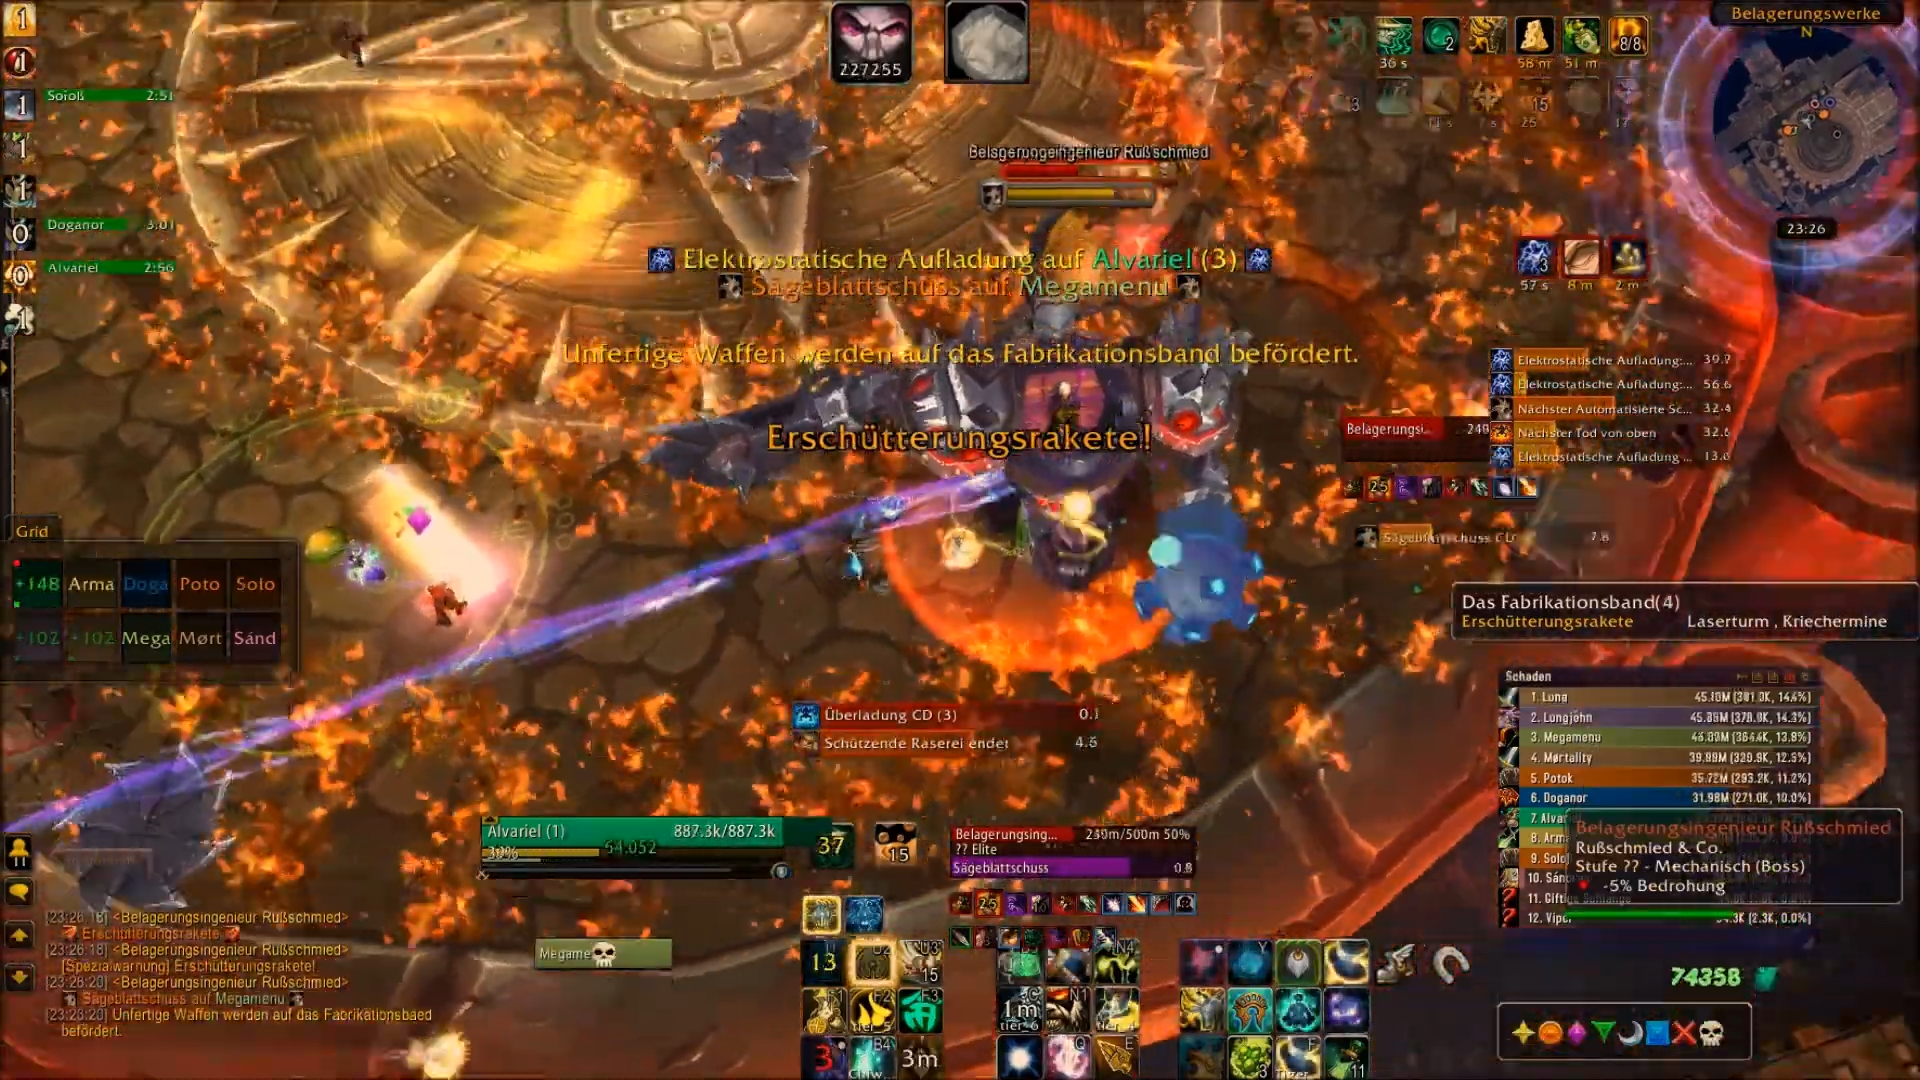
Before we get started, here’s a sneak peek at the encounter.
This fight is even tougher than Thok. You're up against a mad engineer who rides his shredder and comes at you with
fire, mines, saw blades, and drills. There is only one phase, which must be played in a variety of ways due to different combinations of abilities.
The good thing about this fight is that it always plays out the same way, so you can learn it very well.
Important for the boss fight is a small task force that regularly steps onto a conveyor belt. There you’ll find various
types of weapons, any of which you can destroy in each cycle; the others become immune afterwards. In the boss fight, you’ll then
face the weapons that were allowed through, one of which will be overcharged and behave differently than usual. Overcharging is the core Heroic Mode ability.
More on this in the relevant chapter.
The Conveyor Belt
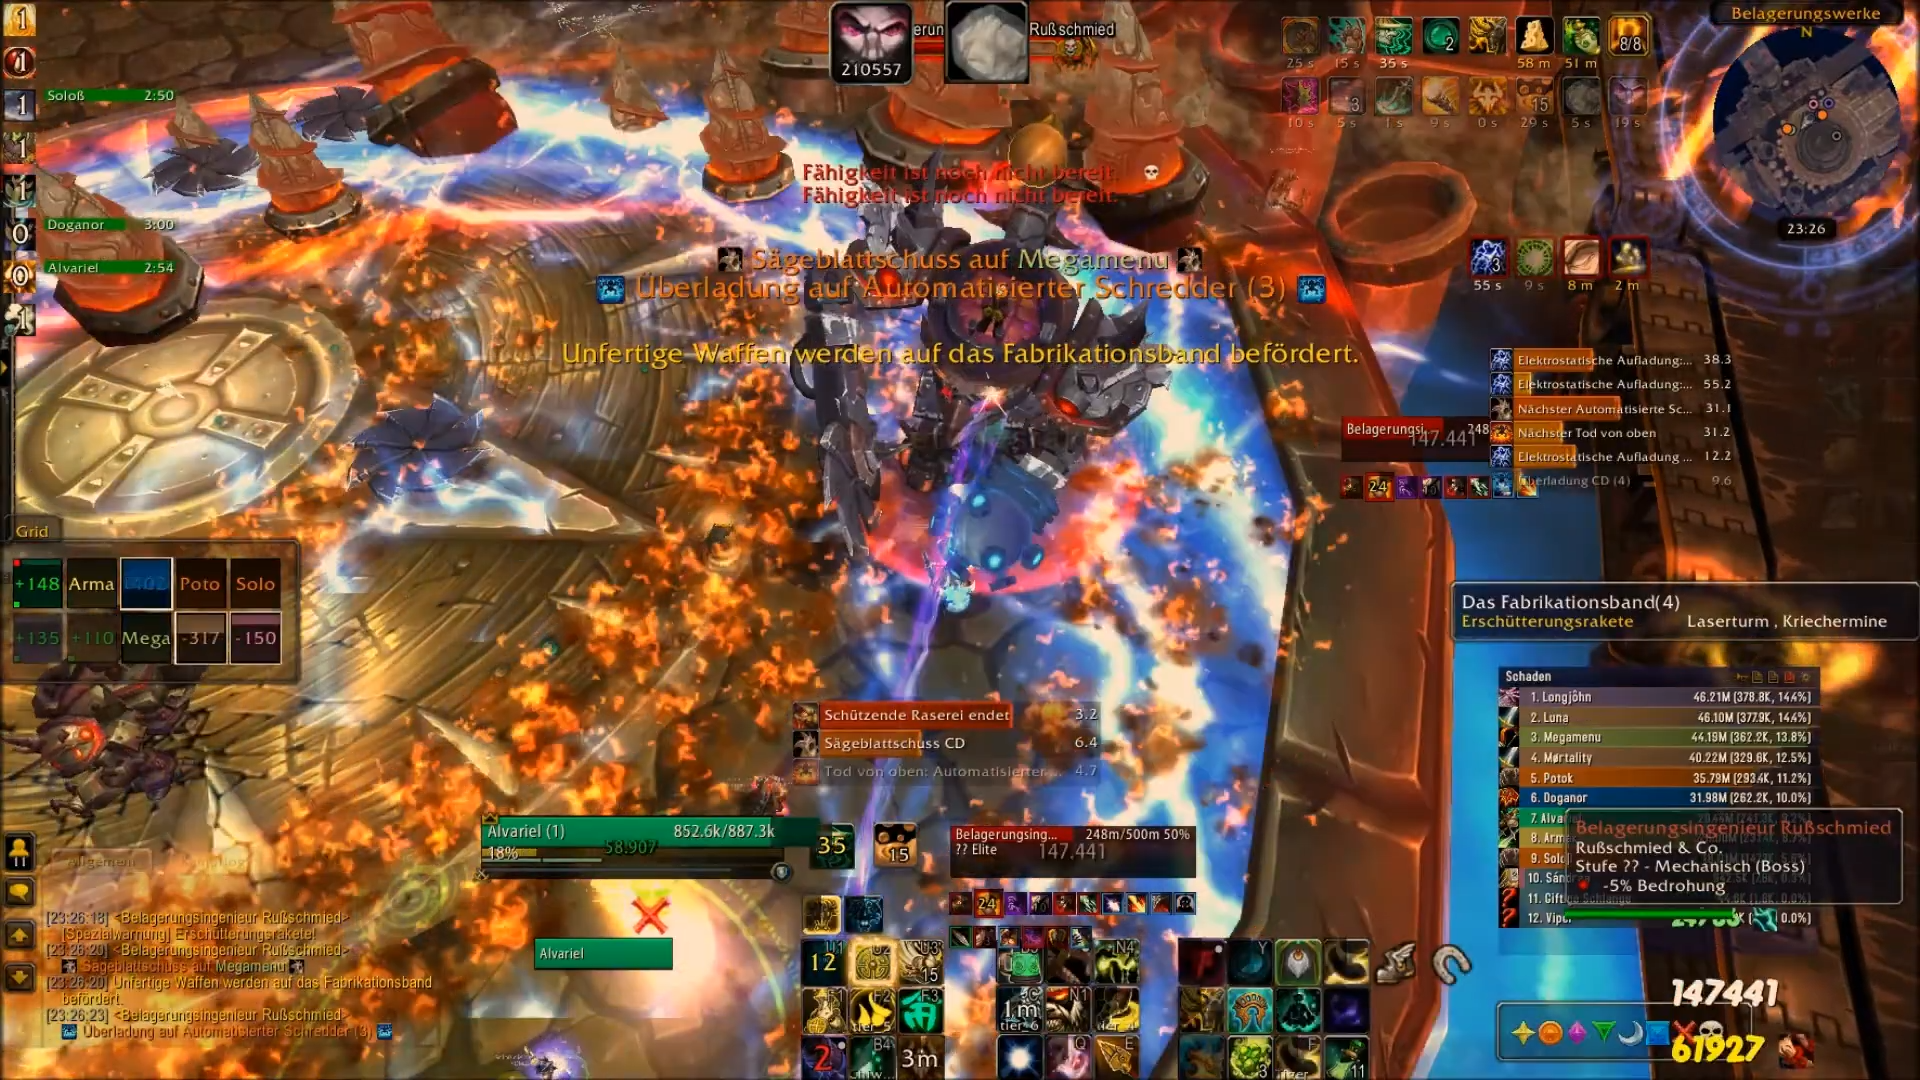
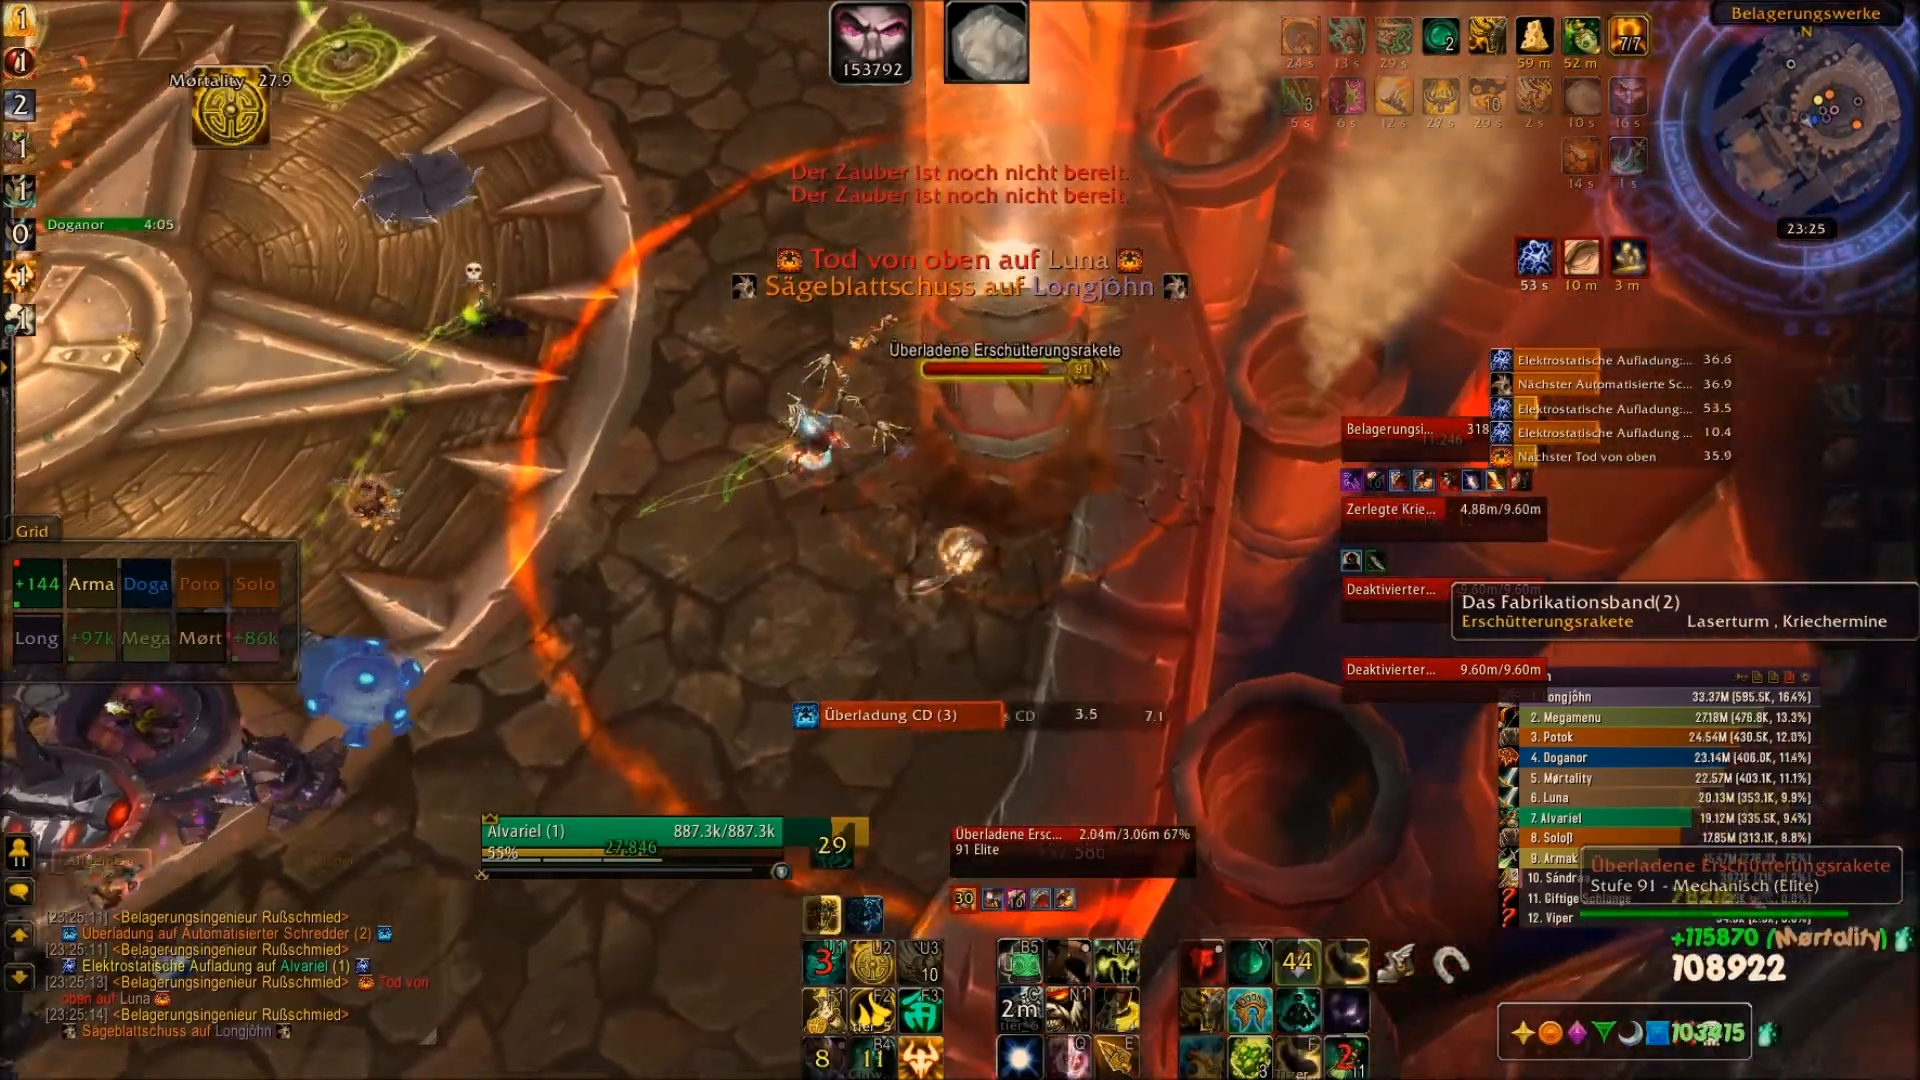
When you enter the room, there are conveyor belts on the left and right. Only the one on the left is of interest to you; the one on the right is used solely to transport weapons which you let go through. The standard way to enter the conveyor belt is through a pipe, which you can see in the following image.
After entering the pipe, you immediately receive a 60-second debuff that prevents you from using it again. This means you’ll have to
take turns with other players because the conveyor belt must be entered every 40 seconds during the fight.
Three weapons will now come out of the warehouse one after another on the conveyor belt, and you will have to defeat one of them.
The others will become immune afterwards.
One weapon has 9.6 million HP. Every weapon that reaches the other end of the conveyor belt will trigger an ability in the arena.
If all weapons make it through, the boss takes 90 % less damage for 20 seconds due to
Energized Defensive Matrix.
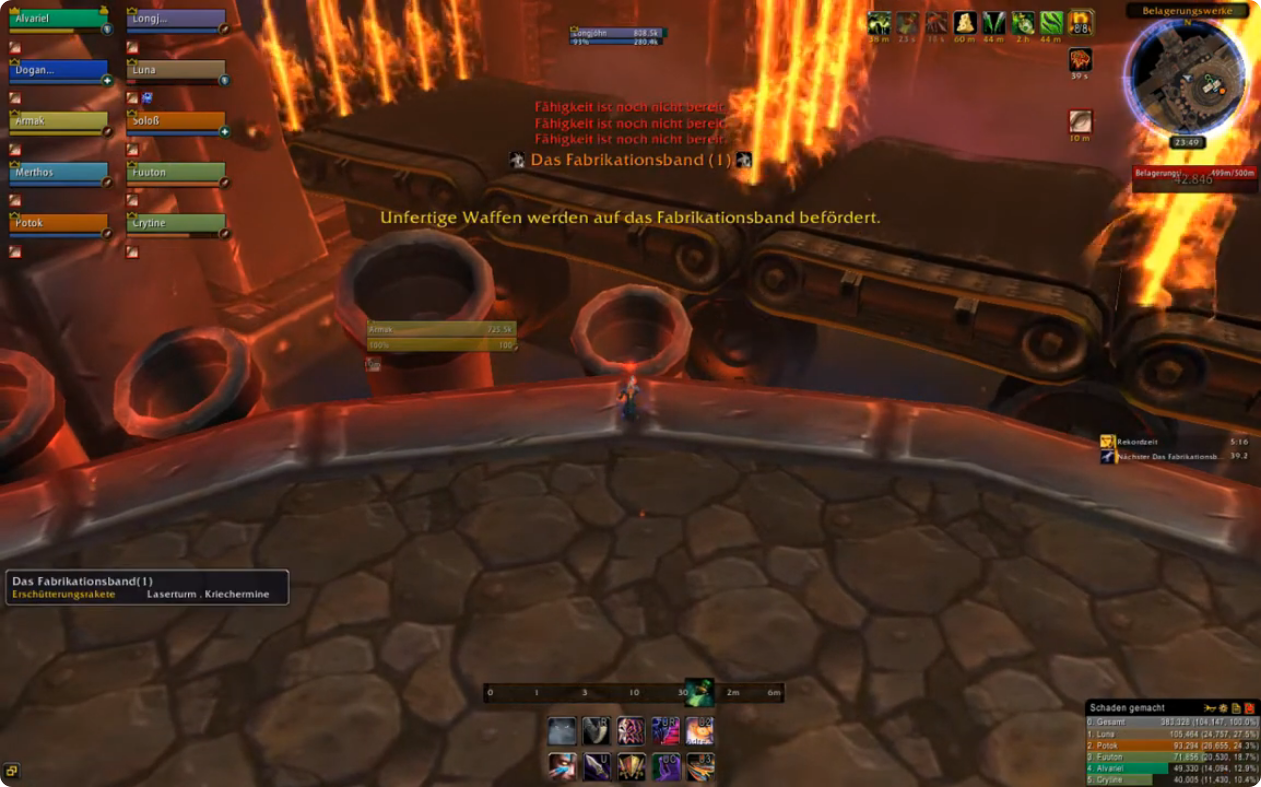
On the conveyor belt, you have to deal with the belt itself, which keeps carrying you forward even if you stop moving. On the other hand, there are beams of fire, which hinder your movement and form a wall. Only immunities will save you from their 10 million damage if you come into contact with them.
In the image above, you can see that the wall of fire consists of five individual beams. The second one from the right is currently deactivated.
Every three seconds
the gap in the wall of fire shifts one position to the left. This means that soon the middle beam will be inactive. Only go through the gap if you know
that it has just opened. Otherwise, there’s too high a risk that it will be on fire again when you pass through.
If the gap is on the far left, it will reappear on the far right three seconds later.
There are a total of four different weapons, three of which are selected for the conveyor belt. You will destroy one, and of the remaining two, one will overcharge. The combat mechanics aim to overcharge the weapons with equal frequency. So if it comes down to whether the Missile Turret or the Laser Turret gets overcharged, the weapon that has been overcharged the least so far wins out. If both have been overcharged an equal number of times, the following priority applies:
- Crawler Mines
- Missile Turret
- Electromagnet
- Laser Turret
If there’s a Crawler Mine among the weapons on the conveyor belt, you should always destroy it, since you don't want to have them at all in 10-man. Otherwise, take out the Missile Turret. The combinations on the conveyor belt are as follows (you should destroy the first one; the weapon that overcharges is listed in parentheses).
- Crawler Mine, (Missile Turret), Laser Turret
- Crawler Mine, Missile Turret, (Laser Turret)
- Missile Turret, (Electromagnet), Laser Turret
- Crawler Mine, (Missile Turret), Laser Turret
- Crawler Mine, Missile Turret, (Electromagnet)
- Crawler Mine, (Crawler Mine), Laser Turret
- Crawler Mine, Missile Turret, (Laser Turret)
- Crawler Mine, Missile Turret, (Electromagnet)
- Crawler Mine, (Laser Turret), Laser Turret
- Crawler Mine, (Missile Turret), Laser Turret
- Missile Turret, Missile Turret, (Electromagnet)
- Crawler Mine, Electromagnet, (Laser Turret)
- Berserk
As you can see, the boss has come up with a nice idea for wave 6 and sends two Crawler Mines onto the conveyor belt,
so unfortunately, you’ll have to deal with one overcharged Crawler Mine wave in every fight.
The entire encounter consists of dealing with these variously combined weapon abilities while
killing the boss. You can see exactly how to react to them in the weapons' description and the
strategy chapter.
You have three options for leaving the conveyor belt. The first is to wait until all the weapons have passed through. The boss will then pull you back into the arena, but you might end up in AoE. The second is the pipe at the end of the conveyor belt. Here, you’ll be stunned in the arena for a short time, which can also be dangerous. The third and fastest way is to jump “manually” from the conveyor belt into the arena. To do this, have a movement-increasing effect ready.
Conveyor Belt Setup
Since you’ll be using Bloodlust at the start of the fight, it would be ideal if one player could take down the first weapon alone so the others can
focus entirely on the boss. Hunters and melees are well-suited for the conveyor belt.
You have 18 seconds to defeat your weapon, which requires approximately 550 k DPS. One player can handle this alone, since you’ll have the
legendary cloak, already have some Heroic gear, you can use cooldowns, and also have Bloodlust.
In kill video #2, you can see at the beginning how the Rogue destroys the weapon alone, using only Killing Spree as his own cooldown.
You’ll need to determine a player rotation tailored to your raid. As mentioned above, a Rogue
took care of belt 1 on their own, and a Hunter handled belt 2. After that, we always sent up two players (Rogue + x and Hunter + y).
Our example order from back then, with the weapon to be killed in parentheses:
- Rogue (Crawler Mines)
- Hunter (Crawler Mines)
- Rogue, Enhancer (Missile Turret)
- Hunter, Eule (Crawler Mines)
- Rogue, Enhancer (Crawler Mines)
- Hunter, Eule (Crawler Mines)
- Rogue, Enhancer (Crawler Mines)
- Hunter, Eule (Crawler Mines) (or ignore it and go for the boss; if all players are alive, this works once the boss's HP drops to around 12 %)
We didn't determine the order any further since the fight was over for us at that point.
It’s a bit easier but slower if they position themselves with their back to the conveyor belt, jump backwards toward it, and then use Disengage. If your Hunter can pull this off reliably, you can always send up Hunter + x. If you have two Hunters, they can focus exclusively on the conveyor belts!
Boss
Ability: Electrostatic Charge
However, you should not treat this debuff like a standard tank debuff and let it expire, because it has an additional effect: Your damage to the Shredder Add is increased by 400 % per stack. As the tank, you will kill the add on your own thanks to this buff, since it generally takes 90 % less damage due to a buff and is therefore unsuitable as a target for the DPS. So you’ll cheat your way past this 90 % damage reduction with the help of this immense buff.
You can designate a tank as the add killer and have them build up three stacks at the start of the fight, which they increase to 5 just before the debuff expires and then to 6 just before it expires again. After that, this tank drops their stacks while the incoming add is handled by the other tank (who also has 6–7 stacks at this point). Once that tank has also reset their stacks, you can repeat the process, though the boss should be dead by then. Of course, you’ll need the appropriate cooldowns at the higher stack levels. Coordinate this in advance.
Ability: Protective Frenzy
Ability: Launch Sawblade
Ability: Automatic Repair Beam
Shredder Add

Add: Automated Shredder
Due to its Reactive Armor, the Shredder takes 90 % less damage. It also uses Death from Above after about 20 seconds, which the tank should dodge. This not only temporarily removes his damage reduction, but also causes him to take 200 % additional damage. Combined with the tank’s high damage output, this ensures that you can now kill the Shredder in no time. By this point, you’ve likely already taken down about 50 % of its HP. So, as the tank, save your damage cooldowns and make sure you have your high-damage abilities ready.
Due to Overload, which the Shredder casts approximately every 10 seconds, the entire raid takes 220 k nature damage. The Shredder also receives a stacking buffs that increases its damage done by 30 %. There’s nothing you can do about this; you’ll need to heal it off.
The Shredder takes damage from virtually all abilities in the encounter (such as the Sawblades, the Missile Turrets, and the Laser). You can take advantage of this, but it is not necessary.
Weapons
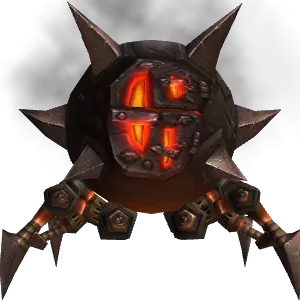
Weapon: Crawler Mines
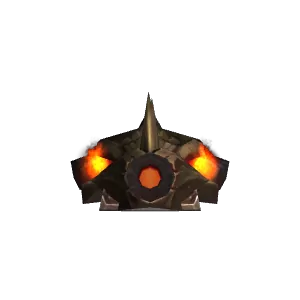
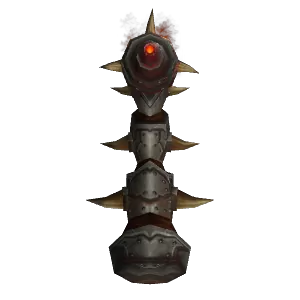
Weapon: Missile Turret
To spawn, the tower selects a random player, then finds the shortest distance to the edge of the arena, and settles there.
Once the tower has deployed its voids, another tower appears a total of two times at a slight distance in a clockwise direction around the arena.
Weapon: Laser Turret
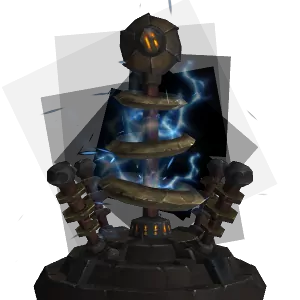
Weapon: Electromagnet
Encounter Strategy
We can now apply this to the context of the fight. Assign the conveyor belt teams, tank the boss towards the conveyor belt, and use Bloodlust.
You can already deal significant damage to the boss before the first weapons appear. To do this, it would be very helpful if a single player
could take out the first weapon. Spread out so you don’t get hit by the Sawblades, and have Hunters, Priests, Mages, and Rogues ignore them using
their feign-death mechanics. Rogues shouldn’t get hit by them anyway, since the Sawblades primarily target ranged players.
A general rule: Always place Sawblades and the single Laser where the overcharged Laser will later circle around, so you can pass through the areas
it leaves free without restriction. Feel free to place Sawblades even within the existing fire of the overcharged Laser, but don’t
pick up more than two debuff stacks in the process.
Note that the phases overlap, and the abilities from the previous phase may still be present when a new overcharge begins.
1st Overcharge: Missile Turret
As a ranged player, stand next to the edge of the arena where the first of the Missile Turrets should appear. Not
every player needs to focus on it, since the towers only have 3 million health points. Melees are well-suited for this, as they can keep attacking the
tower easily starting from the second void. You can pull the boss to the Turrets. If you destroy the Turrets quickly enough,
the ranged players won’t even have to dodge.
Additionally, the single Laser will track players. Position it where the overcharged Laser will soon circle anyway (see the illustration
above in the description of the Laser Turret).
2nd Overcharge: Laser Turret
This is where the interesting part of the fight begins. The Laser will trace circular paths and make large parts of the room impassable,
so it’s best to check out our video so you know where you can stand without having to dodge.
In the areas where the Laser doesn’t go, you shouldn’t have placed any Sawblades
or a normal Laser beforehand, otherwise you’ll cut off important paths to dodge.
This time, you only need to dodge the Missile Turret; since it isn’t overloaded, it doesn’t need to be destroyed.
3rd Overcharge: Electromagnet
This is the most critical phase of the encounter, and you’ll die very often during this phase. You’ll be facing the overcharged Laser still lying on the ground,
the remnants of the Missile Turrets from the previous phase, the single Laser that chases players, and the overcharged Electromagnet.
The boss will pull the Sawblades towards the rear conveyor belt, but then send them back into the room towards you and repeat this process a few times.
You’ll always be pushed in the corresponding direction, so you’ll have to run in the opposite direction. As a ranged player,
you can position yourself right at the edge of the platform
because the Sawblades won’t move that far. If the boss shoots a saw blade at you during the Magnet phase,
briefly run into the fire to drop it there; otherwise, it would be pulled back to its original position by the magnet’s attraction and repulsion
and potentially block your path. If the Laser is chasing you, run short distances through the fire if necessary
(3 to 4 stacks maximum with cooldowns, preferably only 2).
If you keep dying here, it’s a good idea to try a different strategy. On the third conveyor belt, don’t destroy the Missile Turret, destroy the Laser instead. As a result, the single Laser won’t be there during this phase, but you’ll face more Missile Turrets, which will cause more trouble for melees in particular.
4th Overcharge: Missile Turret
The situation has calmed down again here. The fire voids left by the Laser are gone, and the Electromagnet has stopped pulsing.
Aside from the Missile Turrets that need to be destroyed, only the single Laser is still active.
5th Overcharge: Electromagnet
This magnetic phase is much easier to handle than the previous one, since you can move around much more freely and the only additional element is the Missile Tower.
6th Overcharge: Crawler Mines
Three large Crawler Mines will appear, each of which splits into three more upon death.
Use slow, root and stun effects here so you can take them all out at once. In the meantime, you only need to deal with the single Laser. Your tank can
pull the boss towards the Crawler Mines if that helps. They will heal for a bit, but this shouldn't matter at all.
7th Overcharge: Laser Turret
From here on, keep an eye on the boss's health and decide whether you need to play any more conveyor belts. In addition to the overcharged Laser that
will again circle through the arena, there are also the Missile Turrets.
8th Overcharge: Electromagnet
Here you have the overcharged Electromagnet again, along with the Laser fire from the previous phase. You could also choose to destroy the Electromagnet
and let the Crawler Mines overcharge. Ideally, though, you should should kill the boss beforehand, because
in the next phase, you’ll once again only have the choice between overcharged Crawler Mines or an overcharged Laser Turret.
Kill Video #1: Brewmaster
This video is our first kill from February 10, 2014, as seen from our Brewmaster's perspective.
Kill Video #2: Rogue
This video is our first kill from February 10, 2014, as seen from our Rogues's perspective.
Common Reasons for Wiping
- Overload 2 and 3: You should discuss this phase in the middle of the fight in detail if it’s causing you trouble. Establish small tactical adjustments that are tailored to your raid.
- Placement: Do not place the Sawblades and Lasers where the few fire-free spots created by the overloaded Laser Turret will be later.
- Conveyor Belt: If players consistently fail to clear their assigned conveyor belt, have them work out a detailed cooldown sequence or swap them out for more suitable classes.
TL;DR
- The tanks coordinate how they want to handle their tank debuff, who will tank and kill the Shredder, and when. Always tank the Shredder 35 yards away from the boss!
- Keep your rotation in mind regarding when you’re assigned to the conveyor belt, and kill the enemies listed under “Conveyor Belt Setup”.
- Try to avoid the Sawblades by using feign-death spells.
- As a ranged player, stand at the edge of the arena when the Electromagnet gets overcharged. The Sawblades and fire won’t reach you there.
- In no other fight does this rule apply better than here: Dodge everything!
Class Tips: Rogue
When you're on the conveyor belt, you can use Cloak of Shadows
to run through the beams of fire. Also, Shadowstep
teleports you through the wall of fire to the weapon. Don't use it at the end of the conveyor belt to get past the last wall.
A short loading screen will appear, and you will die.
There is a bug, likely triggered by
Killing Spree,
that prevents you from being transported off the conveyor belt.
In this case, use Sprint,
because without the conveyor belt’s extra speed, you’ll barely be able to keep up with the weapons.
It’s best not to use Cloak of Shadows on the conveyor belt so that you have it available during the phases on the platform,
because there you can use it to run through the Lasers, and the Missile Turrets won’t damage you either.